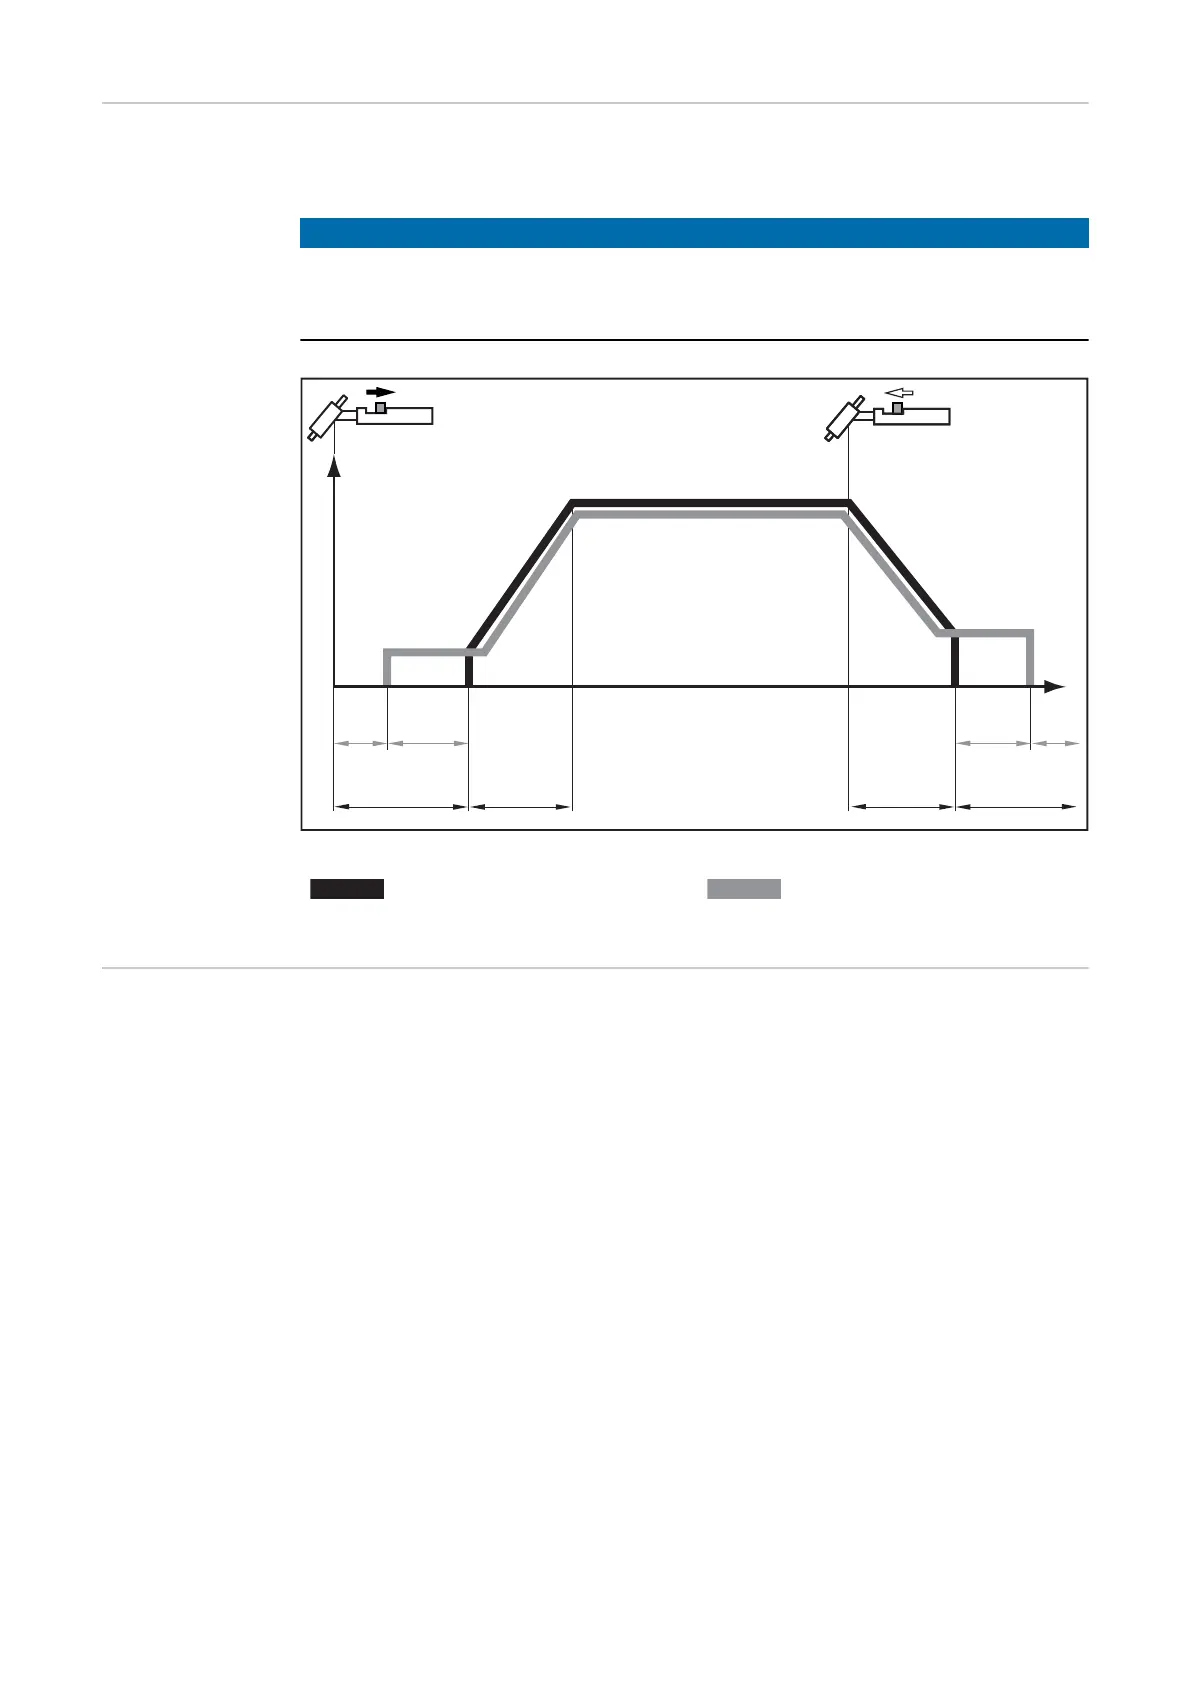
2-step mode - Welding: Pull back and hold the torch trigger
- End of welding: Release the torch trigger
NOTE!
To work in 2-step mode after it has been selected, the SPt setup parameter must
be set to "OFF" and the spot welding indicator on the control panel must not light
up.
I
t
I
1
G-L / G-HGPr t
up
t
down
I
S
GPr t
E
I
E
t
S
G-L
G-H
2-step mode
... Manual application ... Automatic application
Spot welding If a value has been set for the SPt set-up parameter, 2-step mode will have the spot
welding mode function. The special spot welding indicator on the control panel will light
up.
- Welding: briefly pull back the torch trigger
The welding time corresponds to the value set for the SPt set-up parameter.
- to end the welding process prematurely: pull the torch trigger back again
When using a pedal remote control, the spot welding time starts when the pedal remote
control is operated. The power cannot be controlled using the pedal remote control.
46