CAUTION!
Risk of injury and damage from electric shock.
As soon as the mains switch is in the "I" position, the rod electrode in the electrode
holder is live.
▶
Make sure that the rod electrode does not touch any persons or electrically conduct-
ive or earthed parts (e.g. the housing, etc.).
9
Move the mains switch to the "I" position
The starting sequence with the Fronius logo, current firmware version and Fronius
internet address is displayed for approx. 1 second:
MMA welding
1
Press the Mode button to select:
Manual metal arc welding mode
NOTE!
If the MMA welding mode is selected, the welding voltage will only be available
after a 3-second delay.
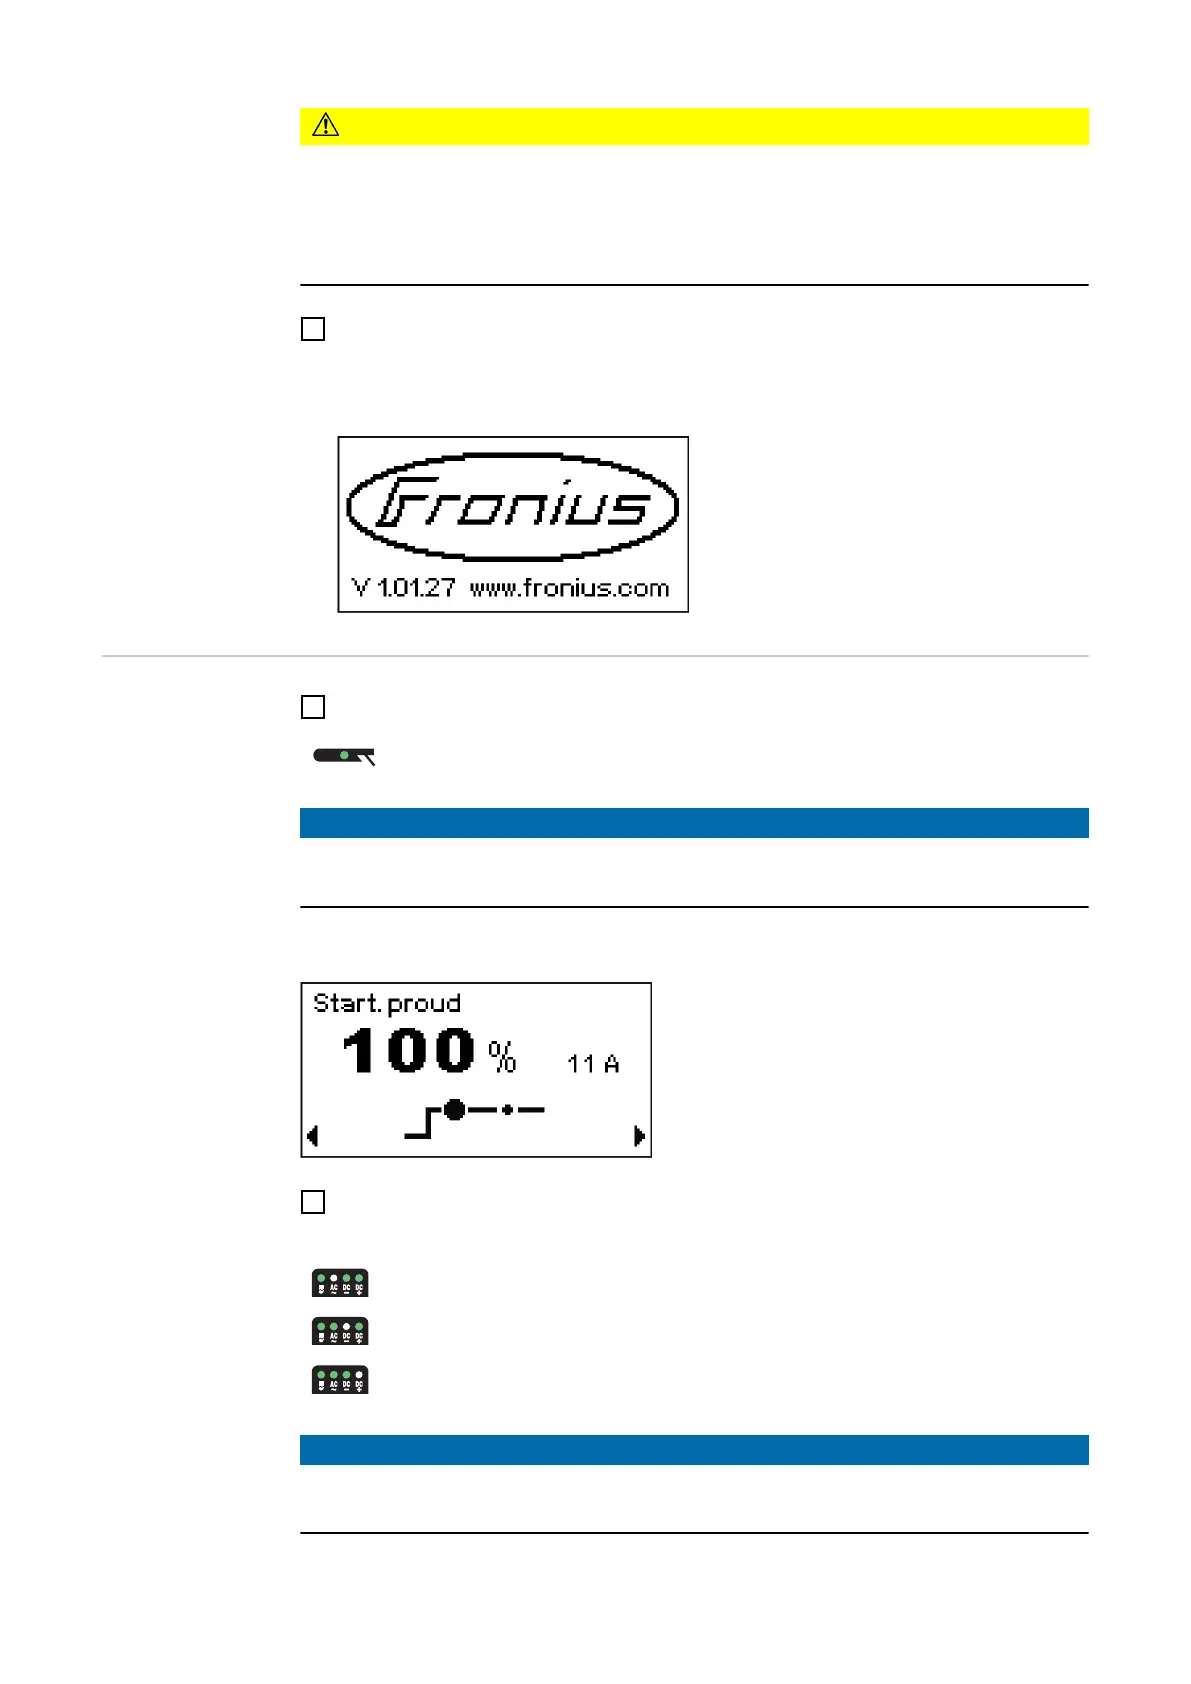
The image for the rod electrode welding parameter is shown on the display:
2
Only for MagicWave: press the process button to select the required welding pro-
cess:
Verfahren Stabelektroden AC Schweißen
Verfahren Stabelektroden DC- Schweißen
Verfahren Stabelektroden DC+ Schweißen
NOTE!
The TransTig power source has no switchover facility between the MMA DC- and
MMA DC+ welding processes.
66