3 Copy
124
Copy
3
Transparency Options (Inserting Blank Sheets between Transparencies)
This feature allows you to insert blank separators between output transparency sheets.
At the same time, you can make copies for handouts.
Important • Using transparency sheets for color (with white border) may cause a malfunction or paper
jam.
Note • When loading A4 size transparencies on Tray 5 (Bypass), we recommend that you load
them in portrait orientation.
• Load transparency sheets in a tray in the same orientation as the paper to be used for
handouts and separators.
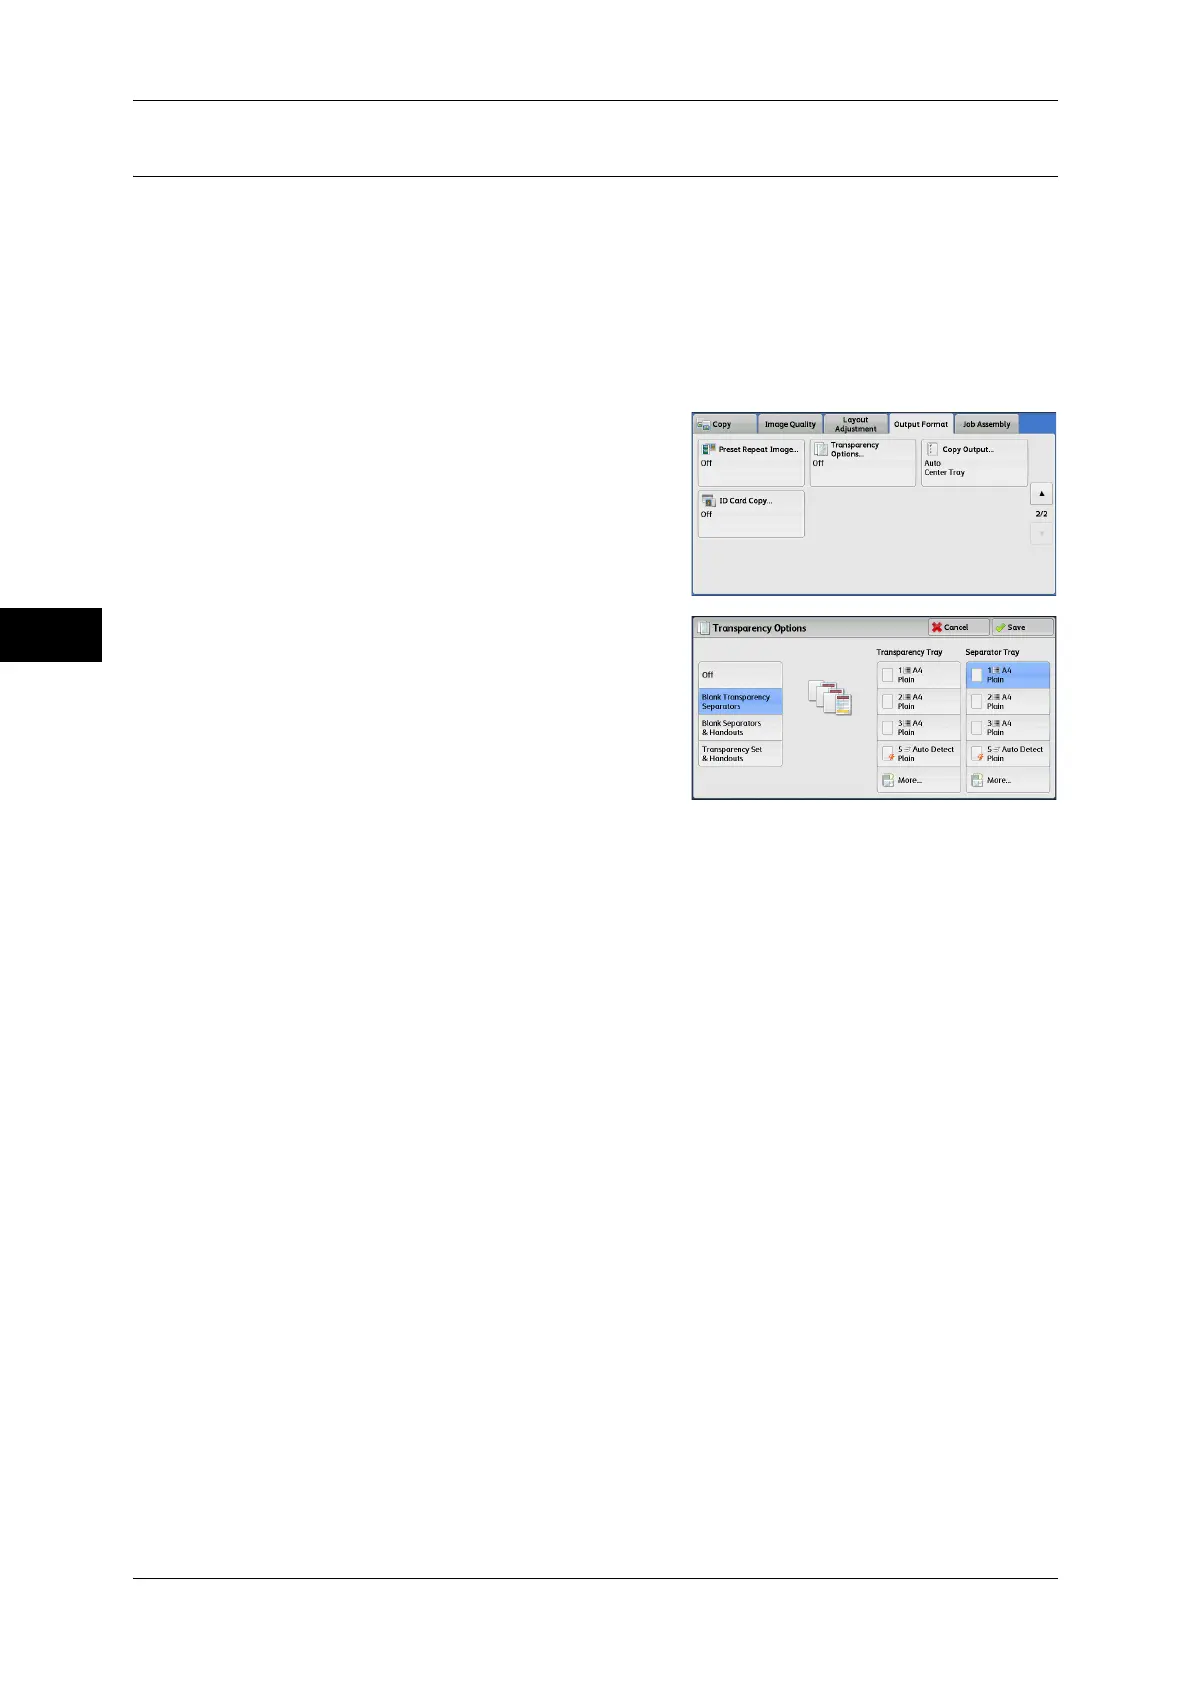
1 Select [Transparency Options].
2 Select any option.
Off
Does not insert separators.
Blank Transparency Separators
Inserts a separator each time a transparency is copied. Only one set of copies can be
made.
Blank Separators & Handouts
Inserts a separator each time a transparency is copied. At the same time, the required
number of copies is made for handouts.
Transparency Set & Handouts
Makes copies on transparencies. At the same time, the required number of copies is
made for handouts.
Transparency Tray
Allows you to select the paper tray to be used for the transparencies.
Select [More] to display the [Paper Supply - Transparency] screen on which you can
select a tray.
Note • When you use the bypass tray, select [Bypass] on the [Paper Supply - Transparency Tray]
screen. Select other than [Auto Detect] for [Paper Size] on the [Tray 5] screen.
• For [Transparency Tray], select one of the paper trays. Auto Paper Select feature is not
available.
• The paper tray that you selected for [Transparency Tray] cannot be selected for [Separator
Tray], [Separator & Handout Tray], or [Handout Tray] at the same time.
When [Bypass] is selected, the [Tray 5] screen is displayed. For more information, refer to "[Tray 5]
Screen" (P.84).
 Loading...


