5 Scan
270
Scan
5
When the Screen Display Does Not Change
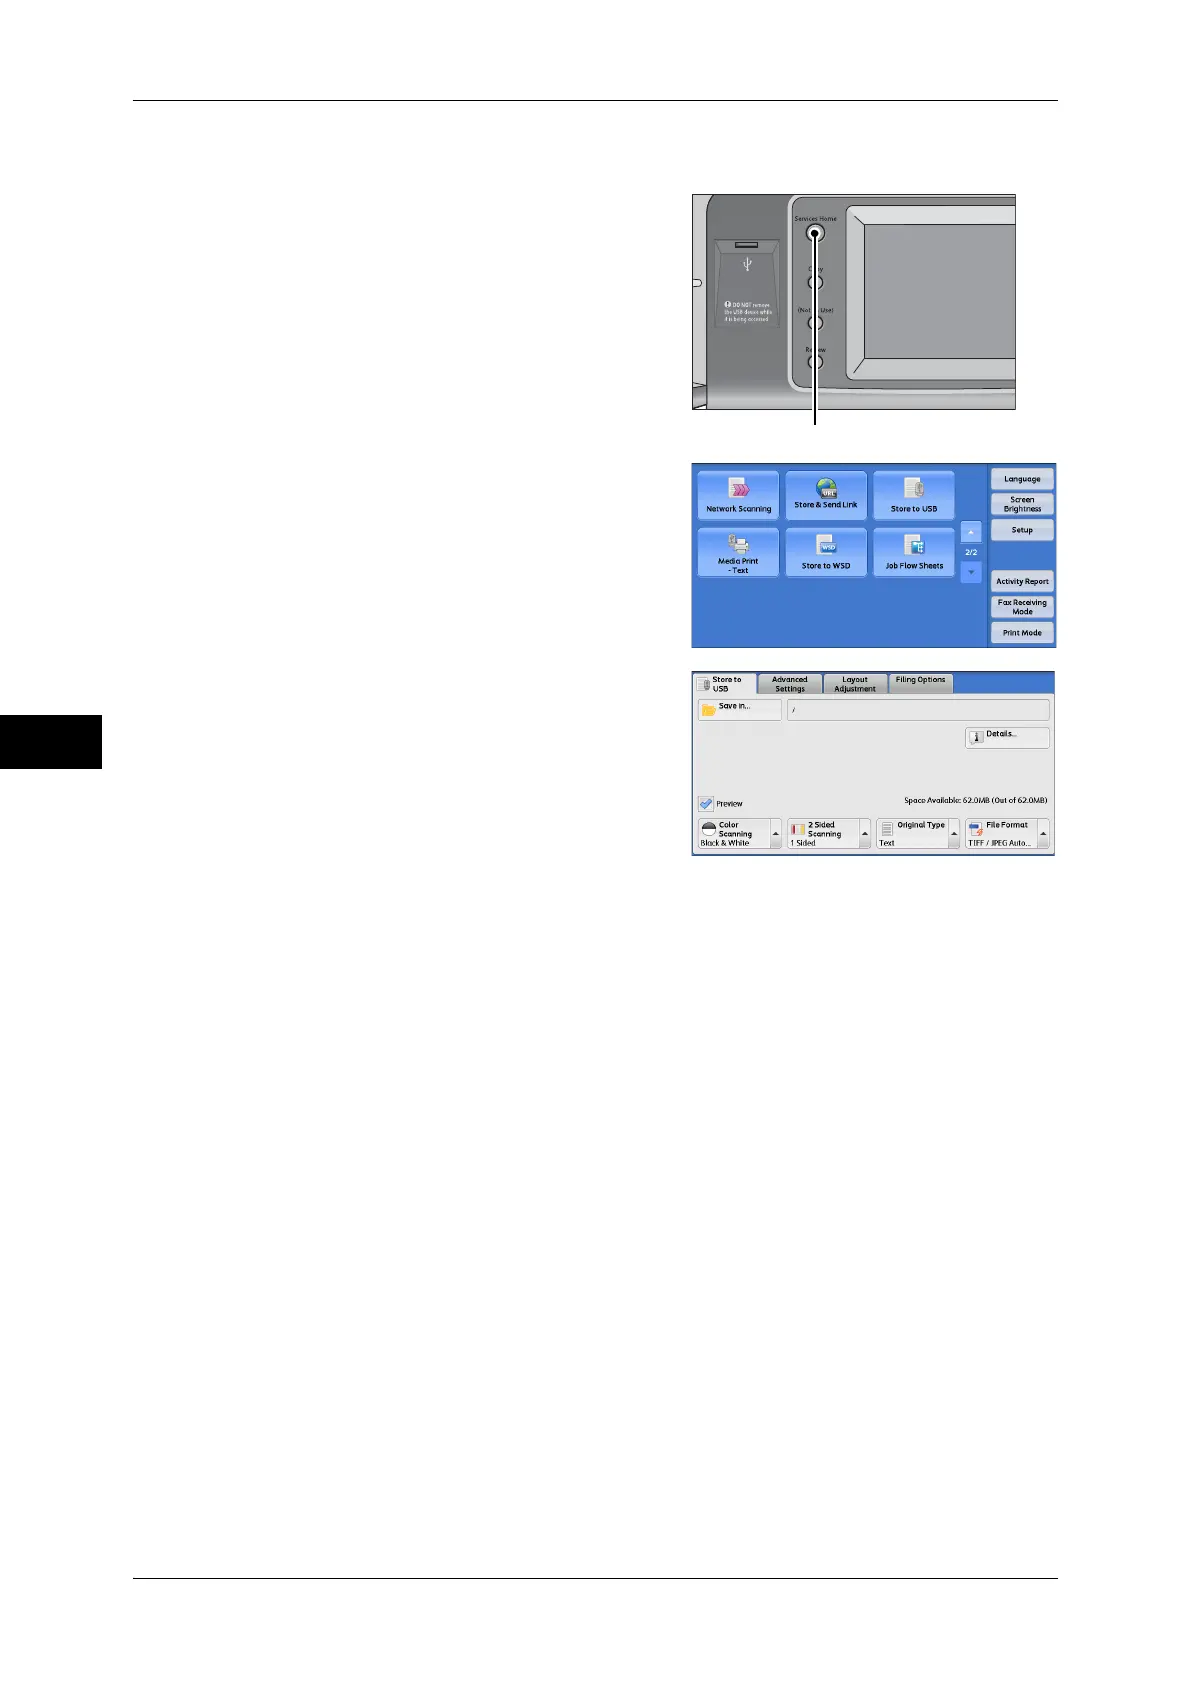
1 If any screen other than the [Services Home]
screen is displayed, press the <Services
Home> button.
2 Select [Store to USB] on the [Services
Home] screen.
3 The [Store to USB] screen appears.
4 Select a feature on the [Store to USB]
screen.
 Loading...


