10 Job Status
354
Job Status
10
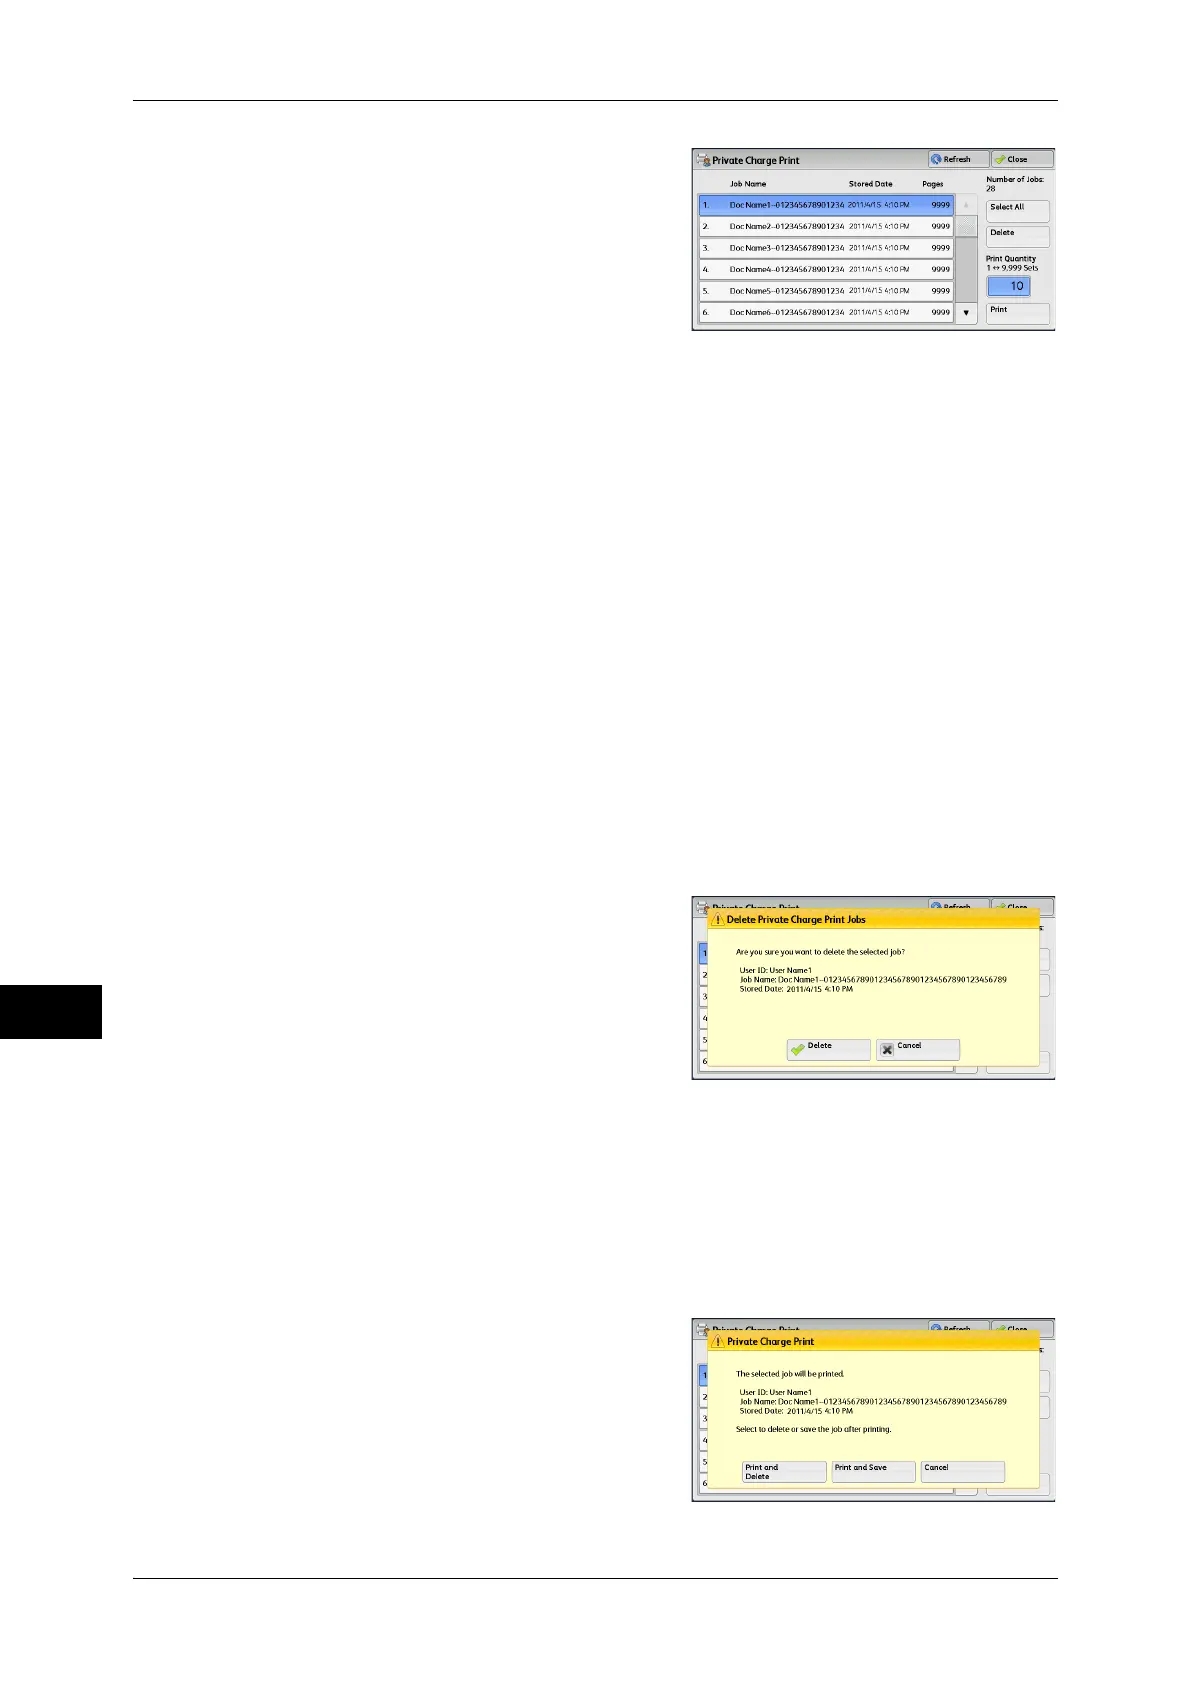
4 Select the job to be printed or deleted.
Note • You can select up to 100 files
simultaneously to print or delete the files.
If you select multiple files, they are printed
in the selected order.
5 Select any option.
6 When printing, specify the number of print sets using the numeric keypad.
Select All
Selects all jobs. To deselect all the jobs, select this button again.
Delete
Deletes the Private Charge Print job.
Note • If jobs with the same user ID are all deleted, the user ID will be deleted.
Refer to "When [Delete] is Selected" (P.354).
Print Quantity
Specify the number of print sets using the numeric keypad.
Print
Prints the Private Charge Print job. After printing, the job is deleted.
Refer to "When [Print] is Selected" (P.354).
When [Delete] is Selected
1 Select [Delete].
Delete
Deletes the job.
Important • Once the job is deleted, it cannot be restored.
Cancel
Cancels deleting the job.
When [Print] is Selected
1 Specify how to process the job after printing.
Note • The screen as shown on the right does
not appear if [Print Job Confirmation
Screen] is set to [Disabled] in the System
Administration mode. If [Disabled] is
selected, the machine automatically
deletes the job after printing without
displaying the confirmation screen. For
more information, refer to "5 Tools" >
"Stored File Settings" > "Print Job Confirmation Screen" in the Administrator Guide.
 Loading...


