13
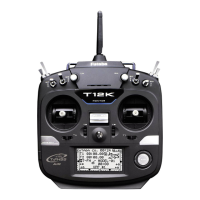
LINKING PROCEDURE
link is made, the ID code is stored in the receiver and no further linking is necessary unless the receiver is to
be used with another transmitter. In the case of this T6J transmitter/receiver set, the linking has already been
completed at the factory. However, it is always a good safety precaution to perform this linking procedure
once again, regardless.
existing transmitter. In order to do so, follow the procedure below:
1) Place the transmitter and the receiver close to one another. Generally speaking, as long as the transmitter
2) Turn on the transmitter.
3) Check the LED that is located on the face of the T6J transmitter. When the blue LED is on, and solid (no
blinking), the RF signal is being transmitted.
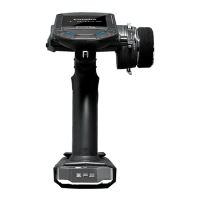
4) With power connected to the receiver turn on the receiver. The LED
on the face of the receiver will begin blinking.
switch on the receiver for more than one second. At this point, the
receiver/transmitter will start the linking operation.
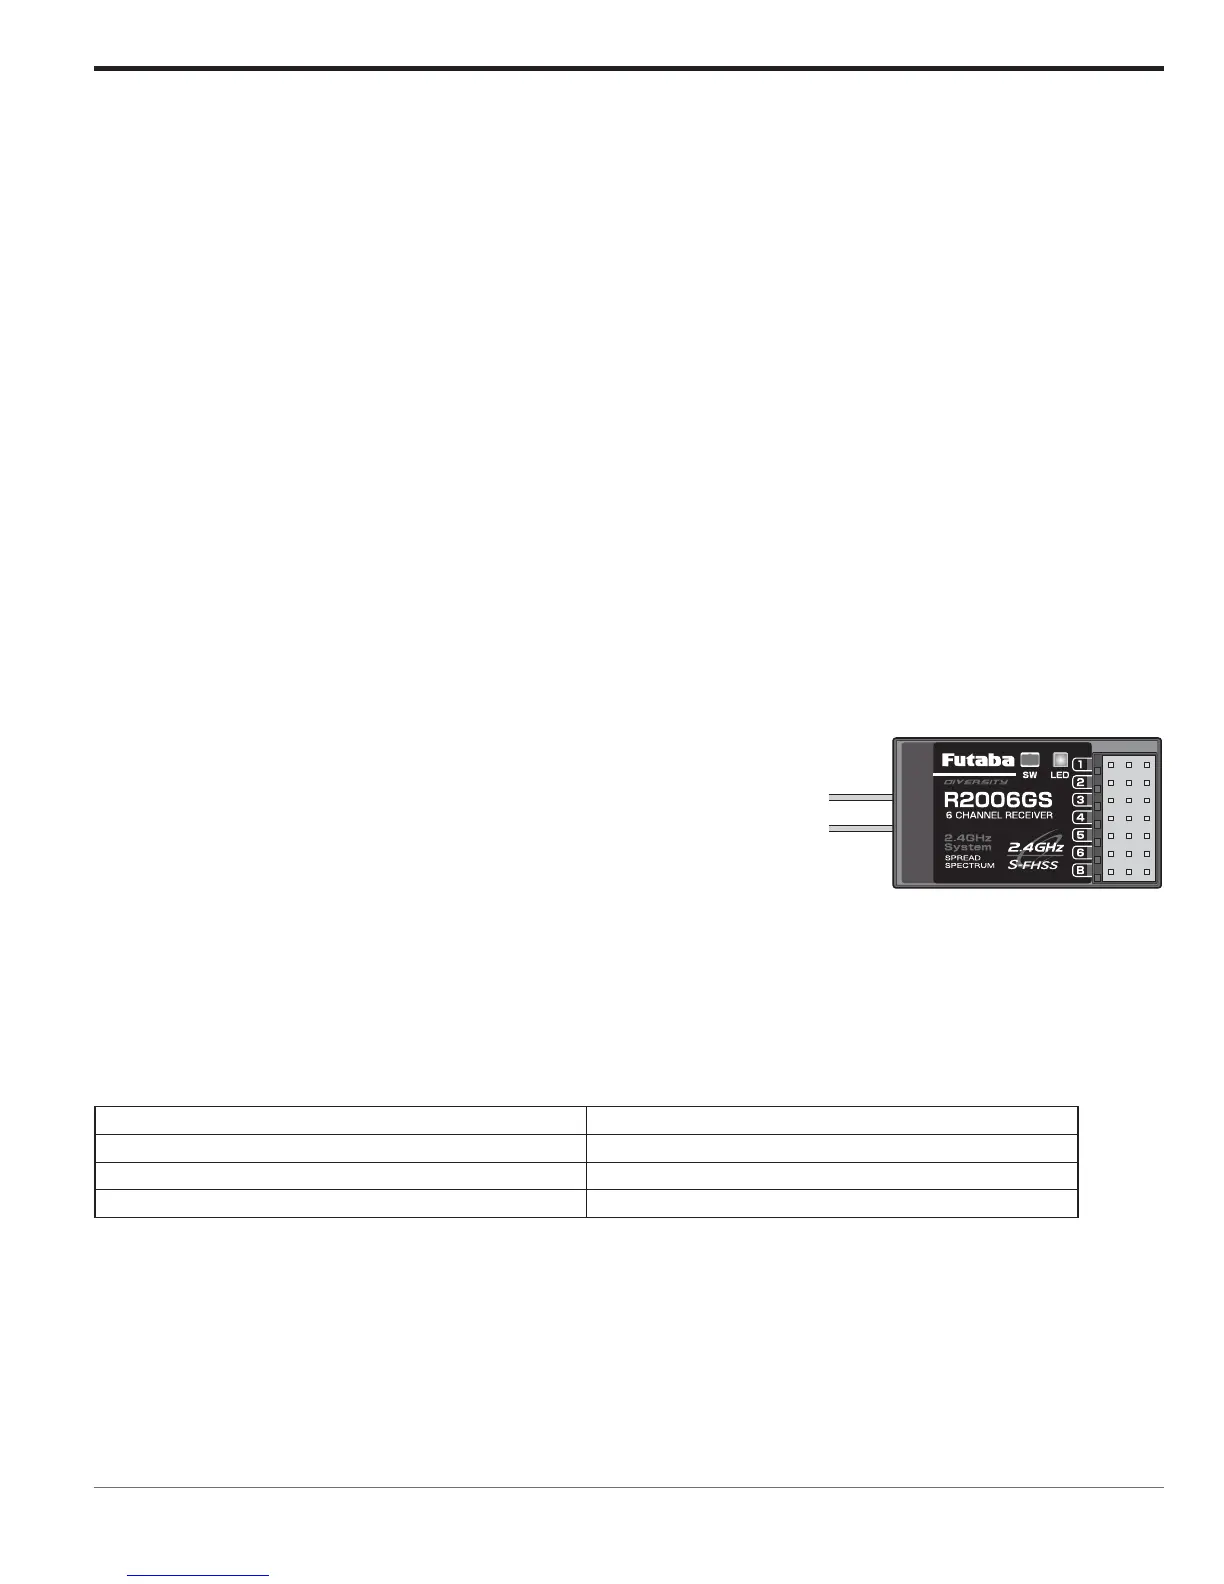
the servos will now operate by your transmitter. Please refer to the table below for the LED status of the
No signal reception Red: On
Receiving signals Green: On
Receiving signals, but ID is unmatched Green: Blink
Unrecoverable failure (EEPROM, etc.) Red and Green turn on alternately
 Loading...