15
Connecting the AC adapter
www.gateway.com
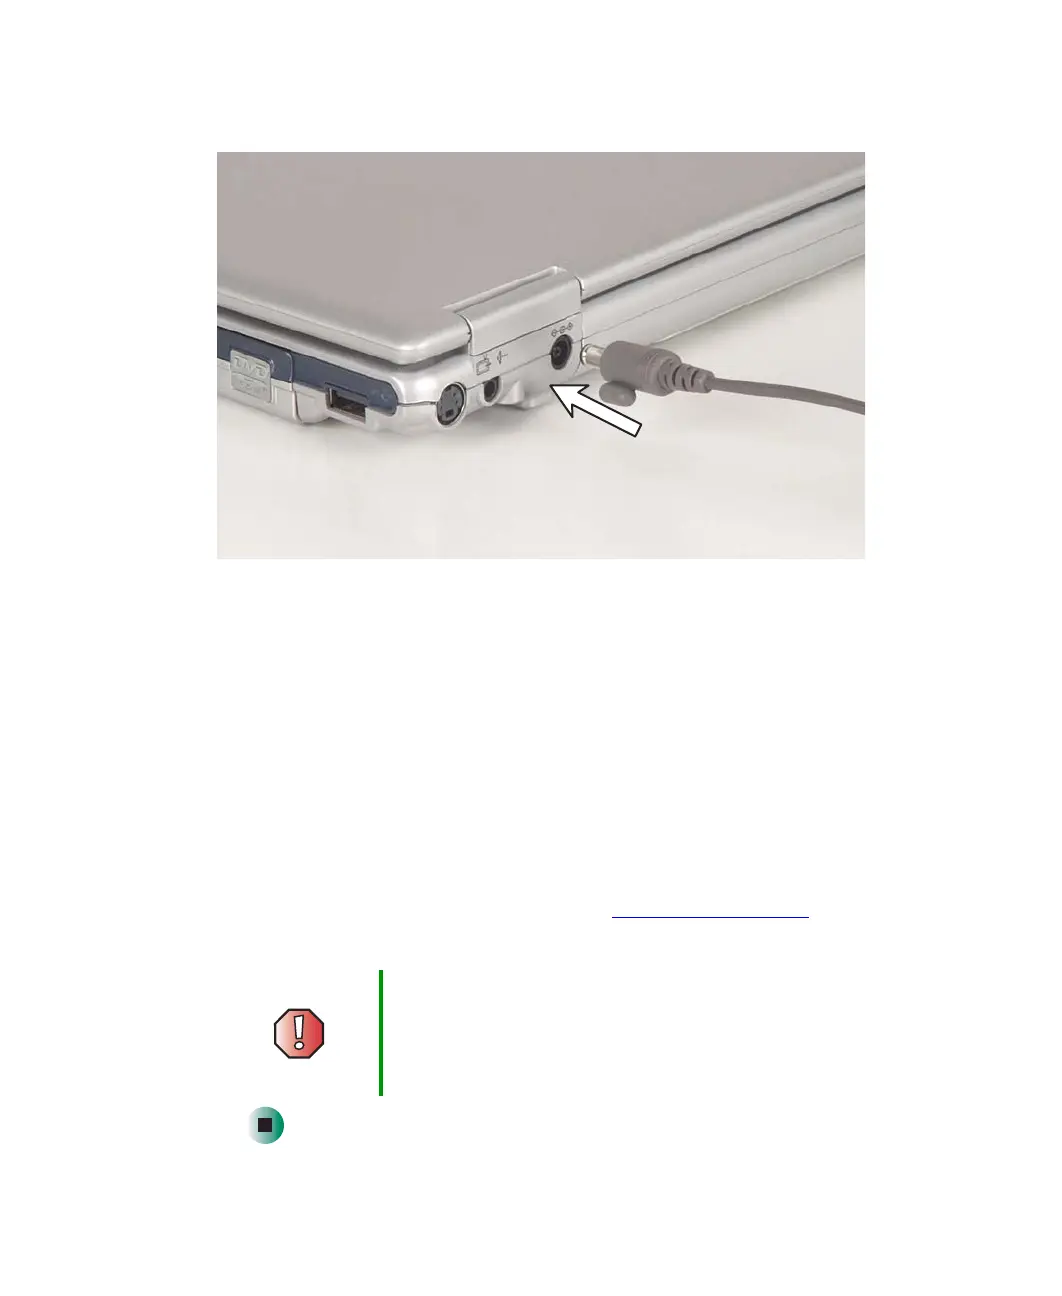
2 Connect the AC adapter to your notebook’s power connector.
3 Plug the power cord into a wall outlet.
The battery charge indicator turns on (see “Front” on page 2 for the
location of the battery charge indicator). If the battery charge indicator
does not turn on, unplug the adapter from your notebook, then plug it
back in.
4 When you finish using your notebook for the first time, turn your
notebook off and leave your notebook connected to AC power for at least
24 hours. The battery charge meter may not show a charge for several
hours. For more information about the battery charge meter on your
model, see “Monitoring the battery charge” on page 156.
5 If the battery charge meter does not show a full charge after 24 hours,
contact Gateway Technical Support at support.gateway.com
, then click
Contact Us.
Warning Do not attempt to disassemble the AC adapter. The
AC adapter has no user-replaceable or user-serviceable
parts inside. The AC adapter has dangerous voltages that
can cause serious injury or death. Contact Gateway about
returning defective AC adapters.