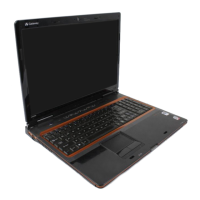
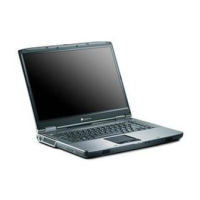
CHAPTER 3: Replacing notebook components
72
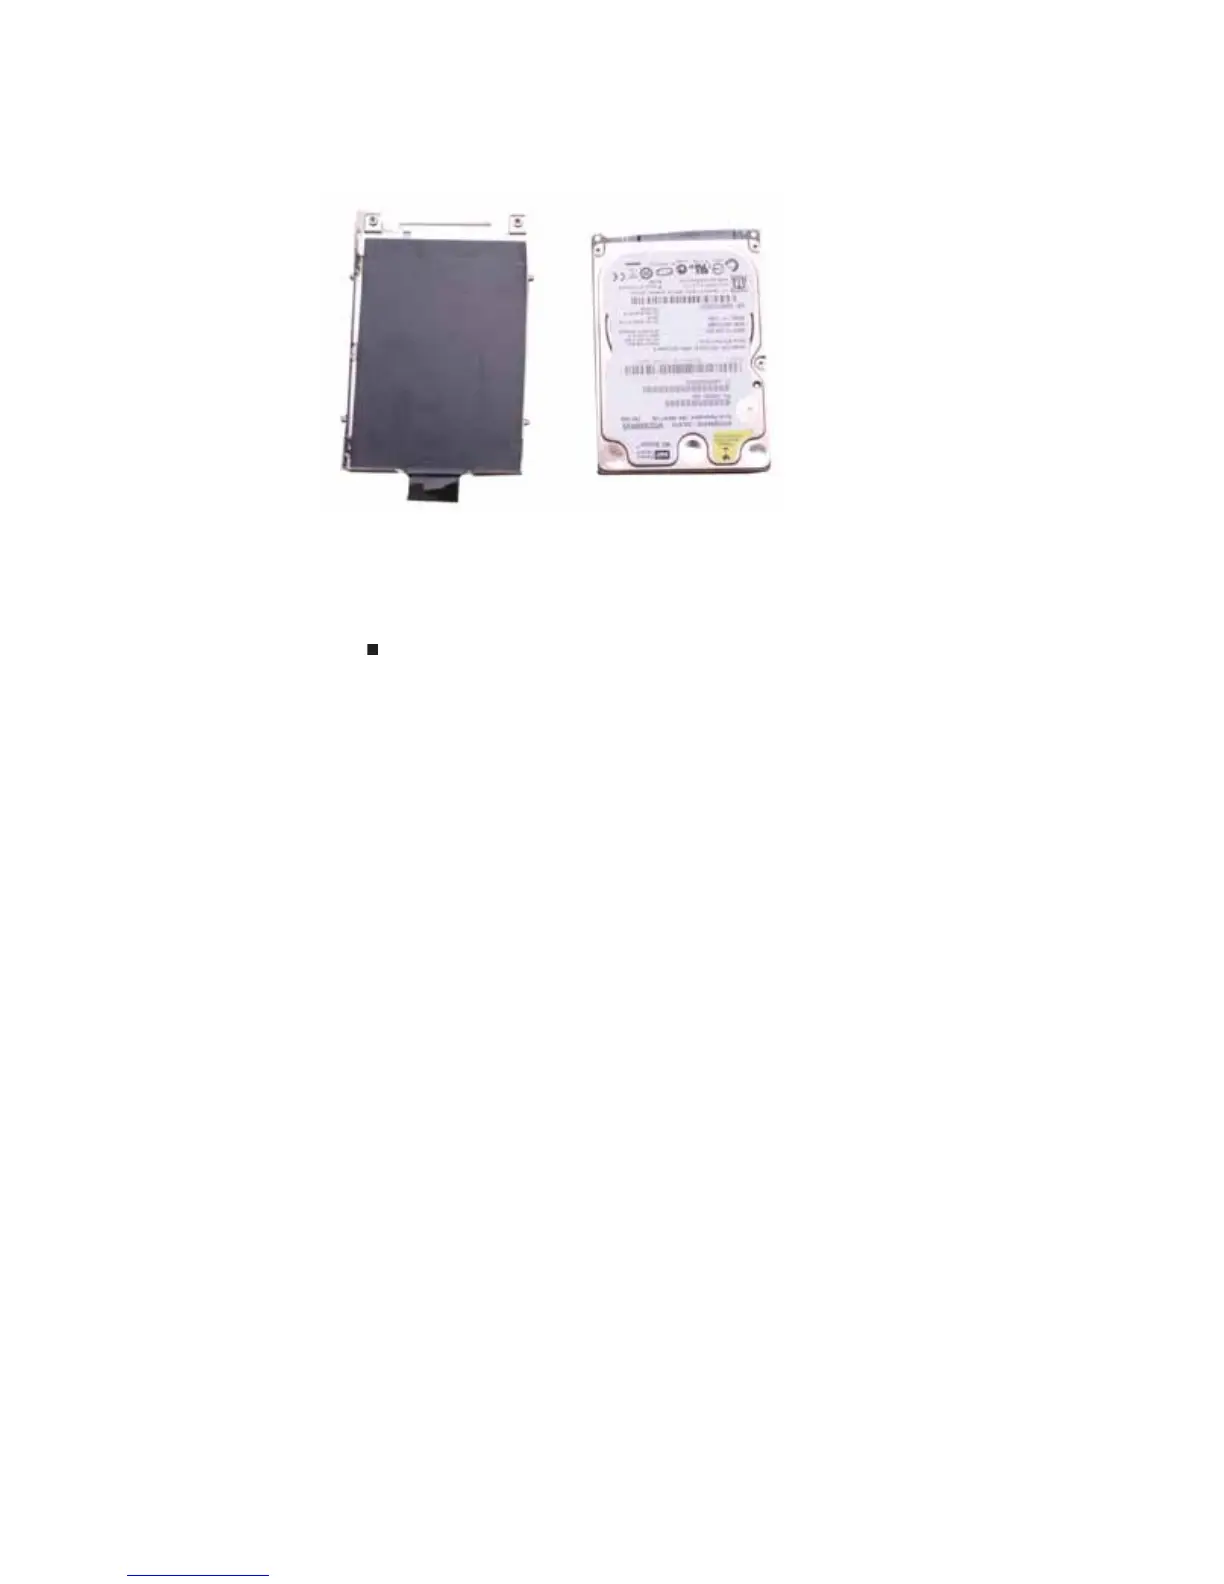
7 Remove the bracket from the old drive.
8 Insert the new drive label side up onto the bracket so the screw holes line up.
9 Replace the screws that secure the bracket to the drive.
10 Slide the new hard drive kit into your notebook.
11 Replace the cover, then tighten the screws.