77 232001250G(06)
INSTALLATION / OPERATION (Cutting Box and Honeycomb Table):
1) Open the front pass-through door and lower the X380’s worktable to the lowest possible position through
the X380 control panel.
2) Insert the cutting box and attached honeycomb table through the open front pass-through door onto the
worktable, with the air extraction opening facing towards the back end of the X380. Ensure the rear and
left side of the cutting box is aligned flush to the edges of the left and right rulers on the worktable.
3) Open the honeycomb table to find the four screw holes at the bottom of the cutting box. With the included
thumbscrews, secure the cutting box to the work table and close the honeycomb table.
4) [OPTIONAL] If you have an air extraction system option installed, then you will need to attach the air
extraction system’s pipe connector to the SmartBOX’s air extraction opening from the X380’s rear side.
(For detailed instructions to setup the air extraction system, please see the AIR EXTRACTION UNIT
section in section 7.1).
Congratulations, you are now ready to position your thin, flexible materials on top of your honeycomb table /
cutting box and start working.
INSTALLATION / OPERATION (Cutting Box and Material Support Stands):
1) In order to use the cutting box along with the material support stands, you must first remove the
honeycomb table from the cutting box. Before you position the cutting box in the LaserPro X380, first
unscrew the screws that attach the hinges of the honeycomb table to the cutting box.
2) Remove the honeycomb table. Please keep in mind the honeycomb table surface is fragile; therefore, it is
suggested to keep it in a safe place.
3) Open the front pass-through door and lower the LaserPro X380’s worktable to lowest possible position
through the X380 control panel.
4) Insert the cutting box through the open front pass-through door onto the worktable, with the air extraction
opening facing towards the back end of the LaserPro X380. Ensure the rear and left side of the cutting
box is aligned flush to the edges of the left and right rulers on the worktable.
5) Find the four screw holes at the bottom of the cutting box. With the included thumbscrews, secure the
cutting box to the worktable.
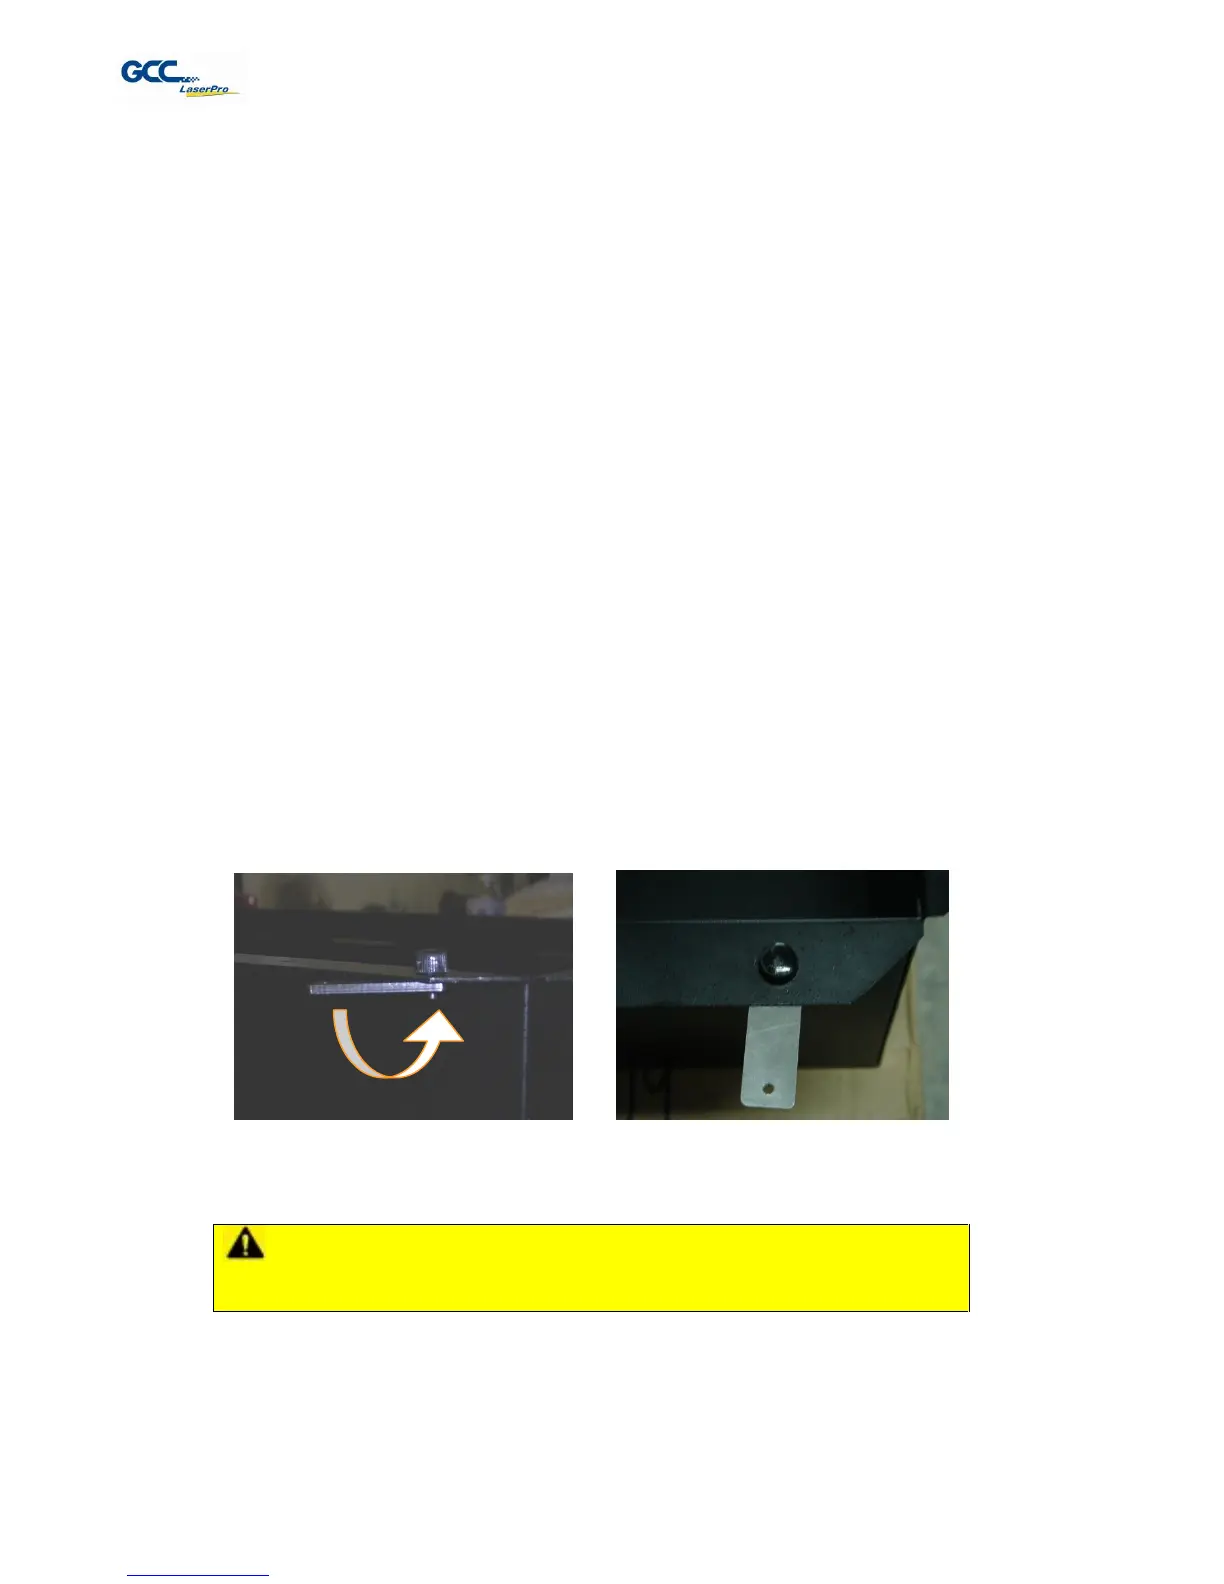
6) On the front right hand side of the cutting table, there will be a metal guard, which must be swiveled so that
it is perpendicular to the front side of the cutting table (as shown in the picture below). This allows the
LaserPro X380 to properly account for the extra height the cutting table adds to the cutting table.
 Loading...


