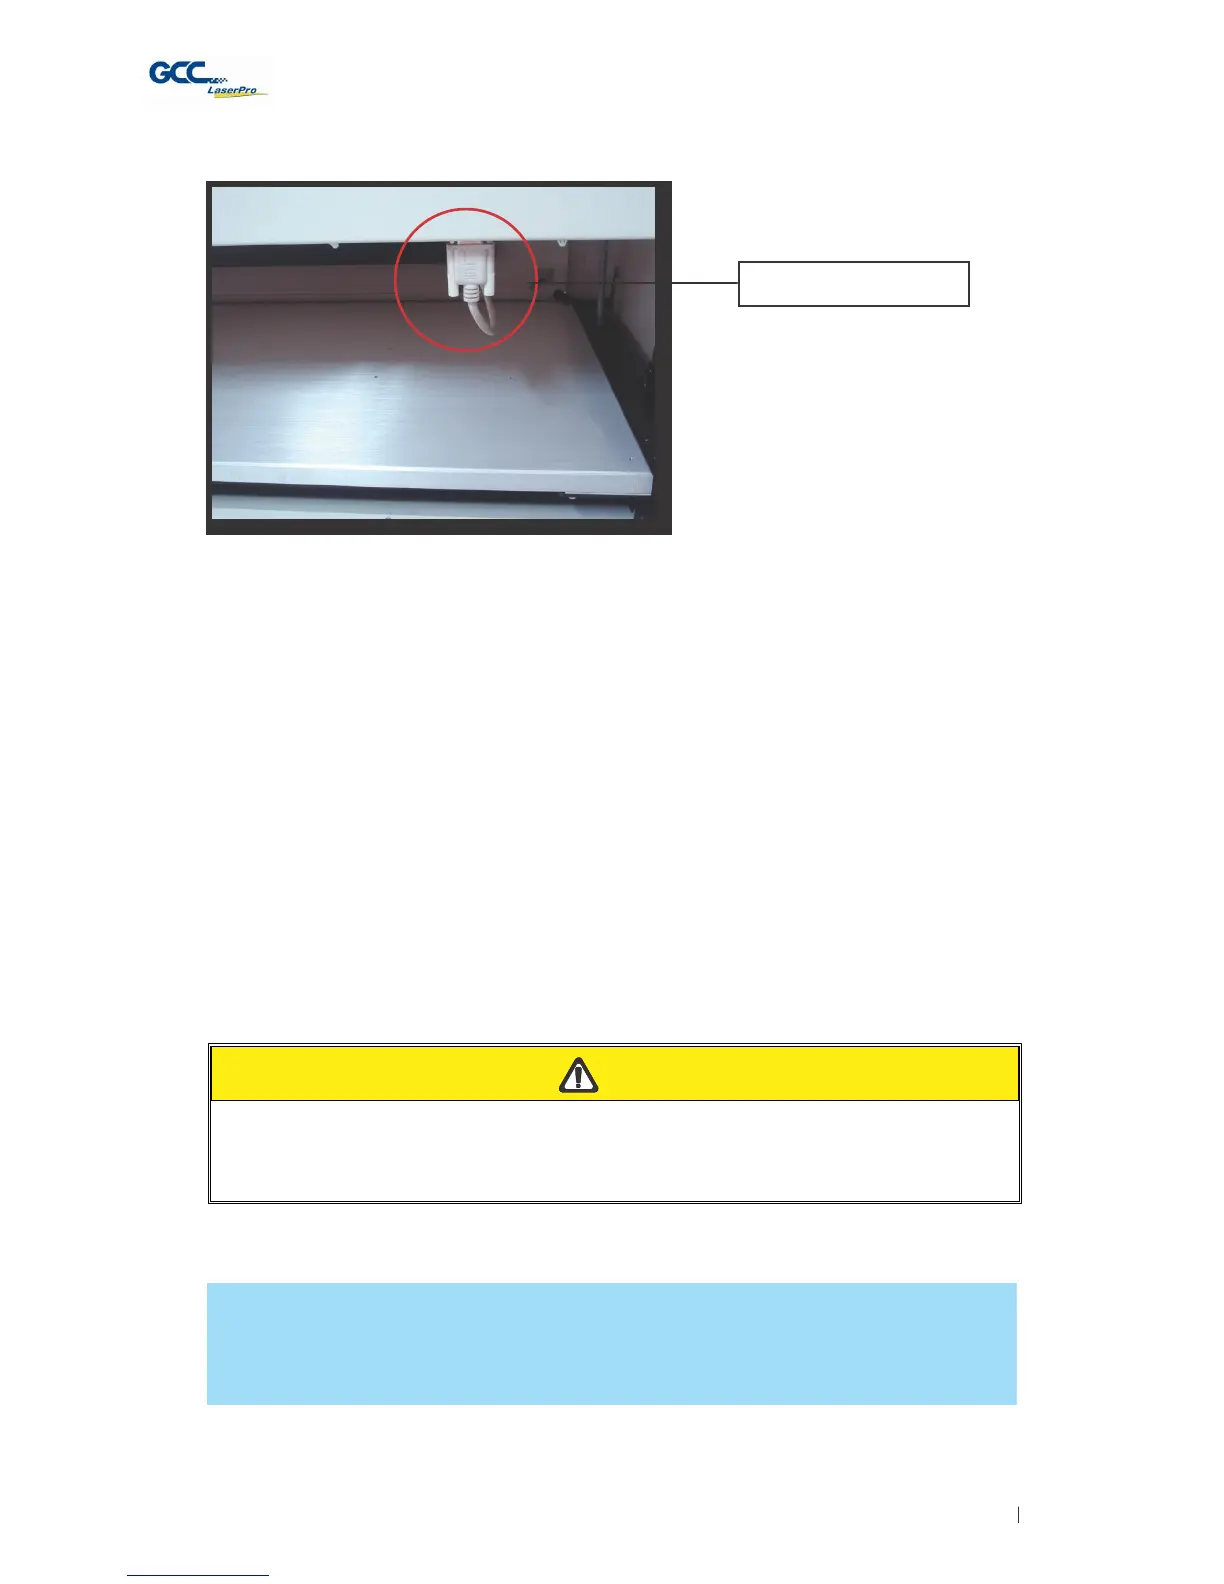
Rotary Attachment Port
5) Close the front panel.
6) The rotary attachment is now properly installed. Power on the Spirit and the rotary
attachment will be automatically detected and the engraving table will automatically move to its
lowest position.
7) Despite the dummy-proof installation design, please ensure that the device is installed correctly
before turning on the machine
OPERATION:
1) Use a ruler to measure the diameter (at the point on the work piece you will be engraving) and
length of the work piece you will be engraving. Make a record of this.
2) Load the work piece onto the rotary attachment by first listing the lever on the rotary
attachment, unlocking the adjustable end of the rotary attachment. Slide the adjustable end to
accommodate the length of the work piece. Load the working piece by centering the open end
of the work piece against the rubber wheel and slide the adjustable end to fit the bottom of
work piece firmly. Now simply lower the lever to secure the work piece with the rotary
attachment.
C
A
UTION
If your work piece is small, please apply 4" focal lens for operation to prevent the lens
carriage from colliding with the rotary attachment.
3) Prepare the graphic you would like to engrave with the rotary attachment and go to the Paper
Page of the Spirit print driver.
NOTE
Please refer to section 5.2 of the reference manual for complete instructions on how to use
the Spirit's Print Properties.
4) From the Paper Page, the first thing you must do is to check the Rotary Fixture. The Paper
Size options and Rotary Parameter will change to allow for proper input based on your rotary
attachment.