- 85 - 232001250G(06)
6) Replace and secure the outer access panel.
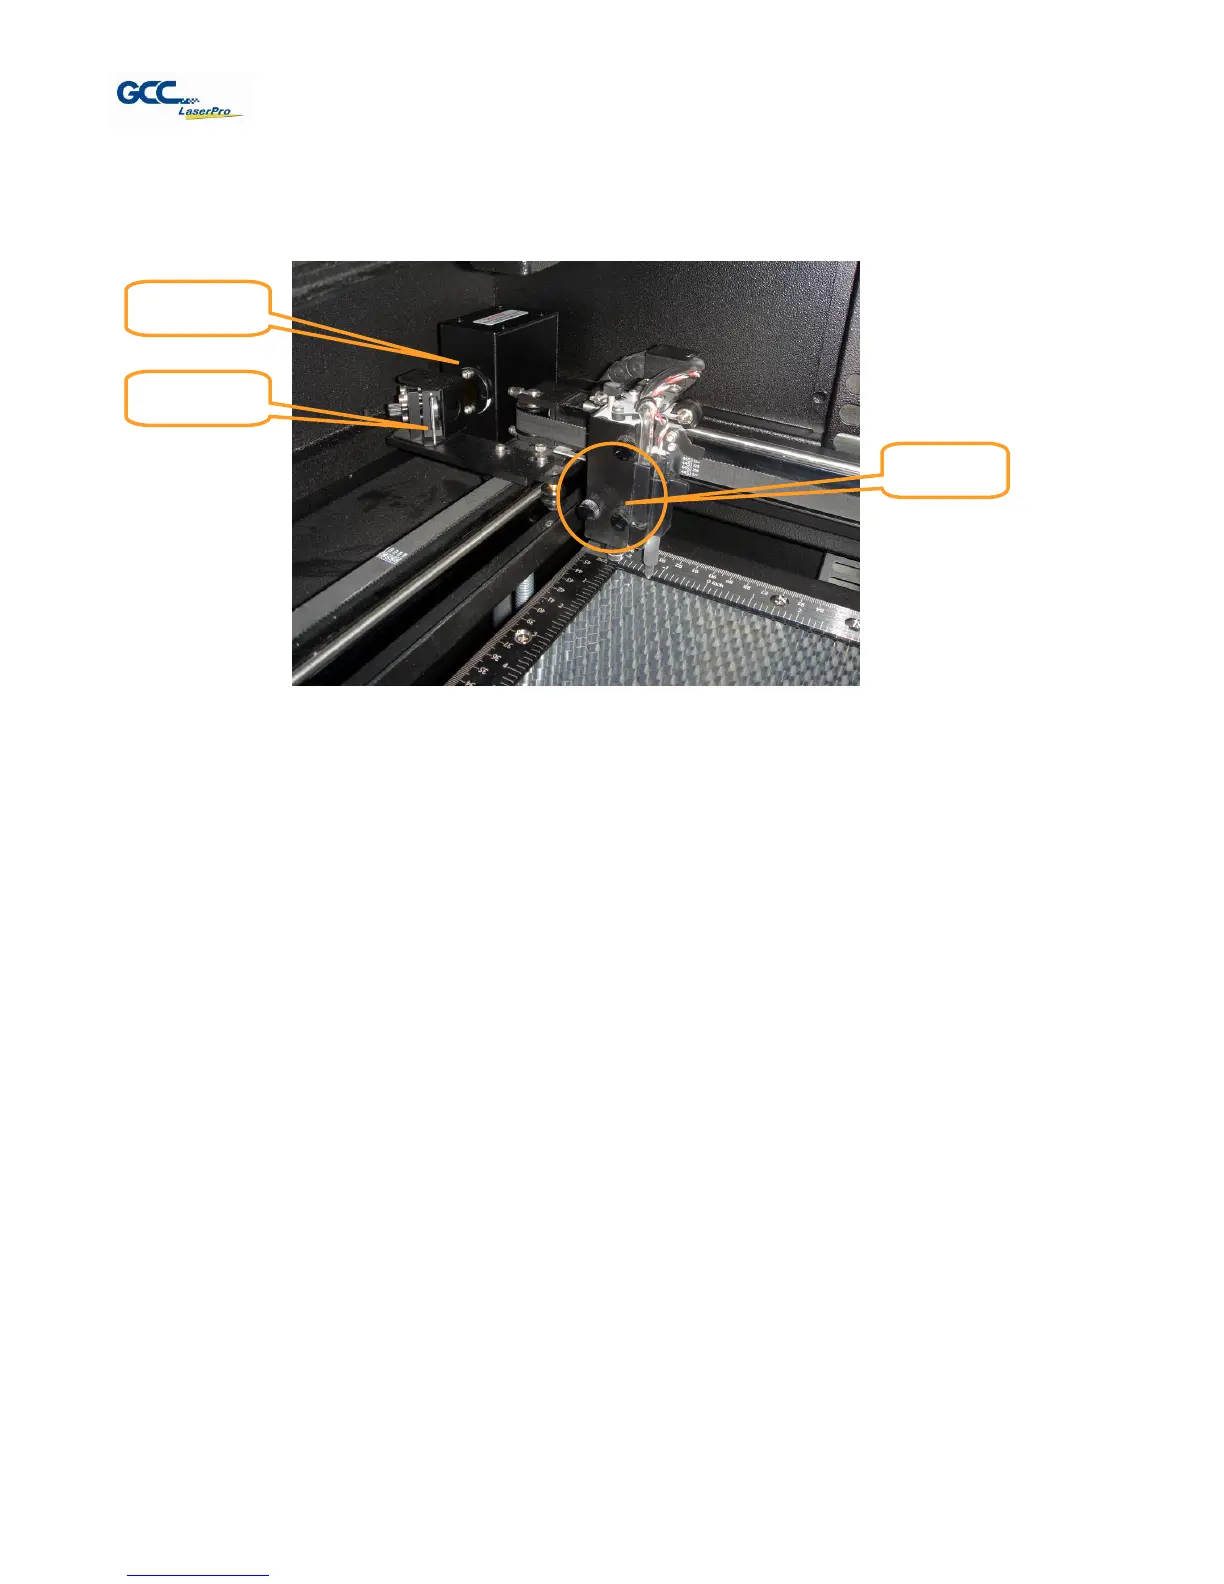
Mirror 2, 3, 4
These mirrors are located in the worktable area of the LaserPro X380.
Mirror 2
1) Unscrew and remove the black dust cover covering mirror 2.
2) Unscrew the thumbscrew holding mirror 2 in place.
3) Clean the lens in the proper manner.
4) Re-install mirror 2 after cleaning.
5) Tighten the thumbscrew.
6) Replace and secure the black dust cover.
Mirror 3
1) Unscrew the thumbscrew holding mirror 3 in place.
2) Clean the lens in the proper manner.
3) Re-install mirror 3 after cleaning.
4) Tighten the thumbscrew.
Mirror 4
1) Unscrew the three thumbscrews (front face of the laser head) securing the laser carriage
panel and remove the laser carriage panel to reveal mirror 4 and the focal lens.
2) Loosen the top thumbscrew to remove mirror 4 (as shown in the picture below).
 Loading...


