GE HEALTHCARE
D
IRECTION 5305880-100, REVISION 3 LOGIQ™ 100 PRO SERVICE MANUAL
Page 8-20 Section 8-6 - Fan Assembly
Section 8-6 Fan Assembly
8-6-1 Disassembly/Assembly of Fan
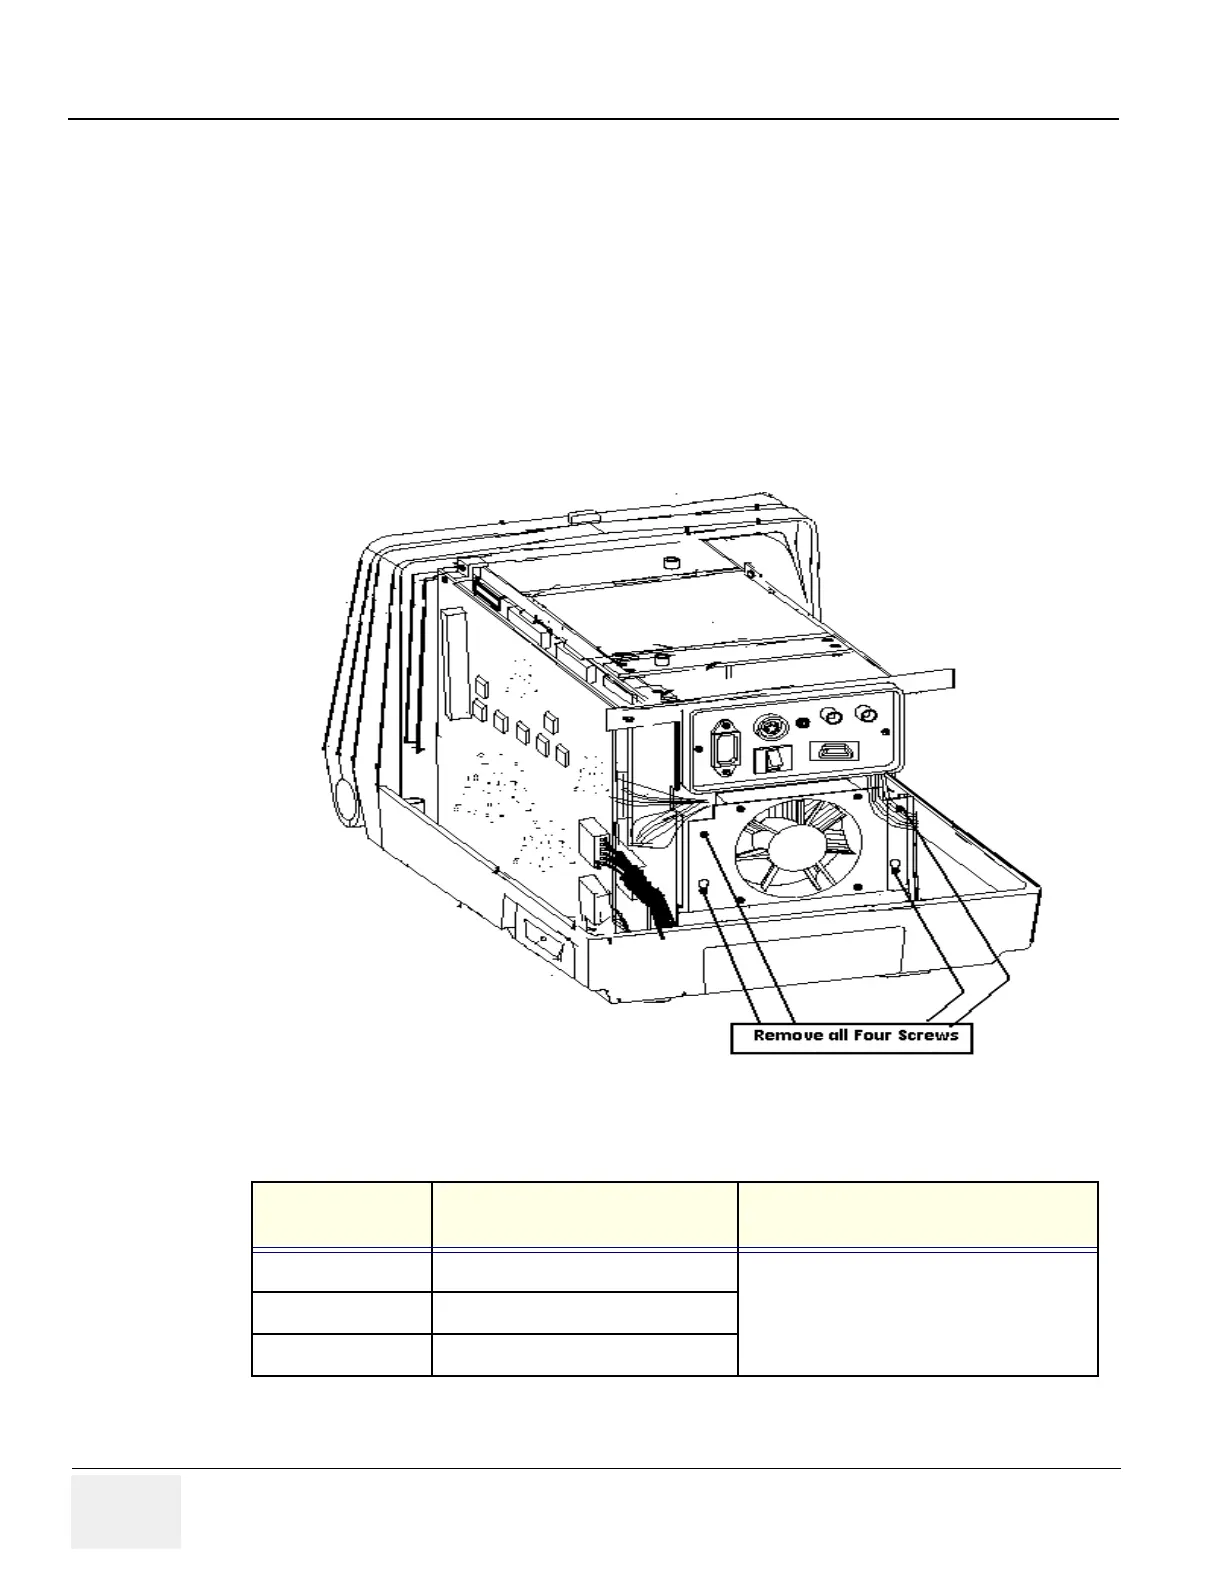
Follow steps below and refer Figure 8-12. For FRU Details refer
1.) Remove Top Cover. Refer 8-2.
2.) Remove 2 screws (a,d) and loosen screws b,c from the chassis.
3.) Remove the connector (e) on the power distributor board which is connected to the fan.
4.) Remove Fan assembly from the unit.
5.) For assembly follow the reverse order.
.
Figure 8-12 Disassembly/Assembly of Fan
Service Manual
Section
Functional Test/ Diagnostic Test Debrief Script
4-2-1 Power ON/ Boot up
Service manual direction 5305880-100,
Section 8-6-1.Equipment passed all
required tests and is ready for use.
4-2-1 Power OFF/ Shut down
4-3 Functional Checks
Table 8-9 Functional tests
State: RELEASE - Document is released and under formal Change Control. Changes are subject to the ECR/ECO Process.
See the GEHC Myworkshop System to determine the status of this document.
Approved Document - 5305880-100TPH_r3.pdf Page 149 of 197
 Loading...


