GE HEALTHCARE
D
IRECTION 5305880-100, REVISION 3 LOGIQ™ 100 PRO SERVICE MANUAL
Chapter 8 - Replacement Procedures Page 8-25
Section 8-10 Chassis
8-10-1 Disassembly/Assembly of Chassis.
Follow steps below and refer 8-16
1. Remove Top Cover. Refer 8-2. For FRU Details refer 9-1-12
2. Remove Front Panel. Refer 8-4-1
3. Remove Monitor Assembly. Refer 8-4-2
4. Remove PCBs. Refer 8-5
5. Remove the fan. Refer 8-6.
6. Remove the rear panel. Refer 8-8
7. Remove Power Supply. Refer 8-7-1
8. Remove HV Power Supply. Refer 8-9
9. Remove the chassis by removing eight screws (a,b,c,d,e,f,g,h) on the base.
10. For assembly follow the reverse order.
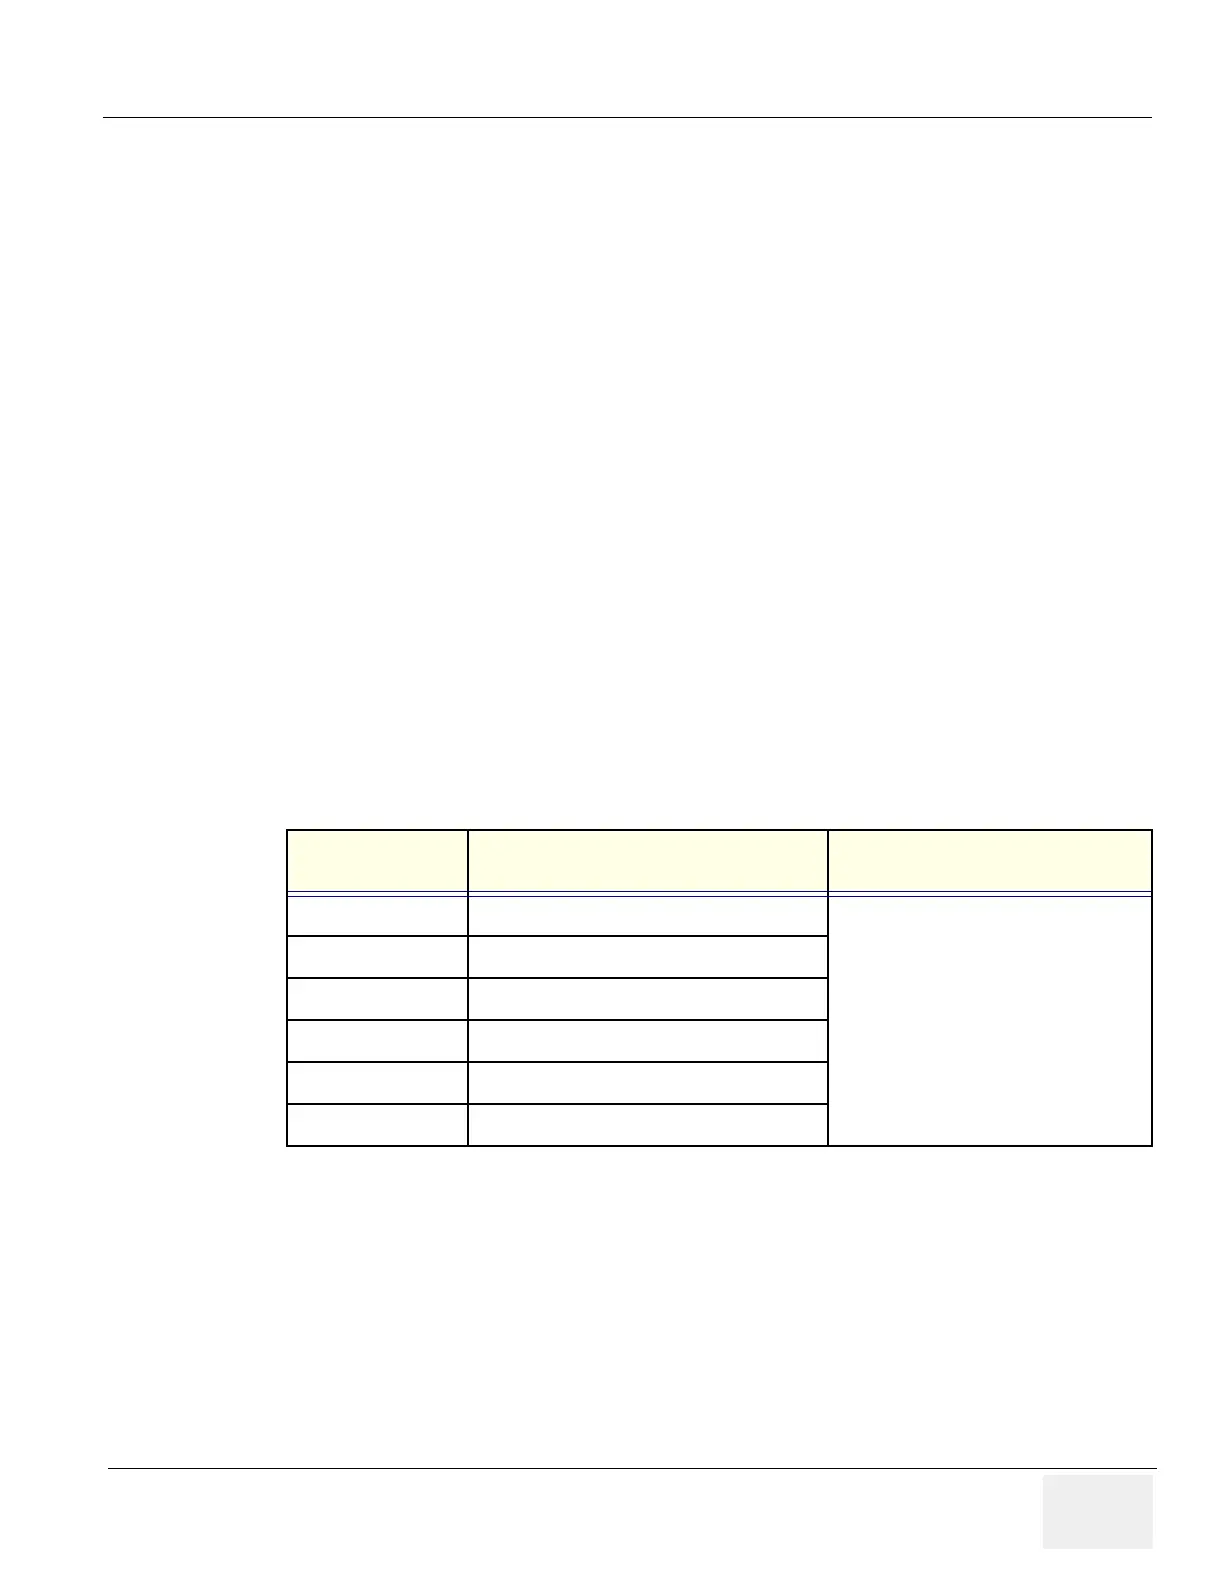
Table 8-13 Functional tests
Service Manual
Section
Functional Test/ Diagnostic Test Debrief Script
4-2-1 Power ON/ Boot up
Service manual direction 5305880-
100, Section 8-10-1.Equipment
passed all required tests and is ready
for use.
4-2-1 Power OFF/ Shut down
4-3 Functional Checks
7-2 Diagnostics tests
4-5 Software Configuration checks
4-6 Peripheral checks
State: RELEASE - Document is released and under formal Change Control. Changes are subject to the ECR/ECO Process.
See the GEHC Myworkshop System to determine the status of this document.
Approved Document - 5305880-100TPH_r3.pdf Page 154 of 197
 Loading...


