EasyManuals Logo

GE LOGIQ E9 Service Manual

GE LOGIQ E9
808 pages
To Next Page IconTo Next Page
To Previous Page IconTo Previous Page
Page #430 background imageLoading...
Page #430 background image
GE
D
IRECTION 5535208-100, REV. 2 LOGIQ E9 SERVICE MANUAL
8 - 84 Section 8-5 - Replacing Covers and Bumpers
8-5-21 Bulkhead Cover replacement
8-5-21-1 Manpower
One person, 15 minutes.
8-5-21-2 Tools
No tools are needed to replace the Bulkhead Cover.
8-5-21-3 Preparations
When preparing for the replacement, you must perform the following steps:
1.) Power down the system.
2.) Disconnect the mains power cable from the wall outlet.
3.) Disconnect all Probes and External I/O Cabling.
Follow this link if you need more information:
4-2-3 "Power shut down" on page 4-7.
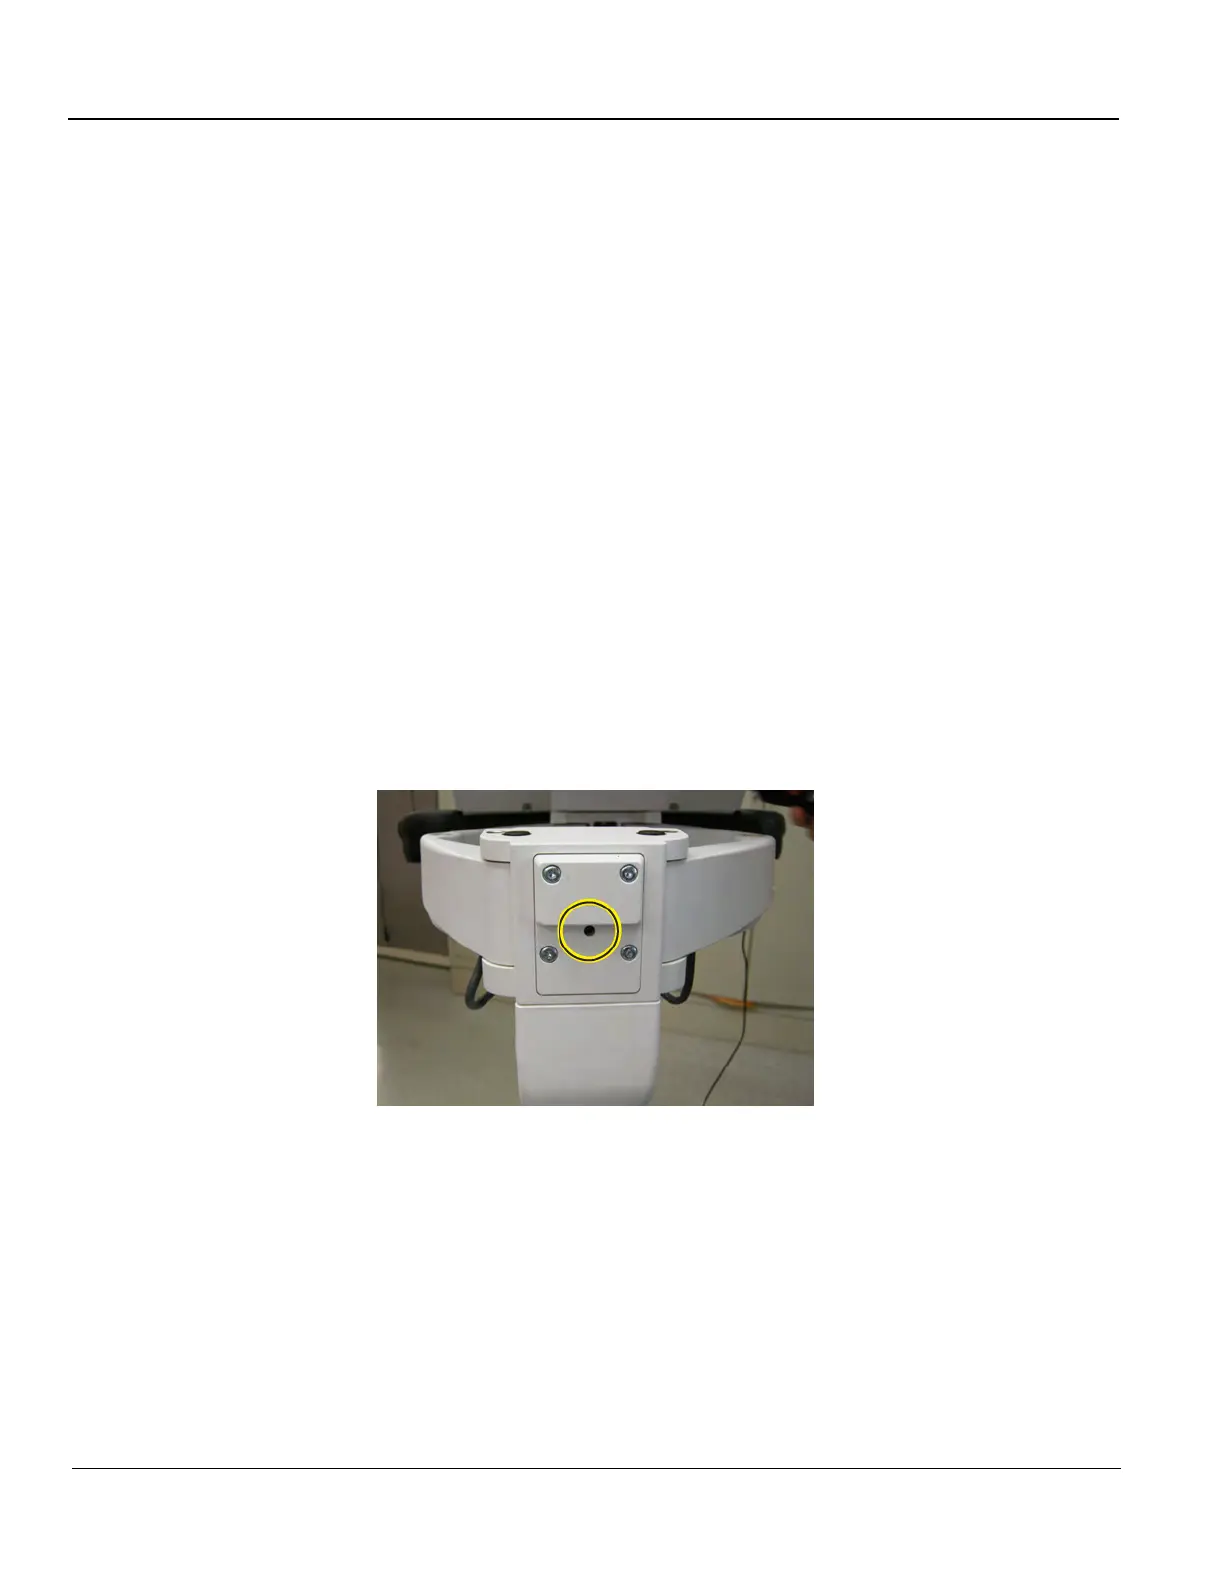
8-5-21-4 Bulkhead Cover removal
1.) At the rear of the system, release the console’s frogleg mechanism by inserting a screwdriver into
the release point and pressing until release. Pull the console out to its extended position to gain
access to the screws in the next step.
Figure 8-38 XY / Frogleg mechanism release

Table of Contents

Other manuals for GE LOGIQ E9

Questions and Answers:

Question and Answer IconNeed help?

Do you have a question about the GE LOGIQ E9 and is the answer not in the manual?

GE LOGIQ E9 Specifications

General IconGeneral
TypeUltrasound System
3D/4D ImagingYes
Transducer Ports4 active ports
ConnectivityDICOM, USB, Ethernet
ApplicationsAbdominal, Vascular, Musculoskeletal, Small Parts, Urology, Pediatric, Cardiac, Obstetrics/Gynecology
TransducersLinear, Convex, Phased Array, Volume
Doppler ModesColor Doppler, Power Doppler, Pulsed Wave Doppler, Continuous Wave Doppler
ElastographyYes
Advanced FeaturesB-Flow, Volume Navigation
PortabilityCart-based system
Display19-inch high-resolution LCD monitor

Related product manuals