GE
D
IRECTION 5535208-100, REV. 2 LOGIQ E9 SERVICE MANUAL
Chapter 8 Replacement procedures 8 - 125
8-6-5-1 WLAN removal
NOTE: It is not necessary to remove the LCD Monitor or the LCD Arm.
8-6-5-2 WLAN installation
Table 8-79 WLAN removal
Steps
1. Remove the rear cover of LCD monitor.
For easy access, tilt the LCD Monitor forward to horizontal position.
NOTE: You CANNOT fully remove the cover unless the LCD is tilted forward to the horizontal
position.
2. To remove the dongle, slightly lift up the end to disengage the Velcro, then pull the dongle out of
the USB port.
Table 8-80 WLAN installation
Steps Corresponding Graphic
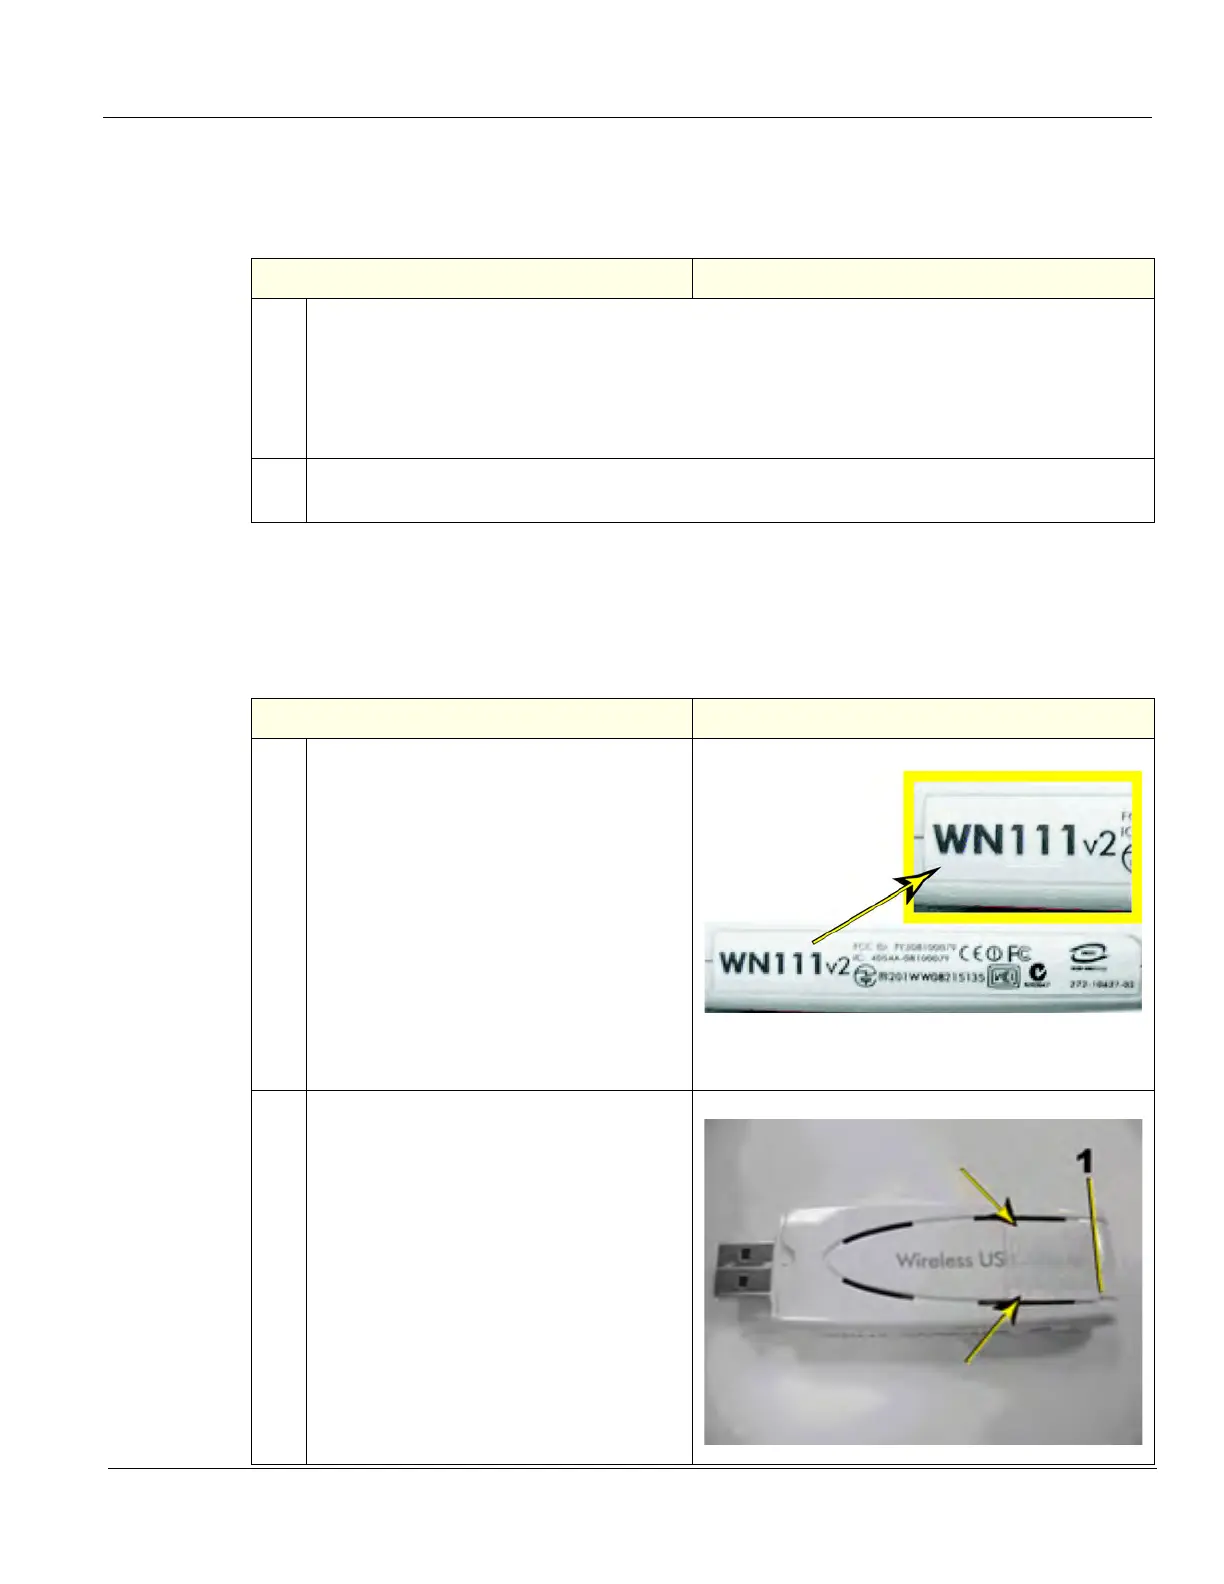
1. NETGEAR USB dongle WN111 is
identified with the following markings:
Remove the dongle from the Factory
packaging.
Remove the plastic cover from the dongle
and discard.
Remove the Velcro pieces from the Factory
packaging.
Discard all other items included in the
dongle packaging, only the dongle and
Velcro are required.
2. Choose a piece of Velcro with the Hook
“gender” (rigid piece). Remove the
adhesive protection strip and attach this
portion of the Velcro to the dongle on the
side WITHOUT the LED, at the orientation
and location as shown.
The outer edges of the Velcro have no
hooks. Attach the Velcro at this orientation,
to prevent covering up the vent holes. DO
NOT cover the vent holes.
Align the Velcro where the flat starts to
curve (1).