GE
D
IRECTION 5535208-100, REV. 2 LOGIQ E9 SERVICE MANUAL
8 - 126 Section 8-6 - Replacing Top Console Parts
3. Attach the opposite piece of the Velcro to
the “hook” side and remove the adhesive
protection strip, if the loop side of Velcro is
not present in the monitor.
NOTE: If this is a replacement WLAN
dongle, you do not need to attach this
opposite piece of Velcro if the opposite
piece is already attached to the LCD.
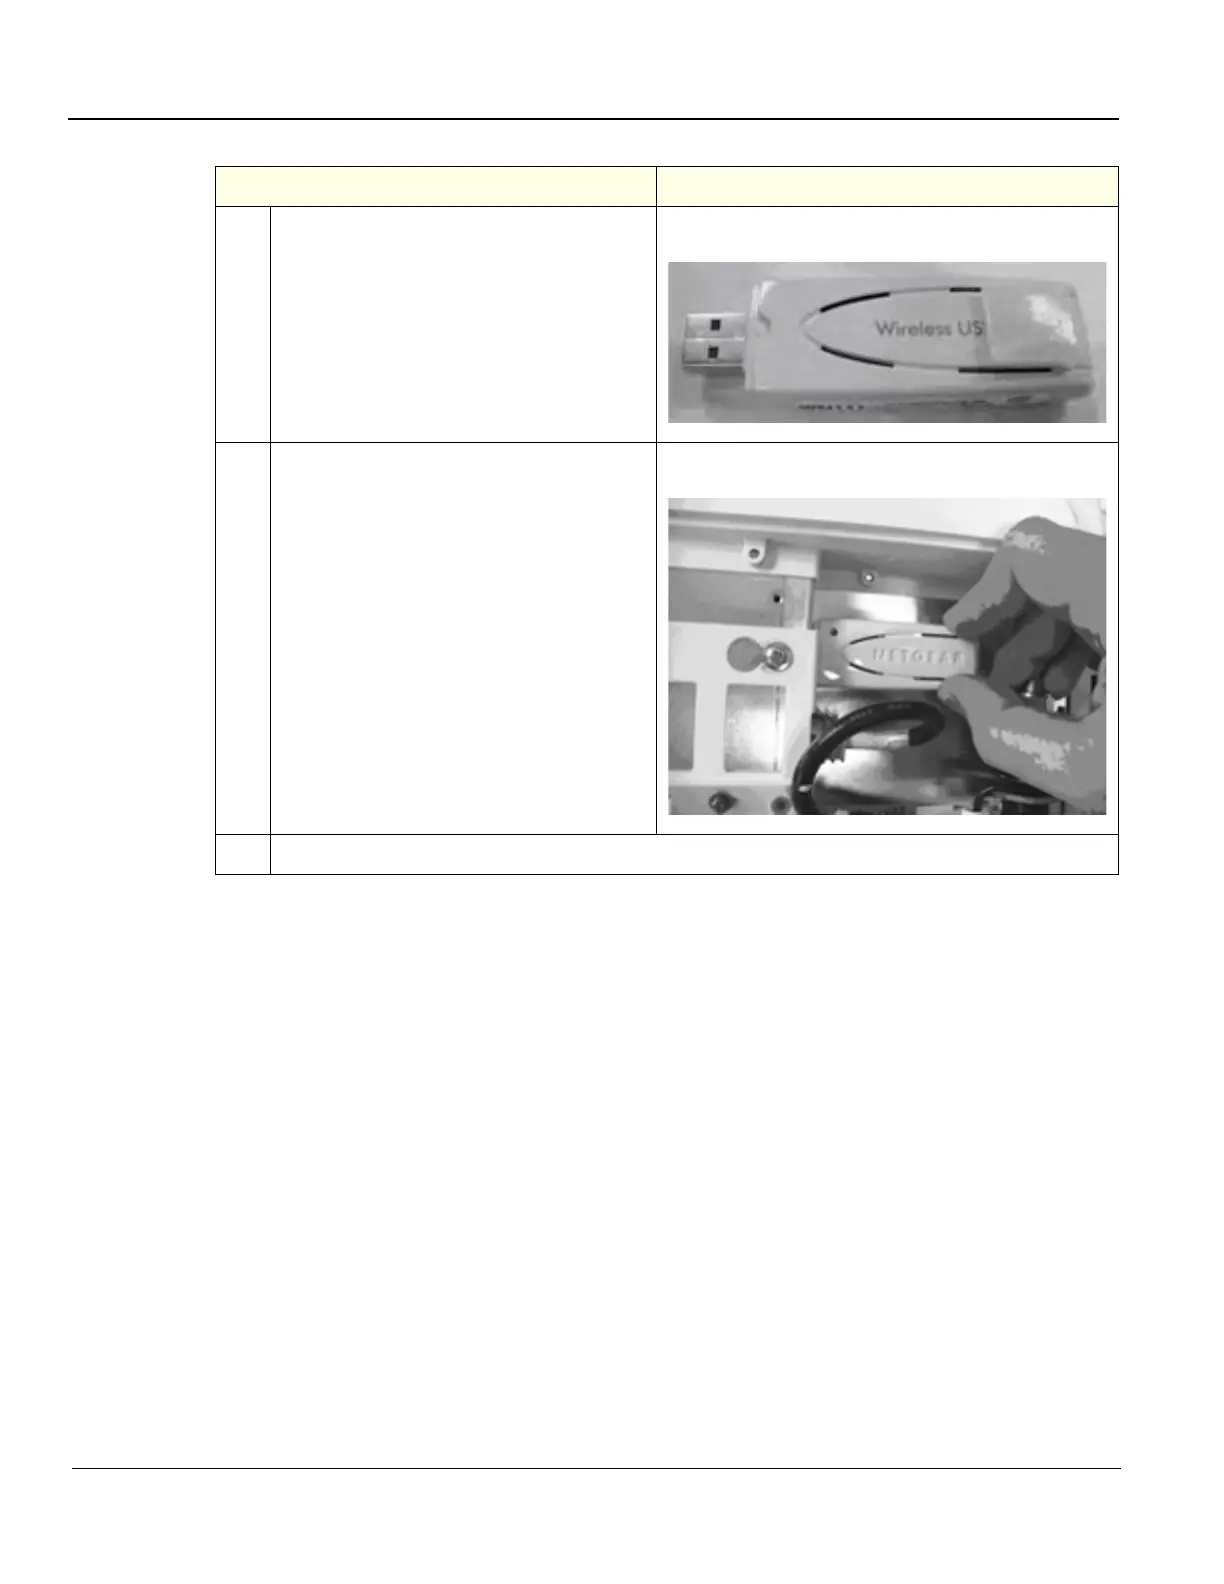
WLAN with opposite piece of Velcro attached
4. Install the WLAN dongle into the USB port;
lifting slightly, to prevent the adhesive from
attaching before the dongle is installed.
Once installed, push on the end of the
dongle, to adhere the adhesive.
NOTE: To remove the dongle, slightly lift up
the end to disengage the Velcro, then pull
the dongle out of the USB port.
WLAN Dongle installed
5. Reinstall the LCD monitor cover. Reboot the system.
Table 8-80 WLAN installation
Steps Corresponding Graphic
 Loading...