GE
D
IRECTION 5535208-100, REV. 2 LOGIQ E9 SERVICE MANUAL
Chapter 8 Replacement procedures 8 - 133
8-6-8-1 Upper OP Panel/Touch Panel Assembly removal (cont’d)
NOTE: The spacers (circled) on the back of the Upper Op Panel are not included with early FRUs
(these will be added to FRUs after product release). So, if you have to swap an Upper Op Panel,
take the spacers off of the old Op panel and swap them into the new one. If they are on so tightly
that you cannot take them off using your fingers, use a pair of pliers and rotate them back and
forth to work them off. These spacers prevent the Op panel from working past its mounting
surface and getting “sucked” too far into the upper frame, causing the Op panel to get twisted
and causing problems.
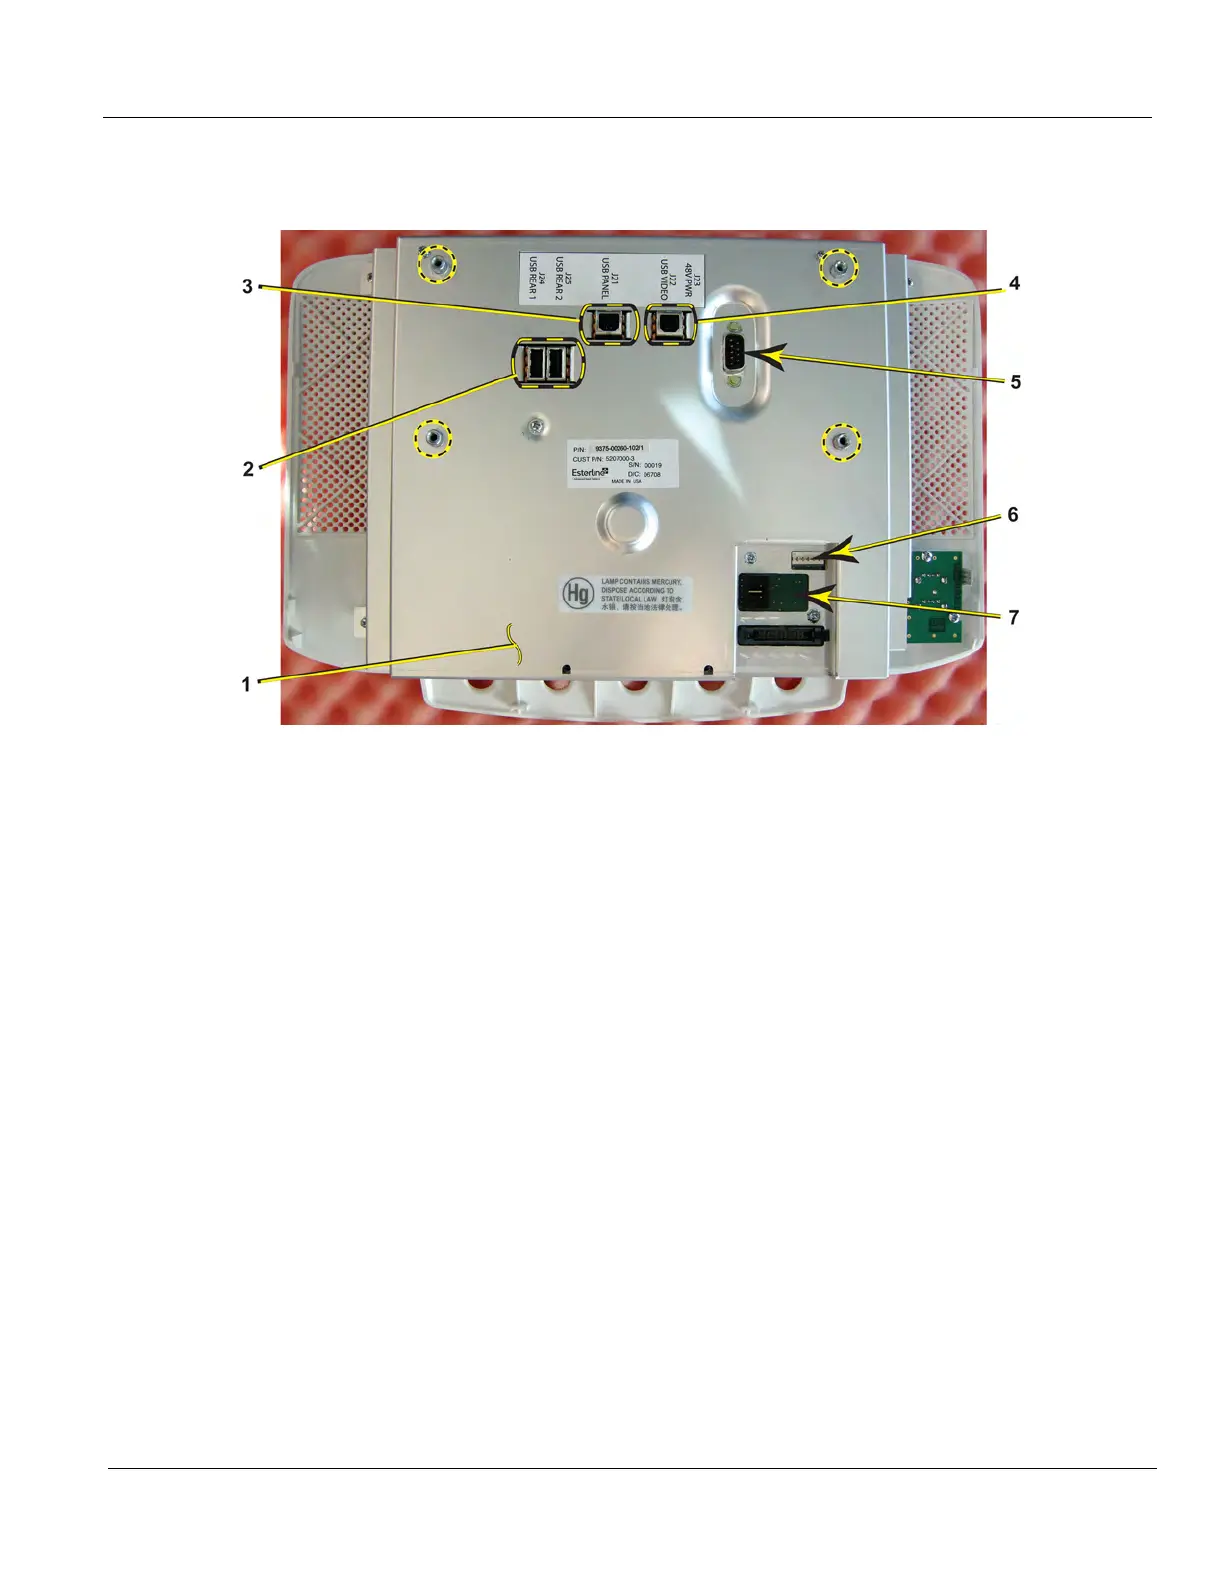
Figure 8-42 Upper OP Panel/Touch Panel assembly cable placement - R4 and earlier
1.
Upper OP Panel
5.
Power - ON/OFF LOGIC to BEP
2.
USB - OUT to Bulkhead Board
Cable to J24 is not present in later
production
6.
AN Keyboard USB and Power
3.
USB - Video from BEP
7.
USB - Trackball
4.
USB - Upper OP Panel from BEP