EasyManuals Logo

GE LOGIQ E9 Service Manual

GE LOGIQ E9
808 pages
To Next Page IconTo Next Page
To Previous Page IconTo Previous Page
Page #519 background imageLoading...
Page #519 background image
GE
D
IRECTION 5535208-100, REV. 2 LOGIQ E9 SERVICE MANUAL
Chapter 8 Replacement procedures 8 - 173
8-6-15 Probe Cable Hooks replacement
8-6-15-1 Manpower
One person, 15 minutes.
8-6-15-2 Tools
For tools needed, refer to: 8-2-5 "Tools needed for servicing the LOGIQ E9" on page 8-5.
8-6-15-3 Probe Cable Hook removal
1.) Unscrew the fastening screw.
The screw may be locked with Lock-Tite, so you may need to apply a little extra force.
2.) Remove the Cable Hook.
8-6-15-4 Probe Cable Hook installation
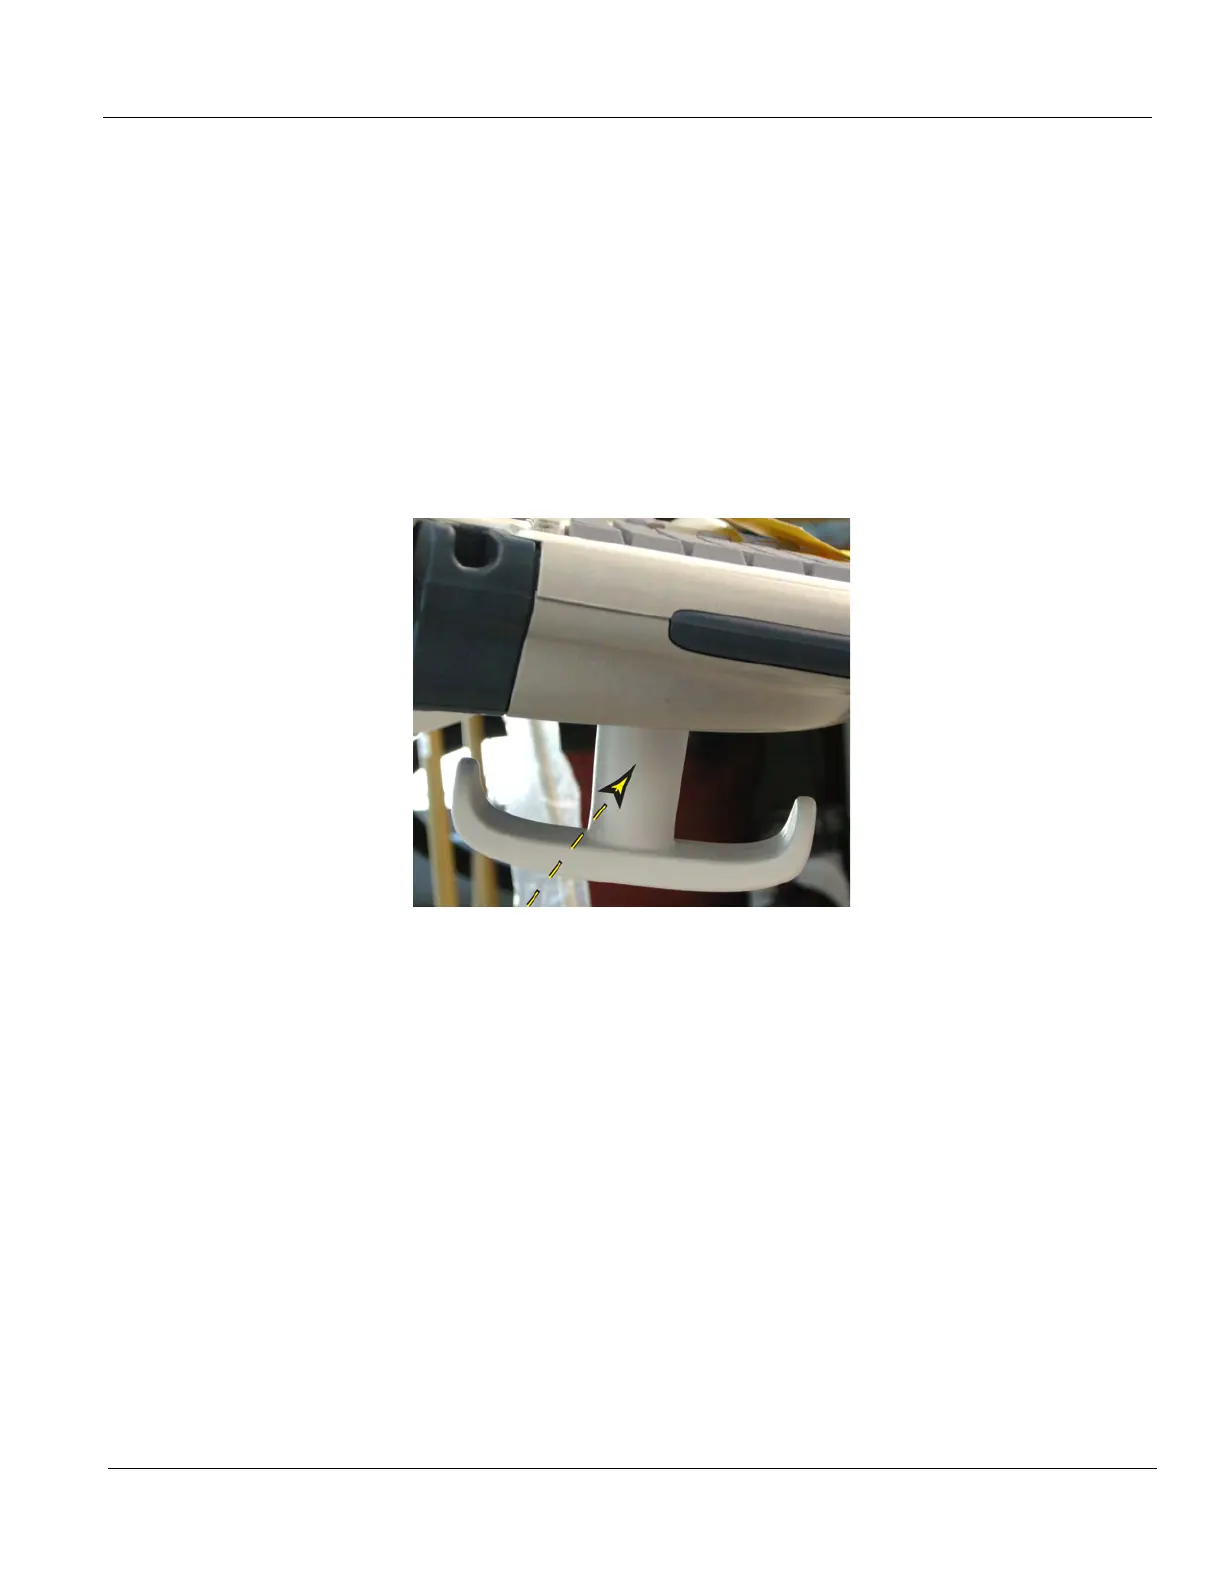
1.) Position the Probe Cable Hook (Figure 8-55).
2.) Fix it in place by using an M5x20 screw with an M6 washer. Lock-Tite has to be used.
Torque: 50 Ncm (0.37 lbf-ft or 4.4 lbf-in) (fingertight).
Figure 8-55 Screw placement, Probe Cable Hook

Table of Contents

Other manuals for GE LOGIQ E9

Questions and Answers:

Question and Answer IconNeed help?

Do you have a question about the GE LOGIQ E9 and is the answer not in the manual?

GE LOGIQ E9 Specifications

General IconGeneral
TypeUltrasound System
3D/4D ImagingYes
Transducer Ports4 active ports
ConnectivityDICOM, USB, Ethernet
ApplicationsAbdominal, Vascular, Musculoskeletal, Small Parts, Urology, Pediatric, Cardiac, Obstetrics/Gynecology
TransducersLinear, Convex, Phased Array, Volume
Doppler ModesColor Doppler, Power Doppler, Pulsed Wave Doppler, Continuous Wave Doppler
ElastographyYes
Advanced FeaturesB-Flow, Volume Navigation
PortabilityCart-based system
Display19-inch high-resolution LCD monitor

Related product manuals