January 2006
2-8 Installation
Input Power Power wiring enters the case through a gland fitting at the lower right
of the unit and connects to a screw terminal block mounted on the
right side of the case. Wiring of this terminal block is shown in
Figure 2-10 below. The voltage and frequency rating and tolerances,
as well as fusing data, are listed on the bottom of the unit.
Figure 2-10: Wall-Mount AC Power Wiring
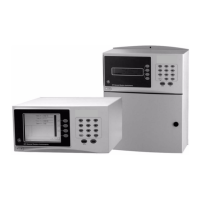
Output Wiring The benchtop outputs are connected to removable terminal blocks on
the rear panel. Figure 2-5 on page 2-5 shows the location of the
benchtop terminal blocks and Figure 2-11 below shows the Slot A
connections.
The Wall-Mount Optica input/output terminal blocks are located
inside the front door as shown in Figure 2-8 on page 2-7. Cabling is
brought in through the gland on the bottom of the unit and wired to
the terminal blocks shown in Figure 2-11 below.
Note: Output programming is described in Chapters 4, 5 and 6.
Figure 2-11: Benchtop and Wall-Mount Input/Output Terminal Blocks
Top
FrontL
Case
N
G
of
AL2 NC
OUT A
0-5
PRESSURE
I in
Benchtop Unit
RTN
4-20
OUT B
0-5
V in
+V
Case
of
Front
NO
ALARM 1
ALARM 2
NC
COM
4-20
NC
NO
NO
COM
Slot A
COM
NO
COM
AL1 NC
+V
Wall-Mount Unit
PRES
I in
RTN
V in
Top
OUT B
OUT A
4-20
4-20
0-5
0-5