Gilson GX-271 Liquid Handler User’s Guide 4-3
Maintenance
4
Cleaning
Cleaning
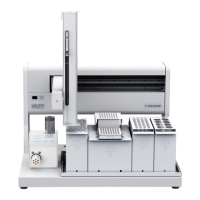
Cleaning the Liquid Handler
The liquid handler should be cleaned occasionally using a dry, clean cloth. Or, if necessary, use a cloth dipped in soapy water. If
liquid is accidentally spilled on the liquid handler, wipe the instrument using a dry, clean cloth.
Cleaning the Syringe
Clean a syringe when some or all of the following occurs:
• Corrosive or hazardous liquids have been pumped
• Possible back flow of liquids into the waste tubing
•Leakage
• Aspiration of samples or reagents into the syringe
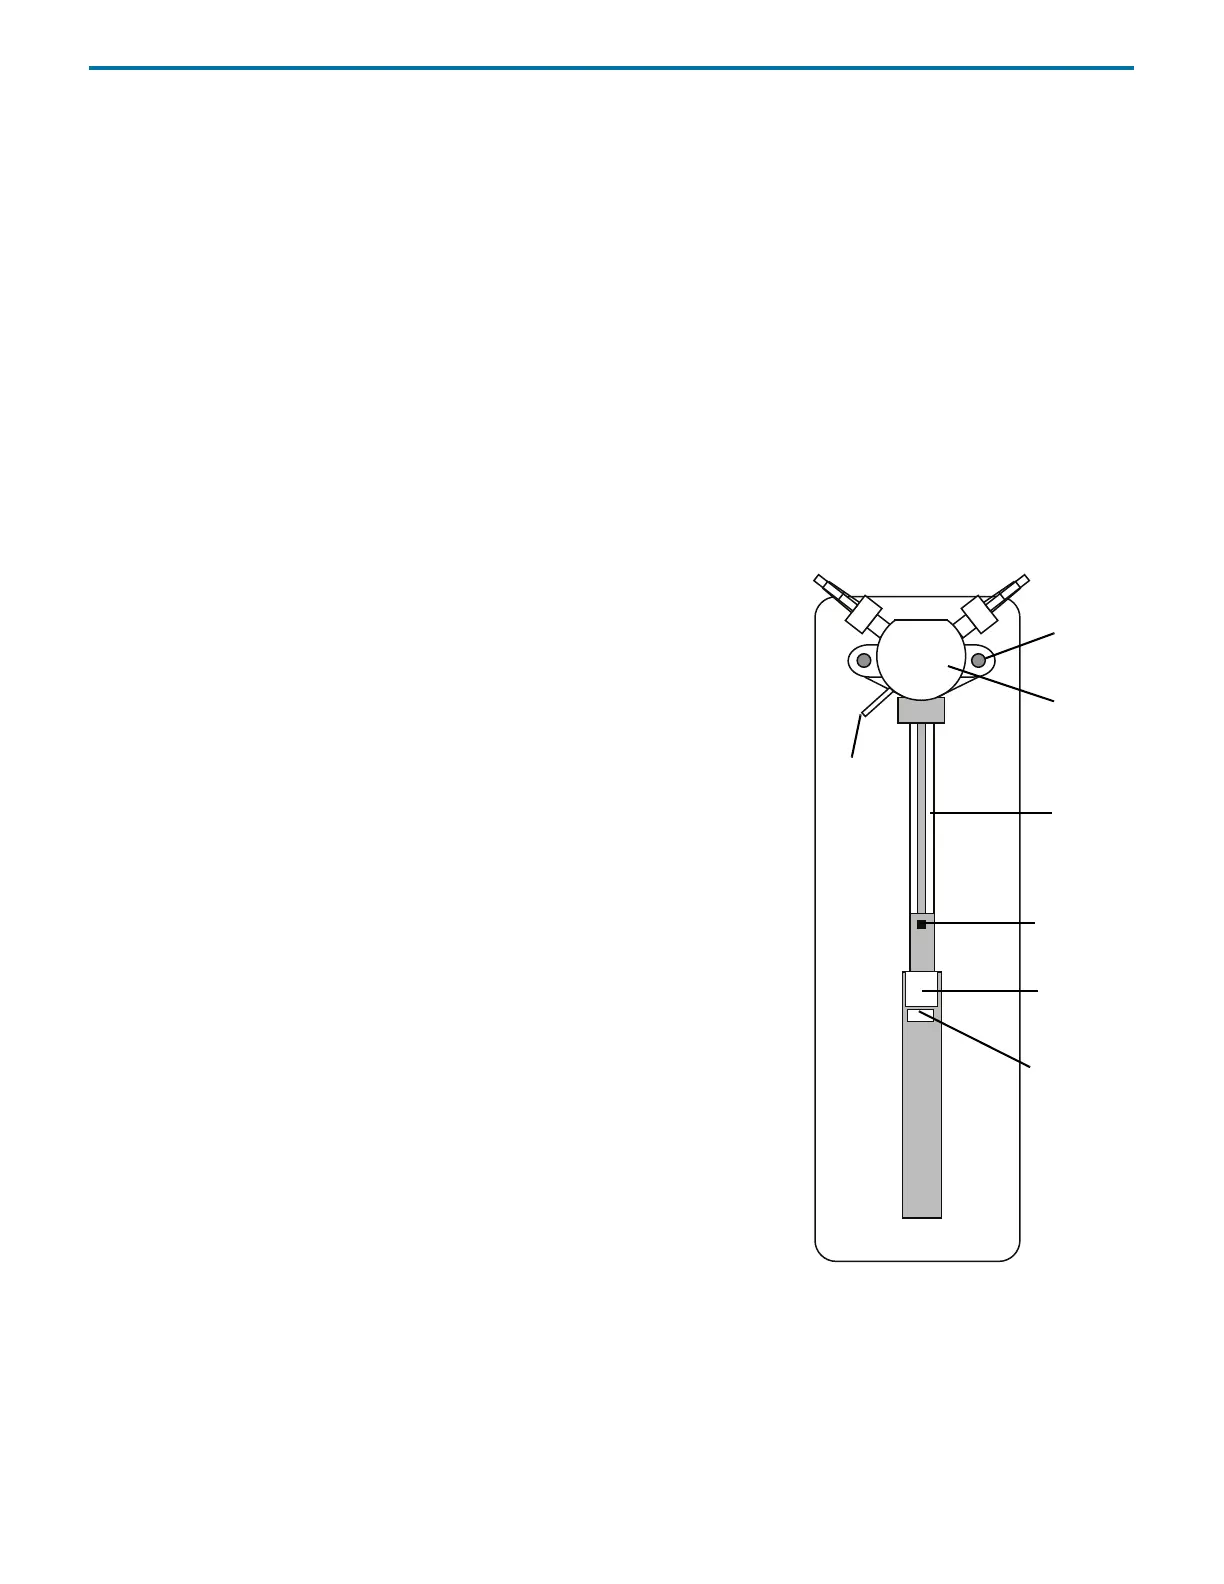
To clean a syringe, follow the procedures below and use the diagram as a reference.
Remove the Syringe
The following procedures use TRILUTION® LH Software.
To remove the syringe:
1 Open a TRILUTION LH Software method with 402 Syringe Pump in the
configuration.
2Click Run to open the Application Builder.
3 Add a method to the sample list.
4 Select the Manual Control tab.
5 Select a method from the drop-down list of methods.
6Click Go. The instruments will initialize.
7 Disconnect the syringe piston from the piston operating rod by unscrewing the
piston holding screw on the underside of the rod.
8Click Lower Syringe.
9 After the syringe has been lowered, unscrew and remove the syringe from the
valve.
Clean the Syringe
After the syringe has been removed, it can be cleaned:
1 Place the syringe in a beaker containing methanol. Aspirate and dispense several
volumes of methanol through the syringe.
2 Place the syringe in a beaker containing distilled or deionized water. Aspirate and dispense several volumes of water
through the syringe.
3 Hold the syringe housing in one hand. Clean the syringe using a non-abrasive cloth dampened with alcohol. Remove the
piston and clean the piston with a non-abrasive cloth dampened with alcohol.
4 Dry the syringe and piston using a clean, lint-free cloth.
valve
valve
to
syringe
piston
piston
piston
vent
tubing
operating
rod
holding
screw
screw
Figure 4-1: 402 Syringe



 To Next Page