EasyManuals Logo

GMI PS200 series Handbook

GMI PS200 series
80 pages
To Next Page IconTo Next Page
To Previous Page IconTo Previous Page
Page #41 background imageLoading...
Page #41 background image
4-1
INSTALL INSTRUMENT IN STATION & PERFORM
BUMP / CALIBRATION
4.1 INSTALL INSTRUMENT in AUTO BUMP / CAL STATION
Before commencing with installation of instrument, make sure
that gas is connected to the station and that the 12V power
supply is connected to mains wall socket.
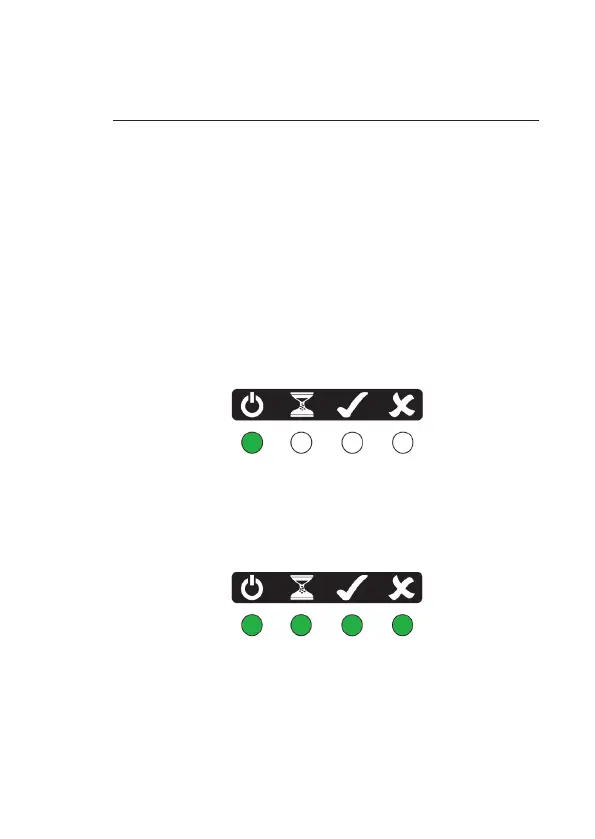
Switch ON at mains.
Power to the unit is indicated by an illuminated green LED on
the front of the station, as illustrated in Fig. 4-1.
Fig. 4-1 Station ‘ON’ Indication
After 5 seconds all four LED’s illuminate green, as illustrated
in Fig. 4-2. This indicates that the station is loading operating
software and preparing for testing.
Fig. 4-2 Station Loading Software
4

Other manuals for GMI PS200 series

Questions and Answers:

Question and Answer IconNeed help?

Do you have a question about the GMI PS200 series and is the answer not in the manual?

GMI PS200 series Specifications

General IconGeneral
DisplayLCD
Alarm TypeAudible, visual, and vibration alarms
ResolutionDepends on the gas being detected
AccuracyVaries depending on the gas and sensor. Consult the specific sensor datasheet.
Operating Temperature-20°C to +50°C
Power SupplyRechargeable Li-ion battery
Pump TypeBuilt-in sample pump

Related product manuals