L-SOLUTION 700 / 800 / 900 machines . 84
First contact
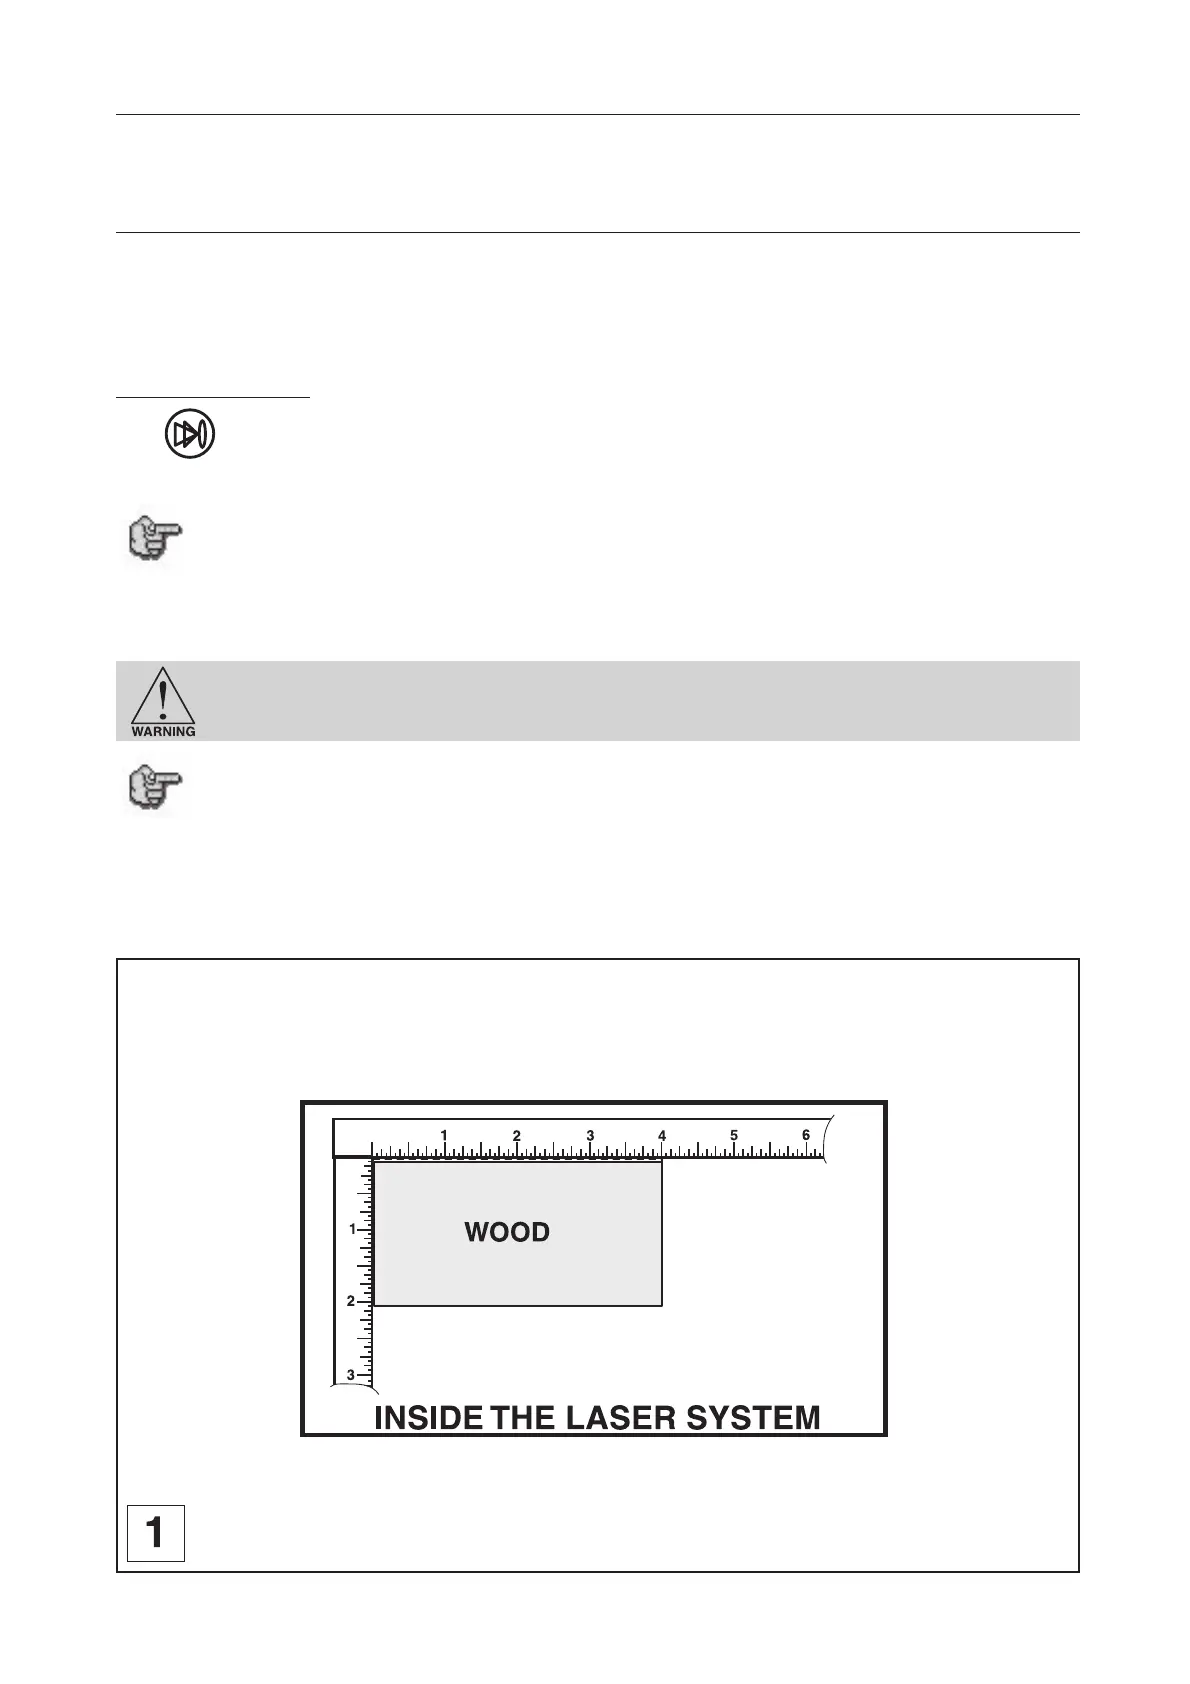
Positioning the plate
The next step consists of loading and positioning the wood on top of the engraving table inside the LASER system. Open
the front door and position the piece of wood into the upper left hand corner of the table against the rulers as indicated
in diagram 1.
Focusing the LASER beam
Before attempting to adjust the focal height, visually check to make sure that the table is down low enough to prevent the
focus carriage from hitting into the piece of wood.
Using the Autofocus method, the proper focal height is automatically adjusted (Zref. auto).
Autofocus method :
Press key. Autofocus starts automatically.
You can activate the Autofocus function in the printer driver of your LASER engraving machine. In that case Autofocus starts
automatically before each engraving start (next paragraph).
Do not activate this Autofocus function when you want to engrave a series of plates
with the same thickness. In that case you carry out an Autofocus only for the first
plate. Therefore you gain time.
Sometimes it is desirable to be slightly out of focus when engraving or cutting. It widens the beam at the surface of the
material to soften the image or create a wider cut line.
DO NOT engrave or cut too far out of focus, as this can be a potential fire hazard. A
maximum of .1 inches above or below precise focus should be the limit.
It does not matter whether you bring the table up to go out of focus, or down, the effect
is the same. You should experiment on some scrap material some other time and note
the difference. In this example, we will engrave in precise focus. Once you have
established focus, close the front door.
Running the machine