Installation Manual
H3C S3600 Series Ethernet Switches Chapter 3 Installation
3-10
Note:
z No guide rails are delivered with the device.
z Ensure a clearance of 1U (44.45 mm, namely, 1.75 inches) between devices for the
purpose of heat dissipation.
3.1.2 Mounting the Switch on a Desktop/Workbench
When placing the switch on a desktop or workbench, you simply need to:
z Make sure that the desktop or workbench is clean, flat, and sturdy.
z Allow 10 cm (3.9 in.) of clearance around the sides of the chassis.
z Do not place heavy objects on the switch.
3.2 Connecting the Power Cord and the Ground Wire
3.2.1 Connecting the AC Power Cord
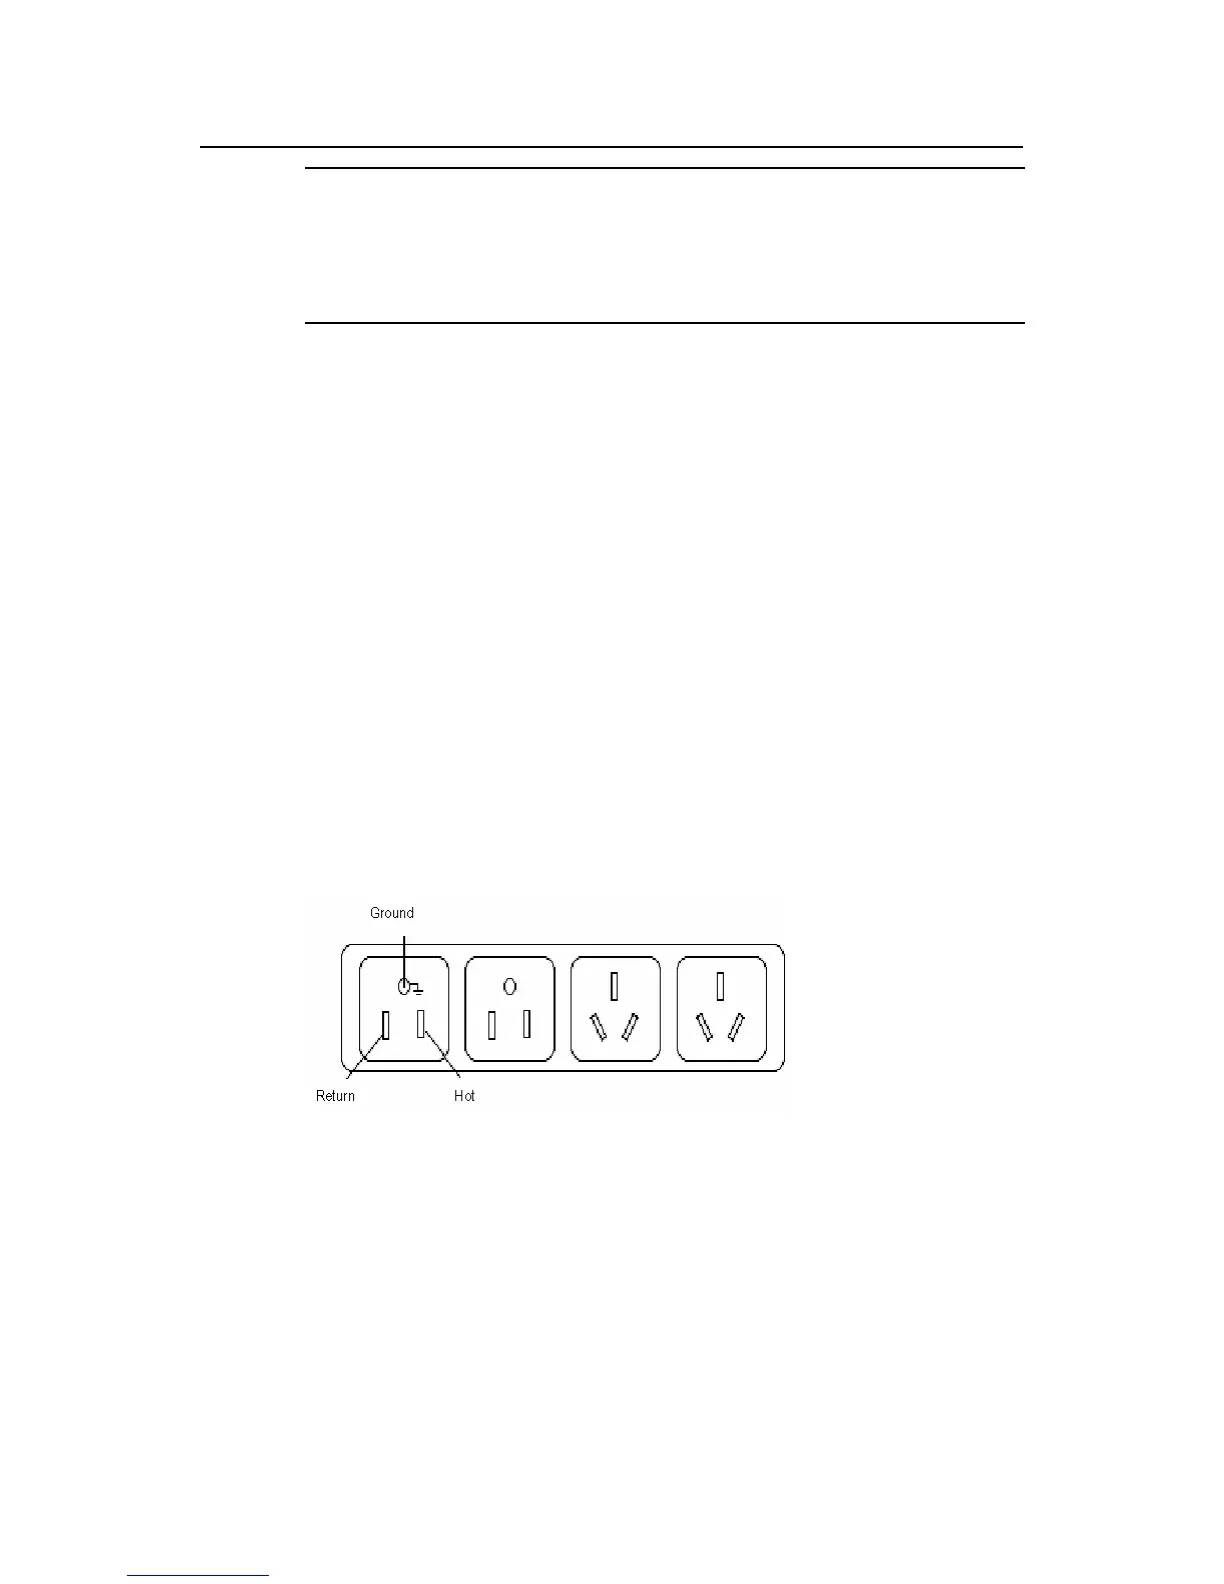
I. AC power socket (recommended)
You are recommended to use a single-phase three-line power socket with a ground
contact or a general purpose PC power socket, making sure that the power point is well
connected to building ground. Normally, the ground point of the power source in a
building was buried in the ground during the construction and wiring. Still, you must
make sure of that.
Figure 3-14 Power socket (recommended)
II. Connecting the AC power cord
Step 1: Connect one end of the chassis ground wire to the grounding screw on the rear
of the chassis and the other end to the ground as near as possible.
Step 2: Connect one end of the power cord to the power socket on the rear of the
chassis, and plug the other end to the AC power jack of the power source.

 Loading...


