Installation
Look at the installation overview video
A video that shows an overview of the installation steps is supplied on the DVD in the installation kit.
Note: The video does not show all of the installation steps. Make sure to refer to this manual for all of the
installation steps.
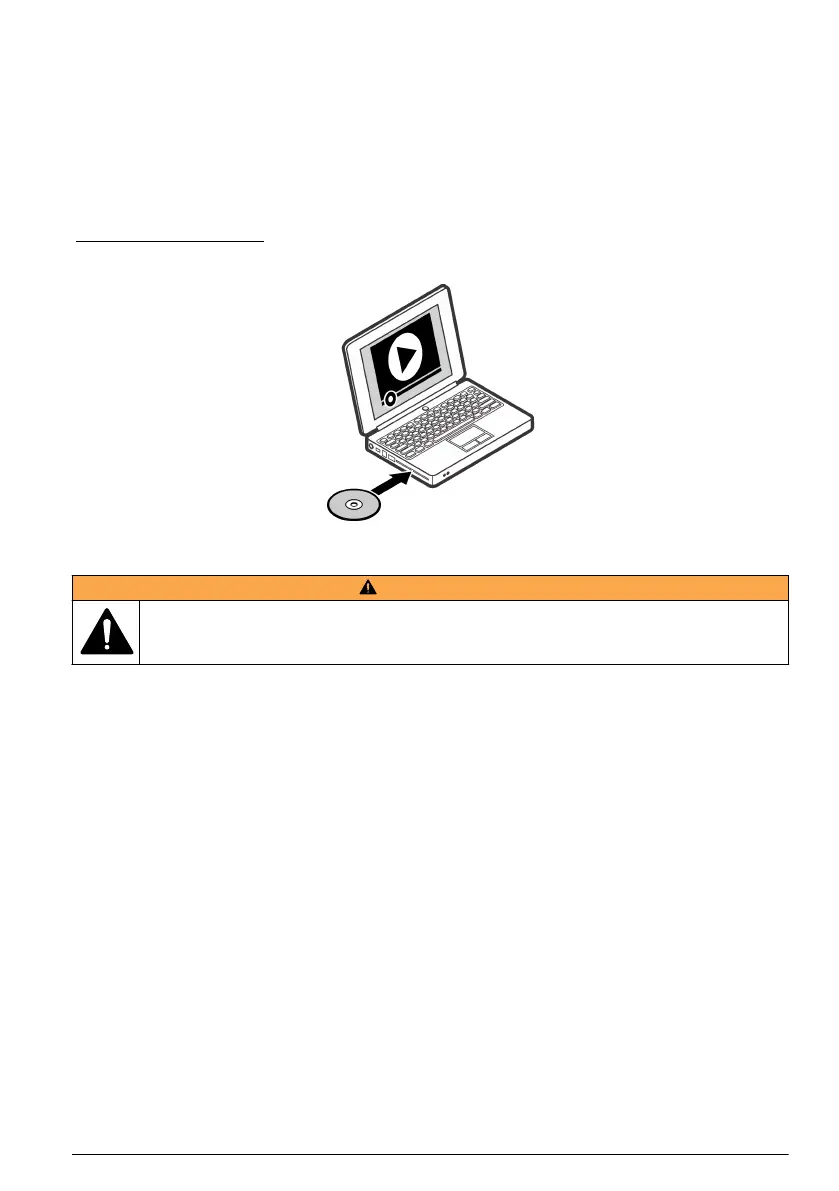
1. Install the supplied DVD in a computer. Refer to Figure 8.
2. Use the video player buttons to pause or restart the video as necessary.
Figure 8 Install the DVD
Installation guidelines
W A R N I N G
Multiple hazards. Only qualified personnel must conduct the tasks described in this section of the
document.
This instrument is rated for an altitude of 2000 m (6562 ft) maximum. Use of this instrument at an
altitude higher than 2000 m can slightly increase the potential for the electrical insulation to break
down, which can result in an electric shock hazard. The manufacturer recommends that users with
concerns contact technical support.
• Install the analyzer as near as possible to the sampling point between the primary and secondary
carbon tanks to minimize the response time.
• Make sure that the sample water is within the sample specifications in Specifications on page 3.
• Install the analyzer near an open drain.
• Install the instrument indoors in an environment with minimum vibration.
• Do not install the analyzer in direct sunlight or near a heat source.
• Make sure to leave sufficient space in front of the analyzer to open and remove the analyzer door.
Refer to Figure 9.
• Make sure that there is sufficient clearance around the analyzer to make electrical and plumbing
connections. Refer to Figure 9.
• Keep the flow rate and operating temperature as constant as possible for best performance.
• Install the analyzer so that the power cable plug is visible and easily accessible.
English
15