27
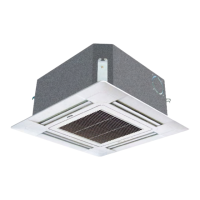
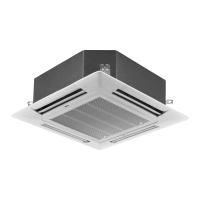
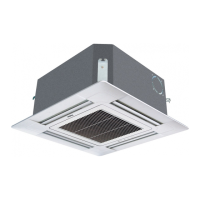
4-Way Cassette
Type Indoor Unit
3. Ceiling hole & reinforcement
■ Cut and take the ceiling according to the size of indoor unit.
■ After cutting an appropriate hole, reinforce the cutting area on the foundation of indoor unit,
and append the rim to the ceiling to secure its foundation. In order to prevent the ceiling
from vibrating, it is vital to reinforce the ceiling foundation and ensure the original levelness
of the ceiling.
4. Suspender installation
■ To support the weight of the unit, use barb bolts in the situation with the ceiling. In the situation with the new
ceiling, use inlaid bolts, embedded bolts or other parts provided on site. Before proceeding the installation, adjust
the gap between the bolts and the ceiling.
■ Use four M10 suspenders (provided on site) (when the height of the suspender exceeds 0.9m, M10 studs should
be used.). The gaps should be kept according to the overall drawing of the air conditioner. Make the installation
according to regulations for various building structures as to ensure the safety. Use the level meter to perform the
parallel installation.
Ceiling suspending
■ Adjust the location of the nut at the lower part
as to keep the gap between the washer at the
lower part (provided on site) and the ceiling is
Hmm.
Model H (mm)
AB052-162MCERA 150
AB182MCERA(C) 150
AB182-282MCERA 135
AB302-482MCERA 150
Situation with new ceiling
■ Install the indoor unit temporarily:
Attach the hoisting foot to hoisting stud. Make sure that nuts and washers should be used at two ends of the foot
to secure the foot.
■ For the size of the ceiling hole, please refer to the schematic drawing at the previous page.<After nishing the
installation of the ceiling>
■ Adjust the unit to the proper installation location.
■ Check if the unit is in the horizontal level:
■ The indoor unit is equipped with a built-in drainage pump
and a oater switch. Check if the 4 angles of the unit are
in the horizontal level with the water level or the polythene tube
with water, as shown in the gure, taking only one indoor unit as
an example. If the unit inclines opposite to the direction of condensate ow, the oater
switch might have faults, causing water dropping.
■ Tighten the nut on the washer.
■ Install the indoor unit temporarily: attach the hoisting foot to
hoisting stud. Make sure that nuts and washers (provided
on site) should be used at two ends of the foot to secure the
foot.
■ Adjust the height and location of the unit.
■ Perform step 4 and 5 in situation with new ceiling.
Situation with original ceiling