53
&
/
*
)
BL
BO
BO
BN
#
"
BO
BQ
BT
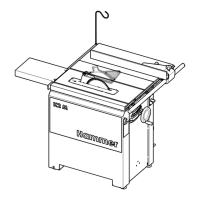
Panel Saw
K3 basic/K3 winner
Making adjustments and preparations
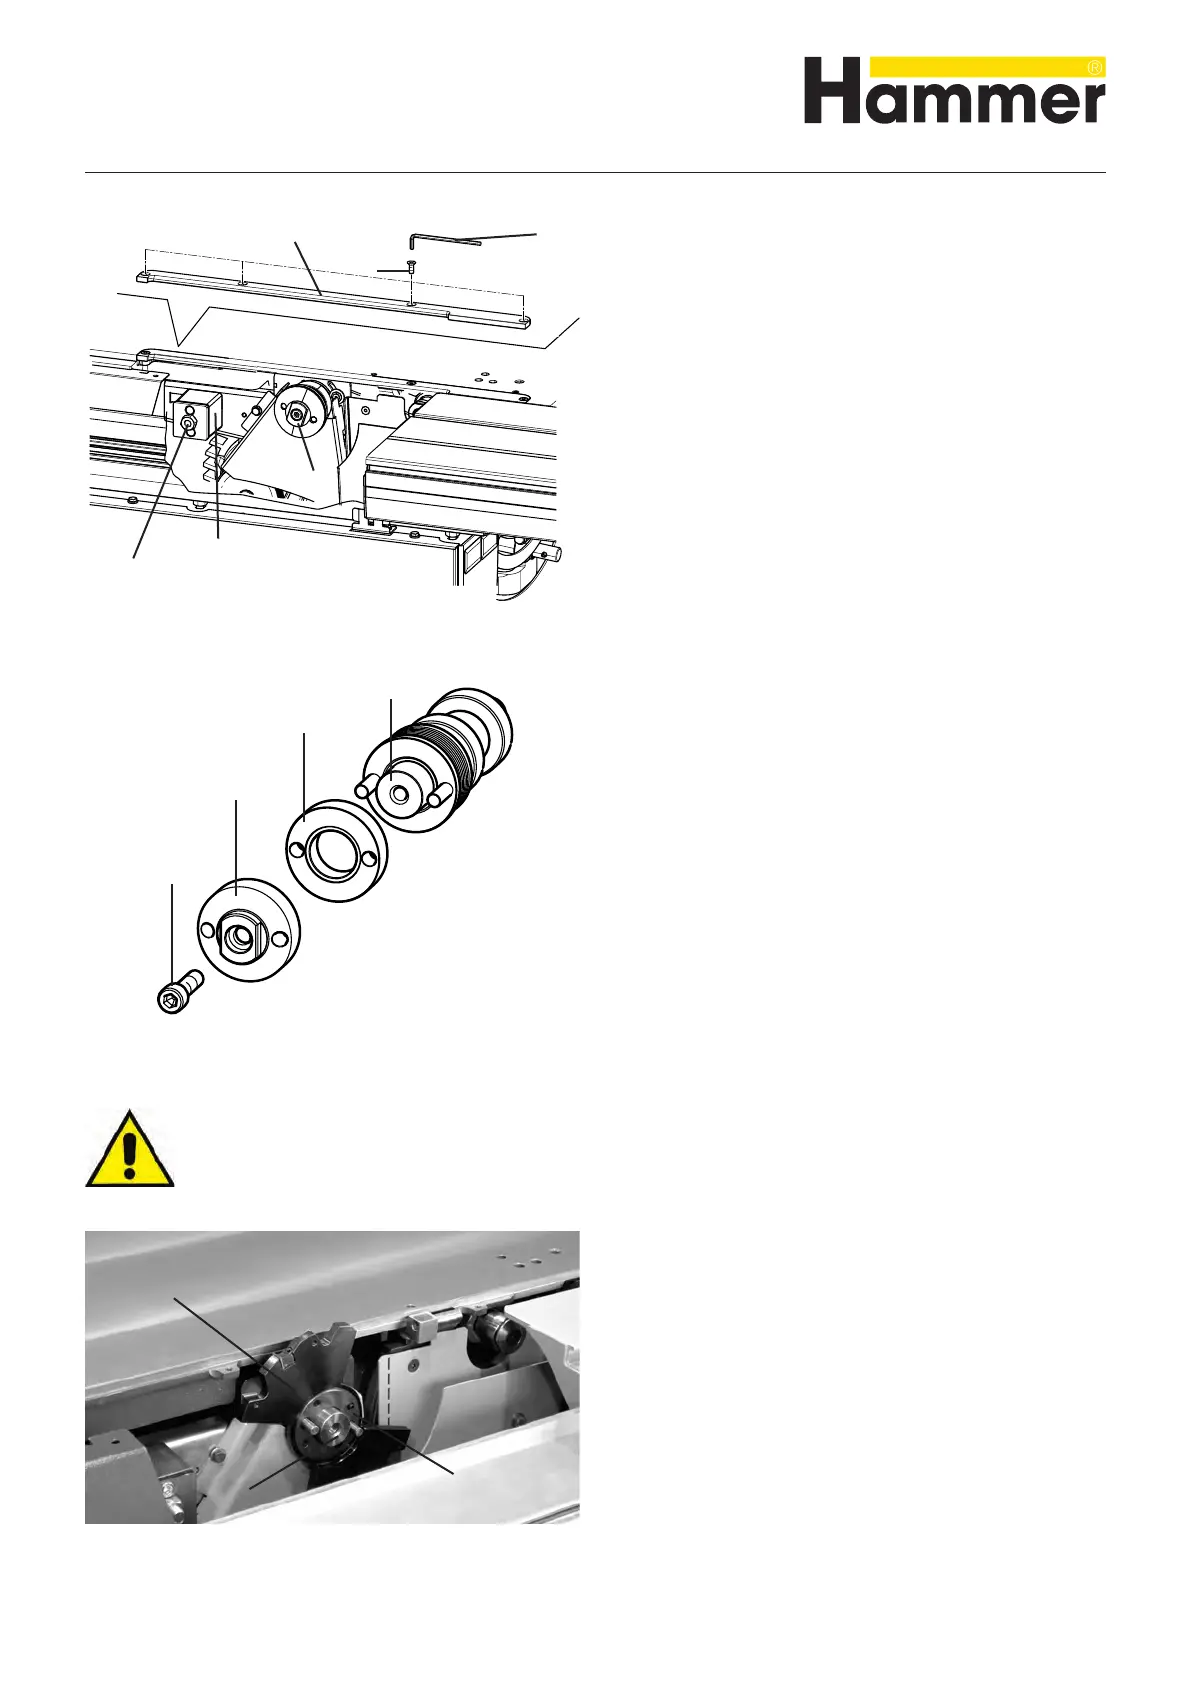
Fig. 69: Spacer ring/Saw arbor
Fig. 68: Rear flange/Splitter holder/Loading board
1. Preparing to change tooling.
2. Move the saw blade to the lowest position.
3. Set the saw blade to a 90° angle.
4. Hold the circular saw flange with an open-end span-
ner.
5. Loosen the socket head cap screw with an Allen key.
6. Remove the socket head cap screw and flange.
7. Remove the saw blade.
8. Remove the rear flange.
9. Remove the splitter.
10. Clamp the splitter holder with a nut.
11. Remove the scoring blade if present and if required.
12. Unscrew the 4 screws with the Allen key.
13. Remove the loading board.
& Loading board
/ Screws
* Allen key
) Flange
BL Splitter holder
BM Nut
BN Spacer ring
BO Saw arbor
Attention! A spacer ring has to be placed onto the saw blade arbor if using grooving tools with a width
measuring less than 10 mm!
Fig. 70: First part of the grooving tool/Spacer washers
14. Place the first part of the grooving tool onto the
saw blade arbor. Take note of the correct rotation
direction!
15. Adjust the grooving width with spacer washers.
16. Place the second part of the grooving tool onto the
saw blade arbor. Both tooling halves have to grip
into each other!
BP Allen key
BQ Grooving tool
BR Spanner
 Loading...