65
Panel Saw
K3 basic/K3 winner
Operation
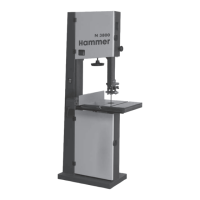
9.7.6 Cutting battens
1. General procedures for authorised working tech-
niques.
2. Convert the guide at the parallel cutting fence to a
narrow guide edge.
3. Adjust the parallel cutting fence to the desired meas-
urement.
4. Lock the sliding table into a center position.
5. Place the workpiece against the parallel cutting
fence.
6. Switch on the circular saw.
7. Switch the scoring unit on, if necessary.
8. Feed the work-piece constantly past the circular saw,
keeping your fingers balled into a fist.
Fig. 91: Cutting battens
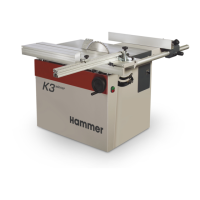
9.7.7 Cross-cutting at the crosscut fence (sliding table)
Rough cut
1. Take note of general procedures for authorised work-
ing techniques.
2. Move the parallel cutting fence as far away as pos-
sible from the saw blade.
3. Set the cross fence to the desired dimensions.
4. Undo the sliding table catch.
5. Place the work-piece against the crosscut fence.
6. Lift the end stop up and place it onto the workpiece
(Fig.).
7. Using your left hand, press the work-piece hard onto
the crosscut fence.
8. Switch on the circular saw.
9. Switch the scoring unit on, if necessary.
10. Feed the work-piece constantly past the circular saw,
keeping your fingers balled into a fist.
11. Pull the work-piece a few millimeters away from the
saw blade and move the sliding table into the initial
position.
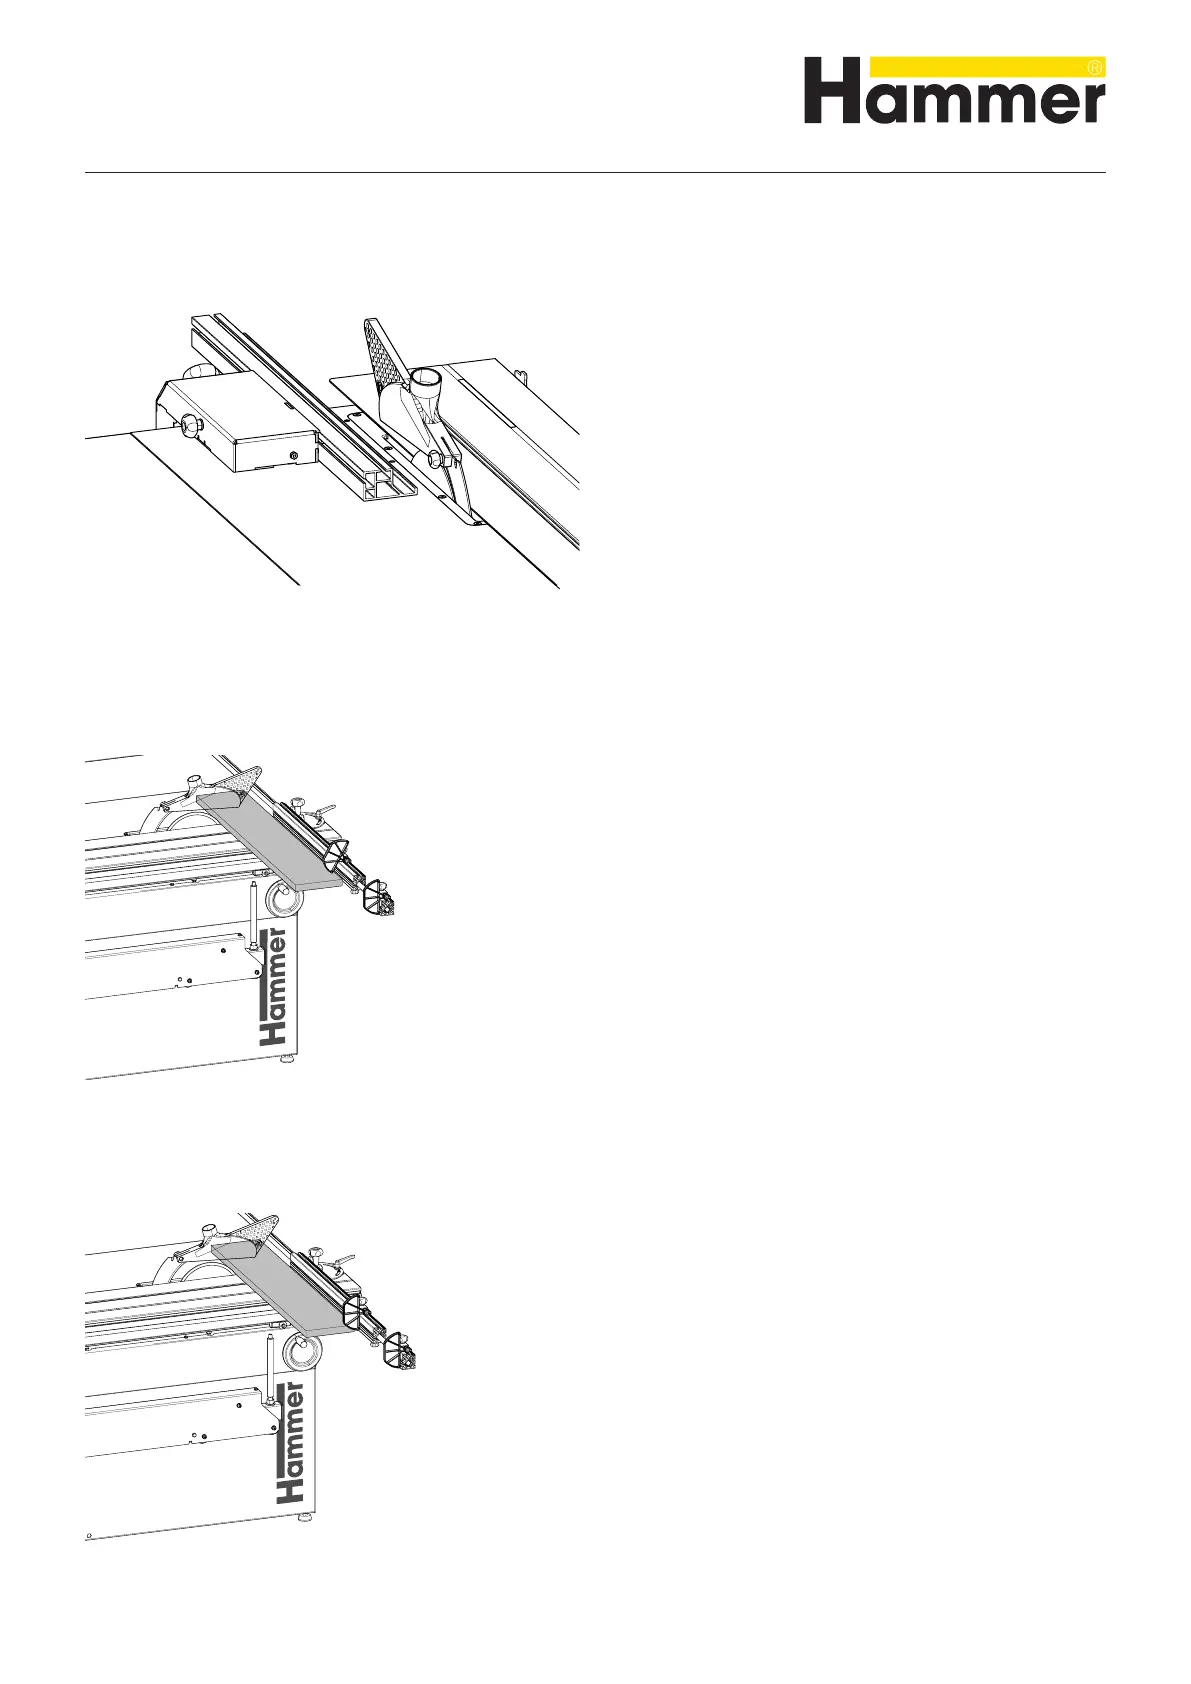
Precise cut:
1. Lower the end stop.
2. Place the work-piece against the crosscut fence and
the end stop.
3. Using your left hand, press the work-piece hard onto
the crosscut fence.
4. Feed the work-piece constantly past the circular saw,
keeping your fingers balled into a fist.
Fig. 92: Cross-cutting at the crosscut fence
Fig. 93: Cross-cutting at the crosscut fence
 Loading...