63
!
"
§
$
Panel Saw
K3 basic/K3 winner
Operation
9.7.2 Prohibited working techniques
The following work techniques are strictly forbidden
when using the circular saw:
• All work techniques without the use of the parallel
cutting fence, cross fence or outrigger
• Detaching the splitter for single cuts
*)
• Groove cuts
*)
9.7.3 General procedures for authorised working techniques
1. Switch the circular saw off prior to starting work.
2. Ensure there are sufficient extension options (accesso-
ries).
3. Keep handling auxiliaries at hand:
• Push stick; wood with holding magnets
(Order No. 11.2.012)
• Push stick; plastic (Order No.: 11.0.010)
• Pushing grip (Order No.: 11.1.009)
• Deflector with holding magnets
(Order No.: 420-260)
4. Setting the height/angle of cut.
5. Modify the overhead saw guard for angular cuts.
6. Adjusting the overhead saw guard: A max. of 5 mm
higher than the thickness of the workpiece.
7. Set scoring blade if required.
8. Only switch the circular saw on, the scoring unit
included, once the workpiece has been placed in its
position to be cut.
9. Feed the workpiece constantly past the circular saw,
keeping your fingers balled into a fist.
10. Use the push stick once at the end of the cut.
11. Once the cut is finished, switch the machine off.
*)
The following departures are valid for the scope of the wood industry‘s employer liability and insurance in the Federal Republic of Germany:
insert cuts and groove cuts are allowed if the appropriate operating regulations of the employer liability insurance are complied with (ZH.I/720).
9.7.4 Trimming
1. Take note of general procedures for authorised
working techniques.
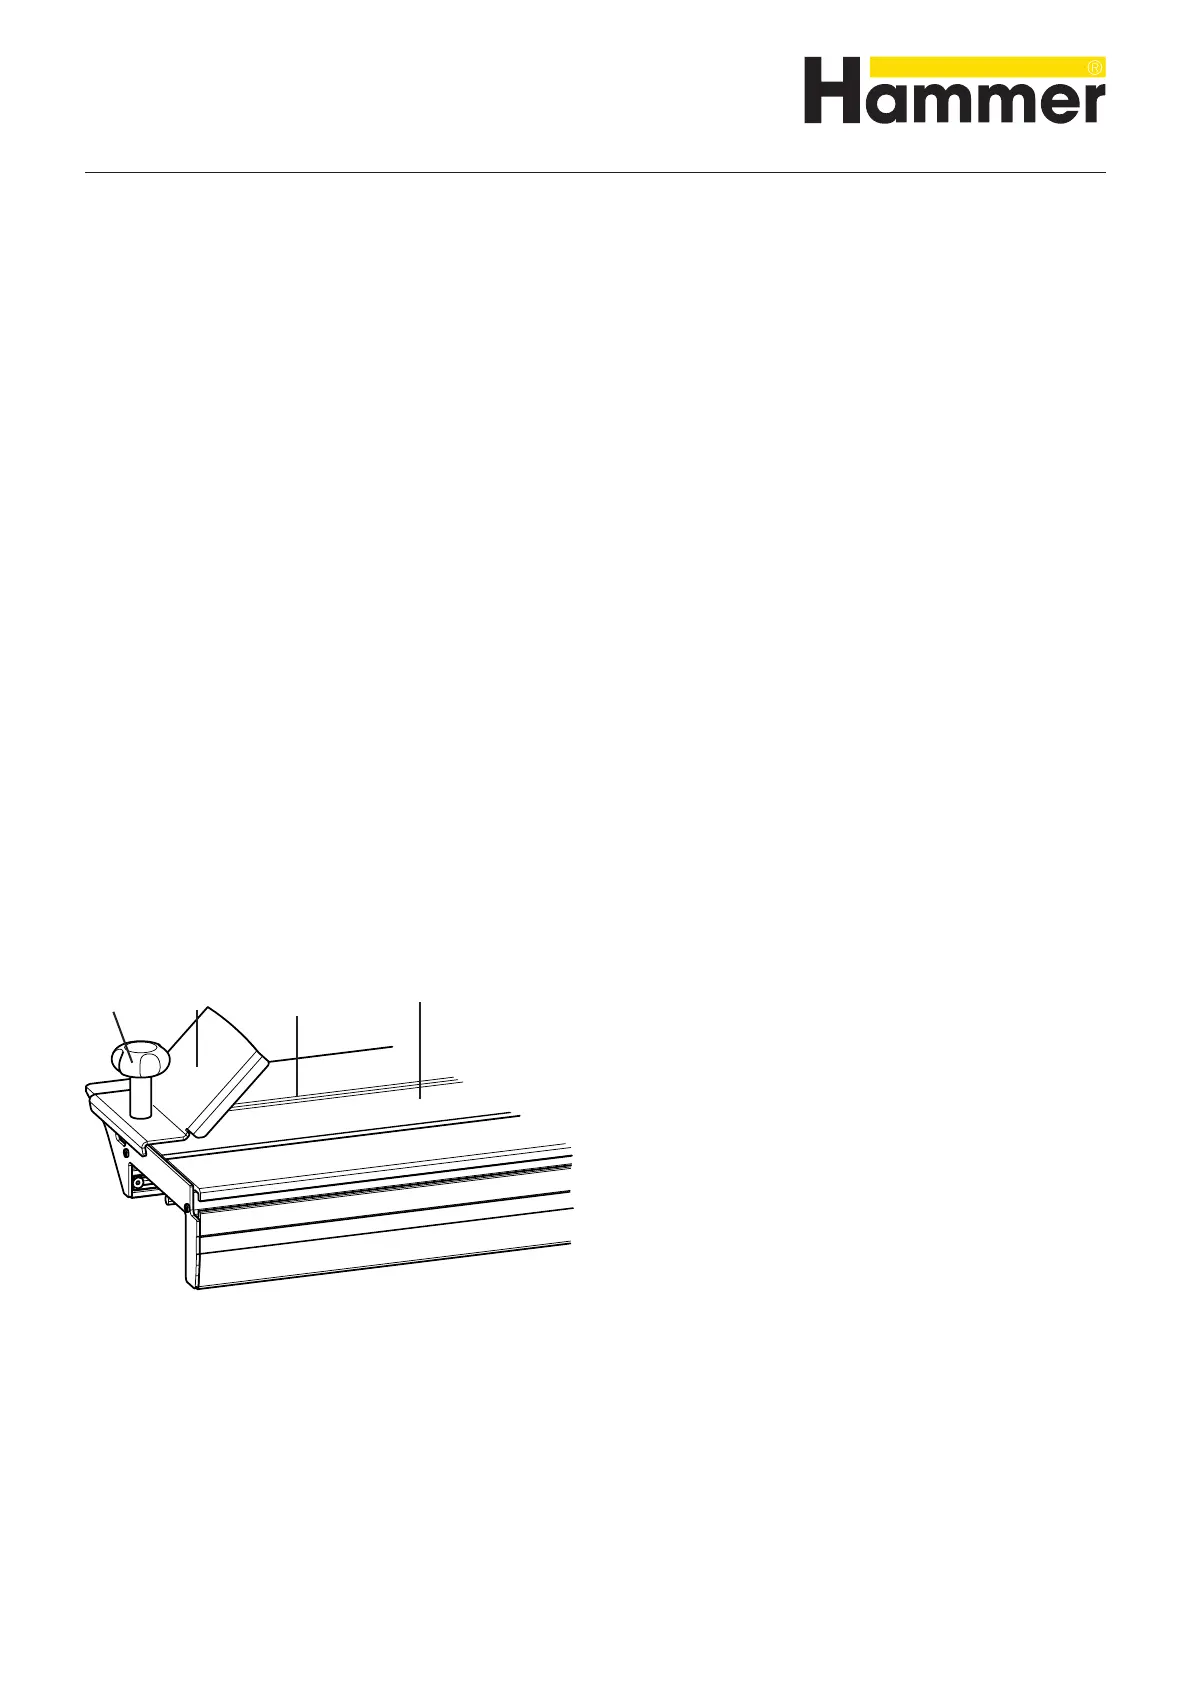
2. Assembling the trimming shoe:
• Thread the trimming shoe into the sliding table
grooves using locking plates.
• Clamp the trimming shoe onto the sliding table
using thumb screws.
3. Undo the sliding table catch and pull the sliding
table back completely.
4. Place the unfinished plank, with the hollow side fac-
ing downwards, onto the sliding table and clamp in
the trimming shoe.
5. Switch on the circular saw.
6. Feed the workpiece constantly past the circular saw,
keeping your fingers balled into a fist.
! Thumb screws
" Trimming shoe
§ Groove
$ Sliding table
Fig. 87: Trimming shoe
 Loading...