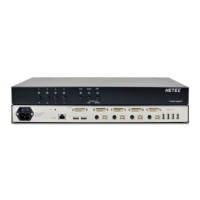
V-Switch quad II is best located as close as possible to the sources / computers to reduce the length of cables.
By default, V-Switch quad II is delivered as desktop version. Using the rack mount kit supplied, it may
also be mounted in a 19” rack. See deliverables page 76.
Keyboard, monitor, mouse (console) and USB devices are connected to V-Switch quad II by means of the
corresponding cables (DVI, USB or PS/2).
KVM extenders allow you to work remotely via CAT5, fiber optic or Ethernet connection.
CONNECTING UNIT TO POWER
- Plug the power cable into the power plug located on the rear panel of V-Switch quad II, but do not turn
power on yet.
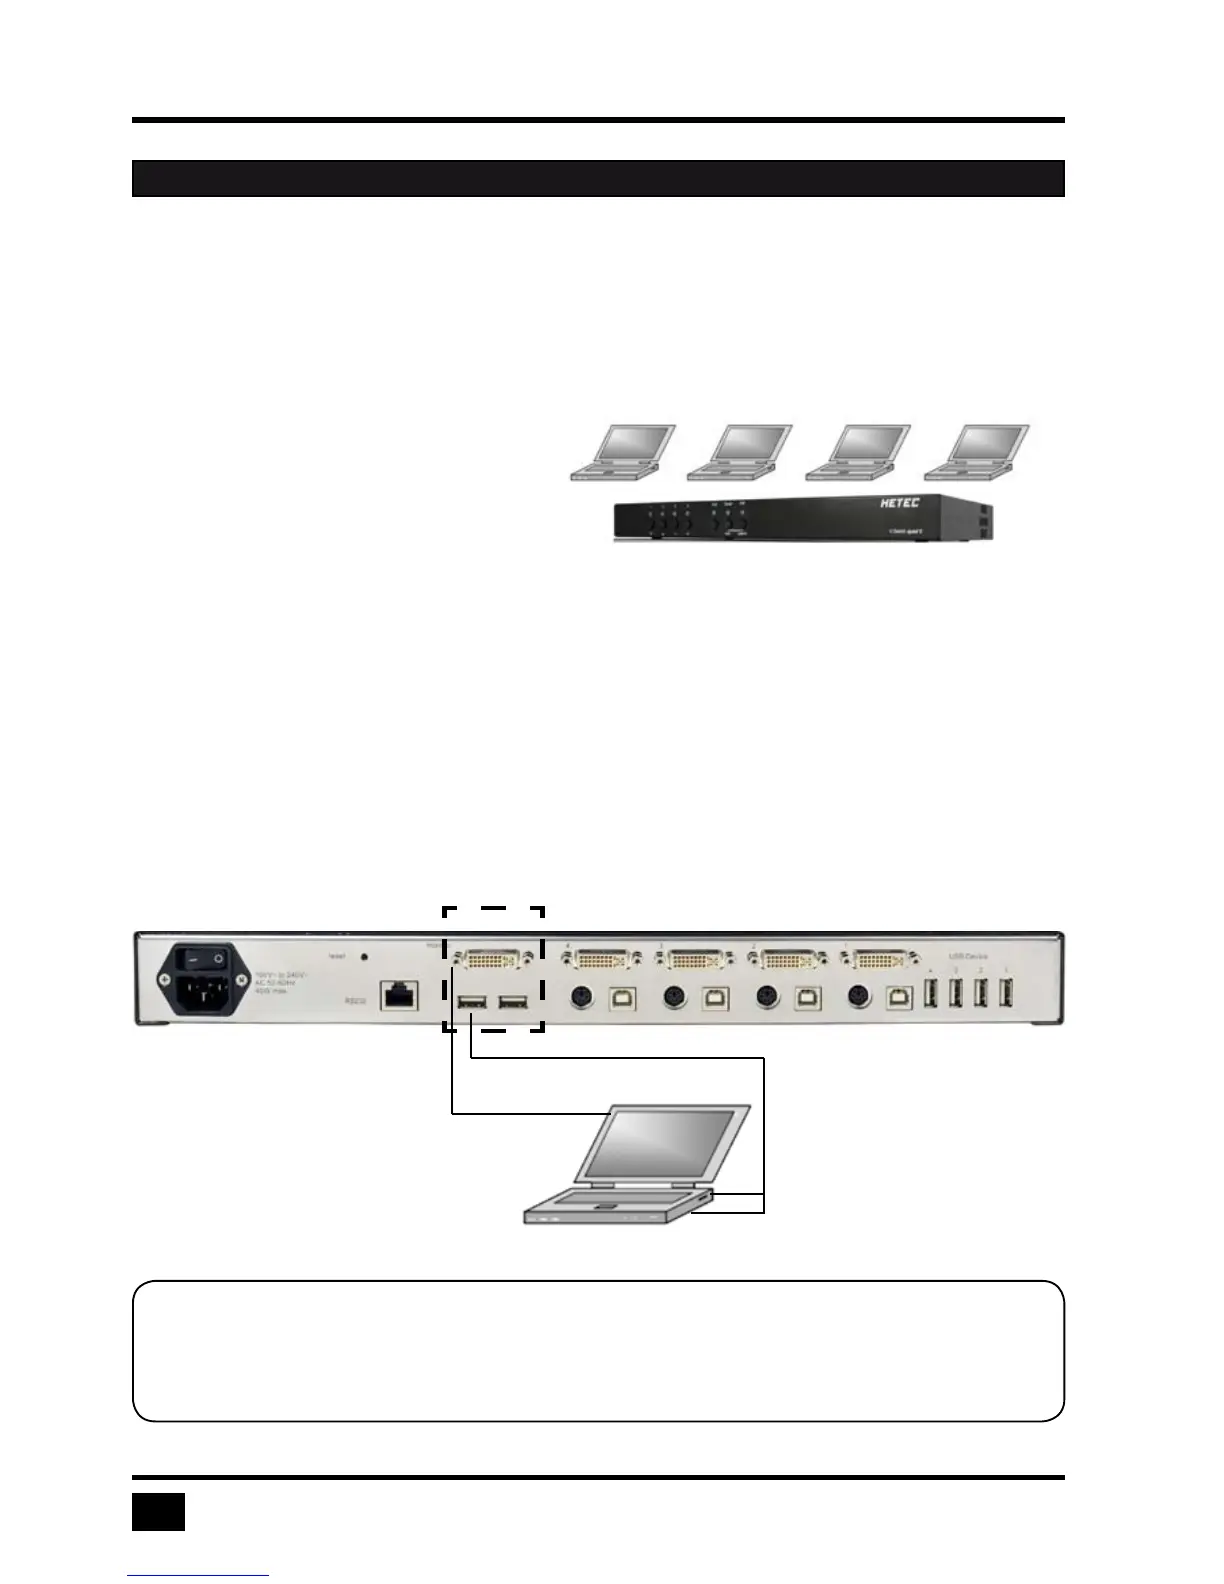
CONNECTING CONSOLE (MONITOR, KEYBOARD, MOUSE, TOUCH SCREEN, TRACKBALL)
- Connect your monitor to the monitor port of V-Switch quad II via VGA-DVI cable (analog) or DVI cable
(digital) up to 20 meters. For greater distances use a DVI or VGA extender.
- Connect your USB mouse and keyboard to the USB-A ports on the console up to 5 meters. For greater
distances use a KVM or USB extender.
- PS/2 mouse and keyboard can be connected to V-Switch quad II using a PS/2-USB adaptor.
- Connect your touchscreen to the DVI-I port and the USB-A port (for calibration see page 36)
Note:
Maximum cable length for video (DVI / VGA) is up to 20 meters. Maximum cable length for USB /
PS2 keyboard and mouse is up to 5 meters. For greater distances V-Switch quad II supports most
KVM extenders, video (DVI / VGA) extenders, and USB extenders.
INSTALLATION
DVI-I
USB-A
KVM console with digital or
analog monitor, USB mouse
and USB keyboard