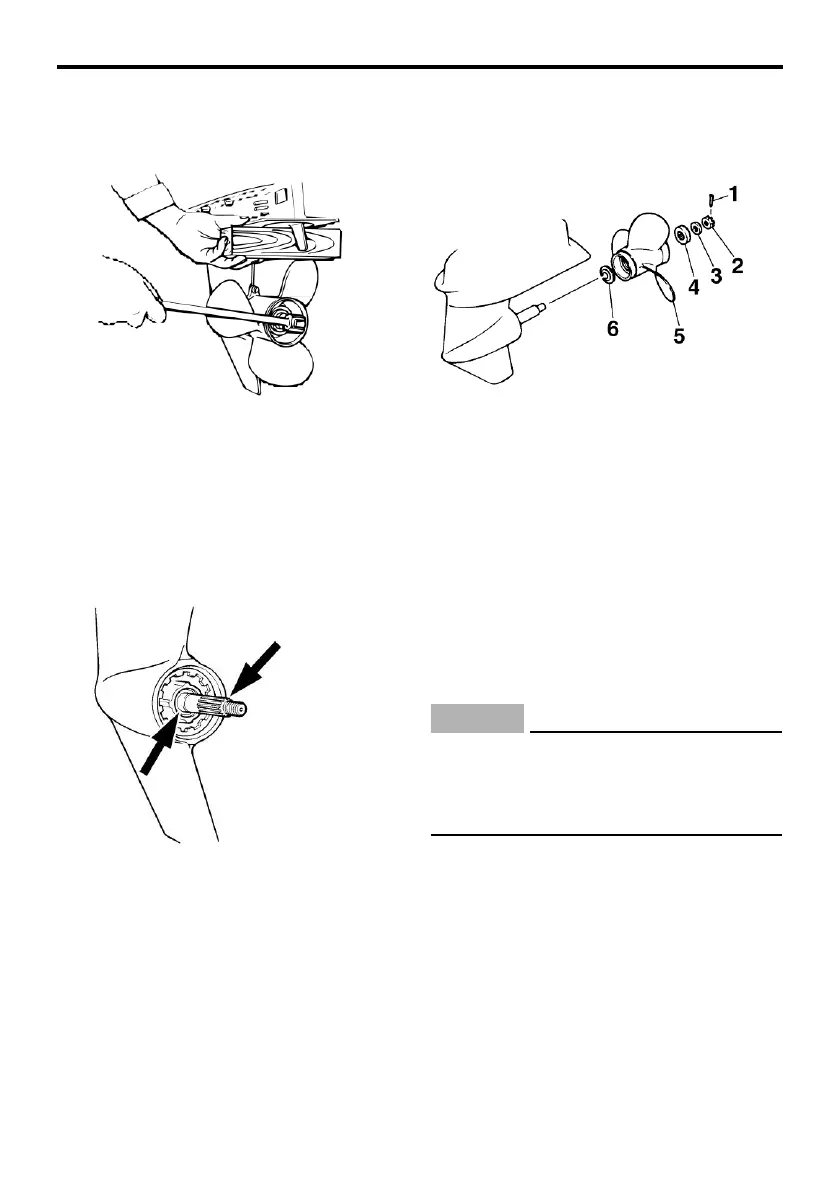
nut. Put a wood block between the anticavi-
tation plate and the propeller to prevent the
propeller from turning.
not use your hand to hold the propel-
ler when loosening the propeller nut.
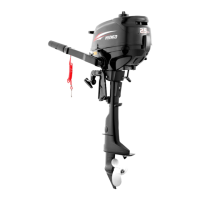
Checkpoints
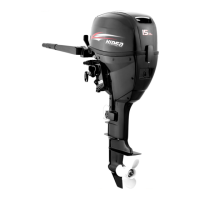
1. Cotter pin
●
Check each of the propeller blades for ero-
sion from cavitation or ventilation, or other
damage.
●
Check the propeller shaft for damage.
●
Check the splines for wear or damage.
●
Check for fish line tangled around the pro-
peller shaft.
●
Check the propeller shaft oil seal for dam-
age.
Removing propeller
Spline models
1. Straighten the cotter pin and pull it out
using a pair of pliers.
2. Remove the propeller nut, washer, and
spacer (if equipped). WARNING! Do
2. Propeller nut
3. Washer
4. Spacer
5. Propeller
6. Thrust washer
3. Remove the propeller, washer (if
equipped), and thrust washer.
Installing propeller
Spline models
NOTICE
Make sure to use a new cotter pin and
bend the ends over securely. Otherwise,
the propeller could come off during oper-
ation and be lost.
1. Apply Hidea marine grease or a corro-
sion resistant grease to the propeller shaft.
2. Install the spacer (if equipped), thrust
washer, washer (if equipped), and propeller
on the propeller shaft. NOTICE: Make sure
to install the thrust washer before
installing the propeller. Other- wise, the
lower case and propeller boss could be
damaged.