contains typical checks that apply to many
batteries, but you should always refer to the
battery manufacturer’s instructions.
NOTICE
A poorly maintained battery will quickly
deteriorate.
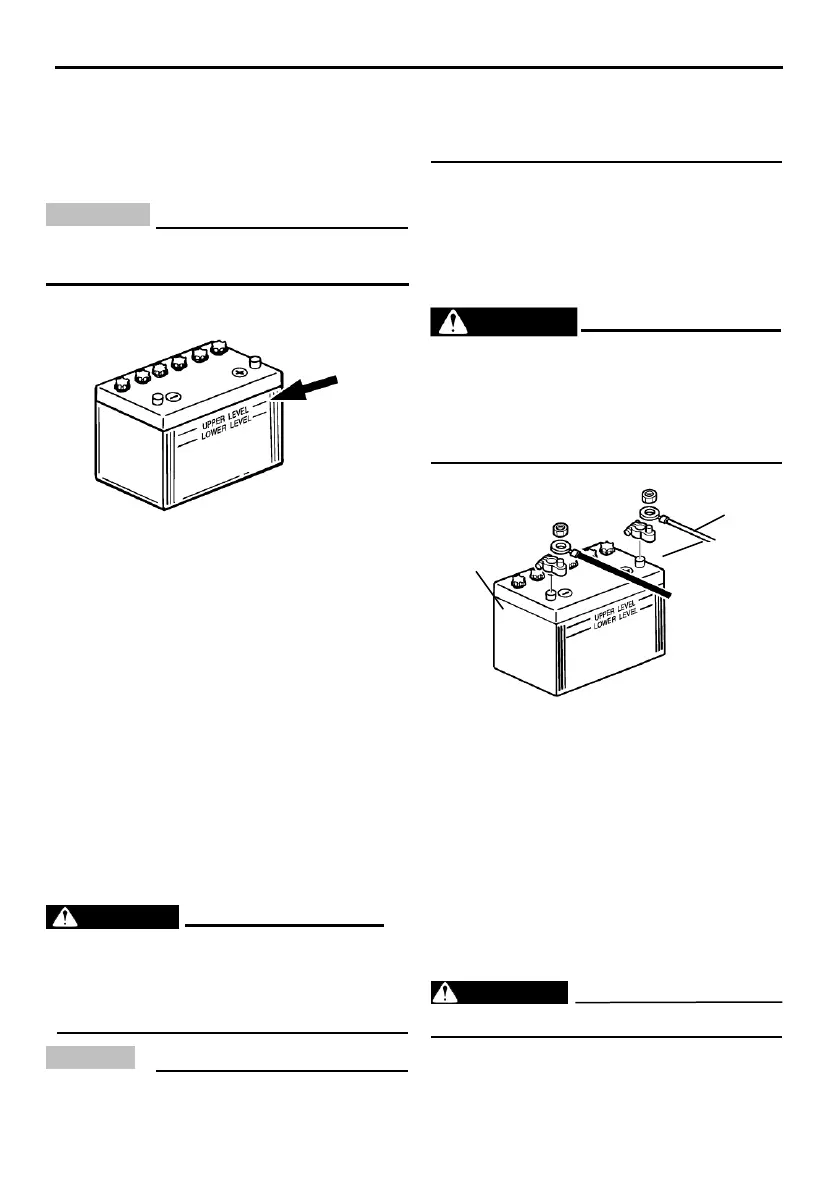
1. Check the electrolyte level.
wise, the electrical parts could be dam-
aged.
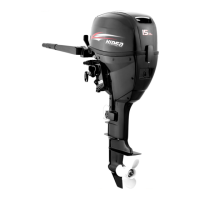
Connect the RED cable to the POSITIVE (+)
terminal first. Then connect the BLACK cable
to the NEGATIVE (-) terminal.
Using a single battery
Connect both red cables to the (+) terminal.
WARNING
Do not leave cable unconnected. If it acci-
dentally contacts the NEGATIVE (-) termi-
nal of the battery, there will be a short
circuit. Electric system damage and a fire
could result.
2. Check the battery’s charge. If your boat
is equipped with the digital speedometer, the
voltmeter and low battery alert functions will
help you monitor the battery’s charge. If the
battery needs charg- ing, consult your Hidea
dealer.
3. Check the battery connections. They
should be clean, secure, and covered by an
insulating cover. WARNING! Bad
connections can produce shorting or
arcing and cause an explosion.
1. Red cable
2. Black cable
3. Battery
Using an accessory
battery
Connecting the battery
WARNING
Mount the battery holder securely in a dry,
well-ventilated, vibration-free loca- tion in
the boat. Install a fully charged bat- tery in
the holder.
NOTICE
Do not reverse the battery cables. Other-
Use a connecting cable between the (-) ter-
minals of the starting battery and accessory
battery. See the illustrations of the wiring
connections. This cable must be made from
wire equivalent to the starting battery cable.
WA RNING
Use of smaller wire could lead to a fire.
TIP:
Consult your Hidea dealer about correct
wiring if a battery selector switch is desired.