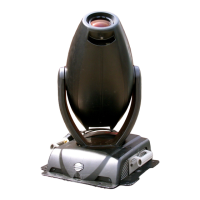
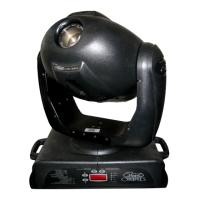
4-2 The x.Spot Menu System x.Spot™ User Manual
DMX Programming Options
X.Spot™ fixtures can be programmed to create and play back scenes with either a
DMX-compatible controller or, at the fixture level, with the Onboard Menu System’s
Preset menu, see “Onboard Presets Menu” on page 3-8. However, a DMX compatible
controller and the fixture’s on-board menu system cannot be used at the same time.
In other words, a scene cannot be created using the on-board memory and played
back using a controller. Also, a controller cannot be used at the same time on-board
scenes are playing.
Note: Because controllers cannot transmit crossfade or delay construct values,
use preset programming in the onboard menu system to manually set
those construct values at the fixture.
Show Creation with a DMX Controller
Using a DMX controller, an operator can program an unlimited number of sequences
(combinations of scenes) and retain direct control over the x.Spot fixture at all times.
The technique of programming a fixtures using a controller and then capturing the
scene(s) to the on-board memory of multiple x.Spot fixtures can save time. For more
information, see “Capture DMX to Scene” on page 3-14.
The Whole Hog II
®
Lighting Console, and the HandShake™ handheld controller are
the DMX controllers available from High End Systems to control x.Spot fixtures (see
“Optional Accessories” on page 1-4). For more information on whether a DMX
controller supports x.Spot fixtures, contact the controller’s vendor. For more
information on operating the fixture with a controller (or control device such as DMX
control software), consult the documentation provided with the controller.
Show Creation with Onboard Preset Menu
Fixture level DMX programming is executed in the Preset portion of fixture’s
Onboard Menu system. To create scenes, modify the default scenes in the fixture
memory, see “Edit Scene ## Menu” on page 3-8. Add timing to scenes, see page 3-11.
Then combine the scenes into loops.
Creating a Loop
A loop is a series of programmed scenes that continuously plays in sequential order.
To create a loop, first create two or more contiguous scenes (see “Edit Scene ##
Menu” on page 3-8). After creating scenes, go to the next available scene and choose
the ZERO SCENE menu option to erase any programmed parameter values and mark
the end of the loop, see “Zero Scene” on page 3-13.
Note: If all 16 available on-board scenes in a User Mode are included in a loop, the
end of the loop does not need to be marked. When preset playback is set on,