3-6
Replacing Parts
Trackspot User Manual
Replacing the Mirror Assembly
Caution: Use caution when handling broken glass.
Glass shards are extremely sharp.
You will need:
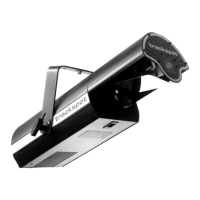
• replacement mirror assembly (p/n 80180001) (see Figure 3-7)
• leather gloves
• 7/64-inch allen wrench
To replace the mirror assembly:
1. Unplug the fixture.
2. Put on your leather gloves.
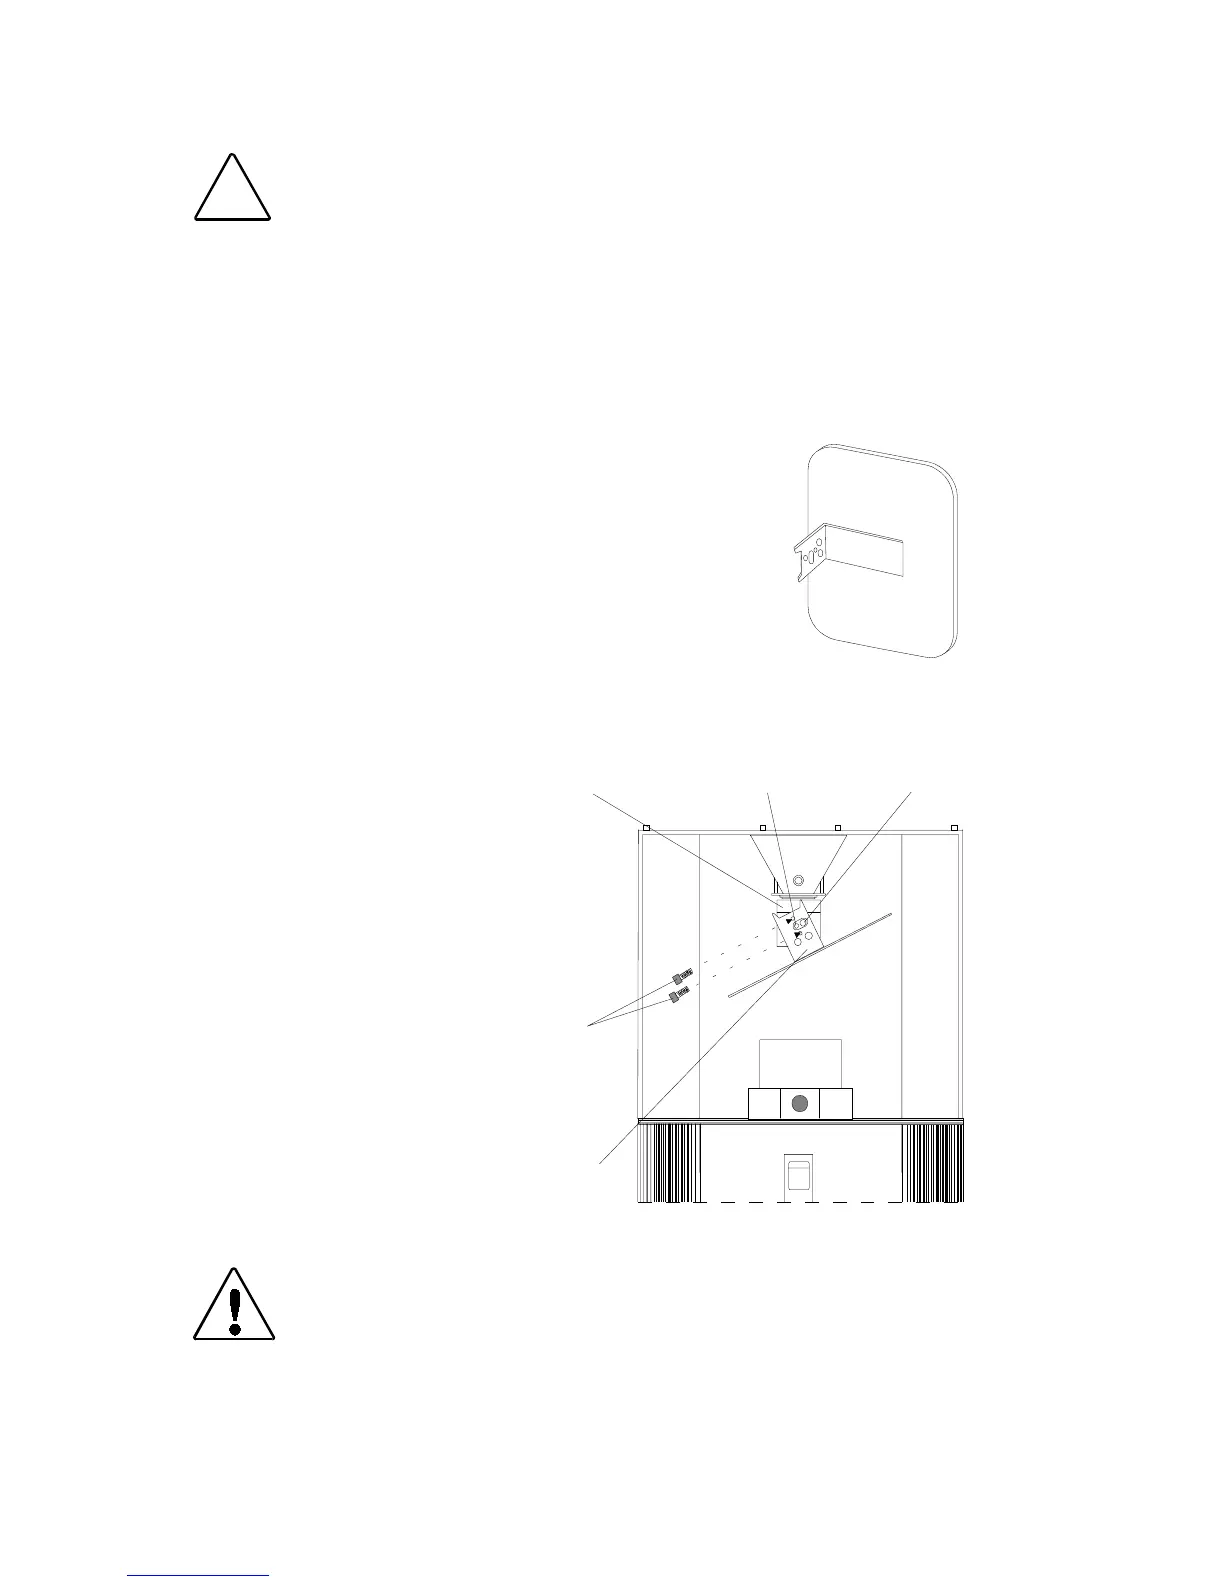
3. Use a 7/64-inch allen wrench to remove the
two allen screws that secure the mirror
assembly to the motor (see Figure 3-8). Set
the screws aside.
4. Remove the old mirror assembly and carefully
discard the broken glass.
5. Open the box
containing the new
mirror and carefully
remove the mirror
assembly from its foam
packaging.
6. Place the new mirror
assembly over the
spring plunger and
motor shaft. Align the
screw holes on the new
mirror assembly with
the screw holes on the
motor. Replace the two
allen screws. Use the
allen wrench to tighten
these screws securely.
Caution: You must tighten the two allen screws firmly.
The mirror assembly may fall from the fixture
if it is not secured.
!
Figure 3-7.
Mirror assembly
Figure 3-8. Installing a new mirror
allen
screws
mirror
assembly
motor
motor shaftspring plunger