Appendix X-COM 01
Page 38 of 42 HI 801 011 E Rev. 5.00
Index of Figures
Figure 1: Sample Type Label 12
Figure 2: Block Diagram 13
Figure 3: Indicators 15
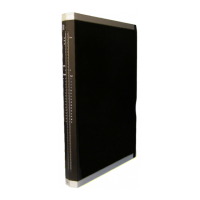
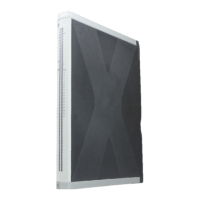
Figure 4: Views 19
Figure 5: Connector Board 20
Figure 6: Example of how to Insert the Mono Connector Board 22
Figure 7: Example of how to Secure the Mono Connector Board with Captive Screws 23
Figure 8: Mounting and Removing a Module 25