3.2 Making Settings on the Logger
29
3
3
Chapter 3 Settings
To return to the Measurement display from any Settings display, press the REC/
STOP button.
3.2 Making Settings on the Logger
• When the battery indicator appears, settings cannot be changed
(although they can still be displayed).
• When no operation occurs for 30 seconds with Settings displayed,
automatically switches to Measurement display.
• Settings cannot be changed while recording. However, settings can
still be displayed by pressing the SET button from the Measurement
display.
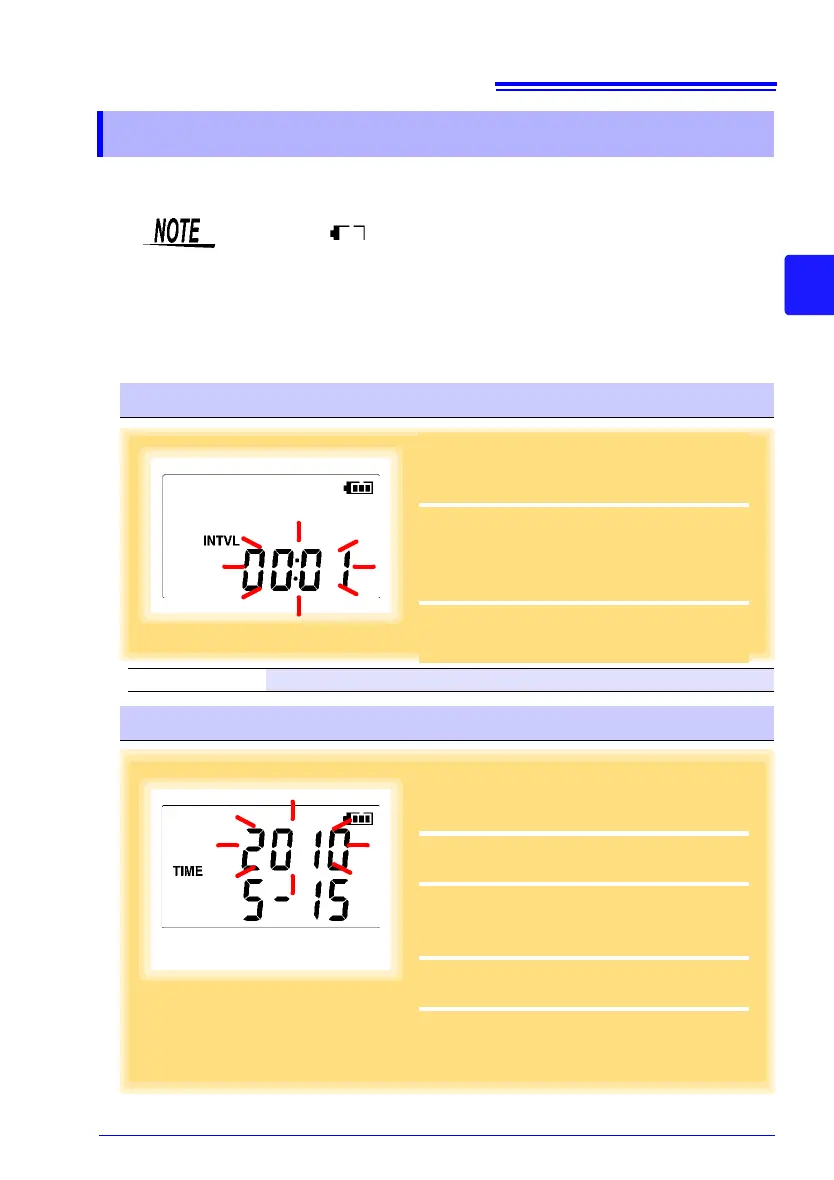
Recording Interval Setting
1
Press the SET button to display the inter-
val setting.
(The [INTVL] indicator appears,
and the setting blinks.)
2
Press the (+) and (-) buttons to change
the recording interval.
Example of configuration
1 second: 00:01 / 1 minute: 01:00
3
Press the SET button to accept the setting.
(The year setting is displayed.)
Recording Interval 1(Default)/2/5/10/15/20/30 sec., 1/2 /5/10/15/20/30/60 min
Real-Time Clock Setting
1
Press the SET button to display the time
settings.
([TIME] is displayed, and the year
setting blinks.)
2
Press the (+) and (-) buttons to change
the year.
3
Press the SET button to accept the year
setting.
(The month setting starts blinking.)
4
Repeat this procedure to set the month,
day, hour, and minute.
5
Press the SET button to accept the setting.
(The stop method setting is displayed.)
Year Setting display