5
Quick Start Guide
A CAN/power harness is supplied with the digital dash. Connect the black wire to negative, white wire to a
switched +12V circuit.
Connect the harness from the CAN connector on the vehicles main harness to the digital dash using the
supplied 4’ CAN/Power extension
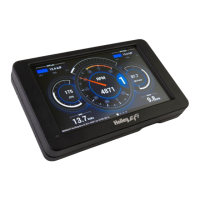
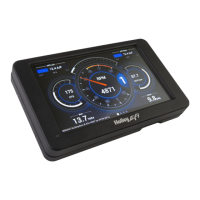
Once all connections have been made the Holley EFI Digital Dash may be powered up. After a brief initial
loading sequence the gauge display will appear.
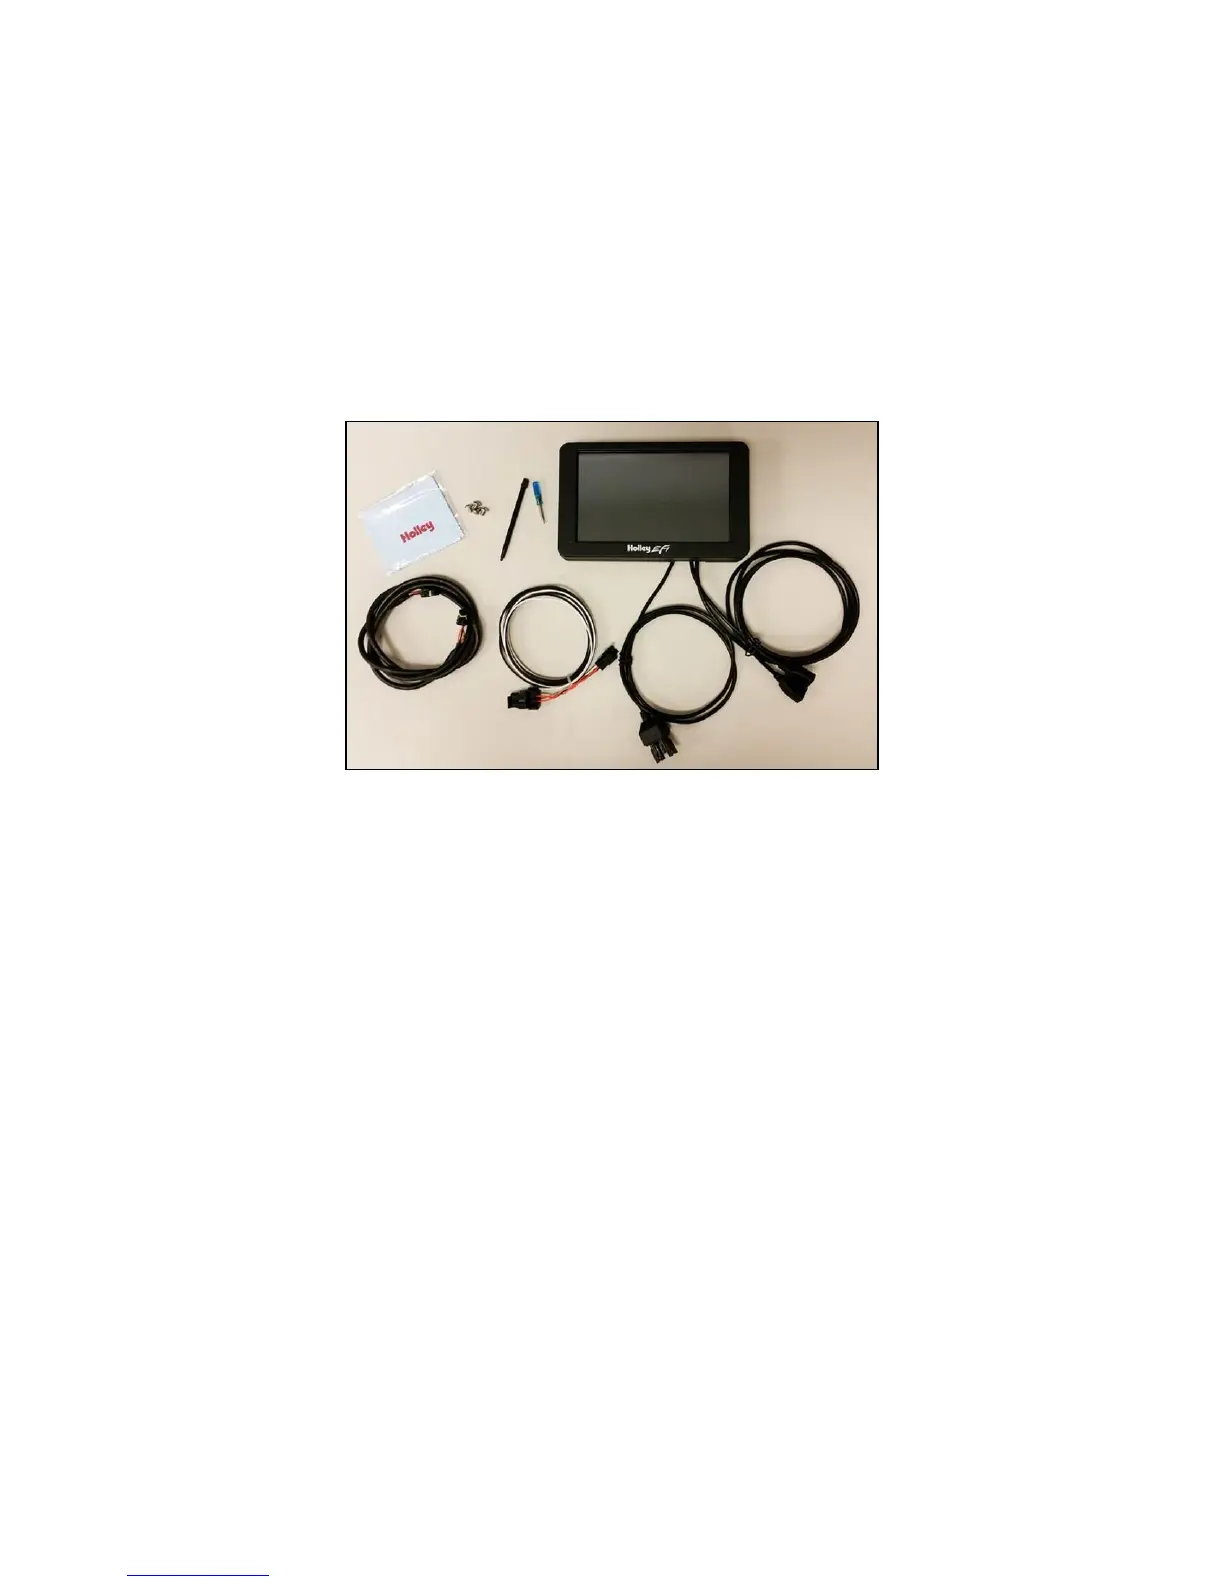
Package Contents
Specifications
General
Weather-proof aluminum housing engineered to withstand harsh racing environments
7” Low Glare, High Brightness, High Contrast, Full Color Touchscreen
800x480 Resolution
Operating voltage 8V - 20V
Auto Brightness
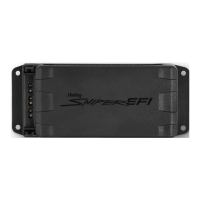
Plug and Play connection with all Holley EFI systems via CAN bus
Completely customizable display of all EFI parameters including every user configured input and output
Multiple gauge and indicator types with limitless customization options
Quickly toggle between two or more active screens (tune, warm-up, race, drive, etc.)
Virtual switch panel
User defined channel alarms
Configurable progressive shift lights and light bar
On screen playback of EFI data logs
Download and save Holley EFI data logs to external USB memory stick
Expandable internal storage on micro SD card
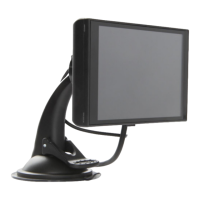
Flexible mounting options
Support for future USB devices
Upgradable with future software/firmware enhancements
Multiple units can be used simultaneously on a Holley EFI system for larger dashboards
Internal 3-axis accelerometer