28
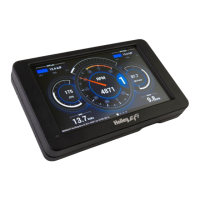
5. Select ‘View Outputs’ from the ‘Pin Map’ and drag the outputs to the whatever pin location the device was
wired to.
6. You will have to send the new configuration to the EFI and toggle the ignition for approximately 5 seconds
for the changes to be saved. Turn on the ignition to continue.
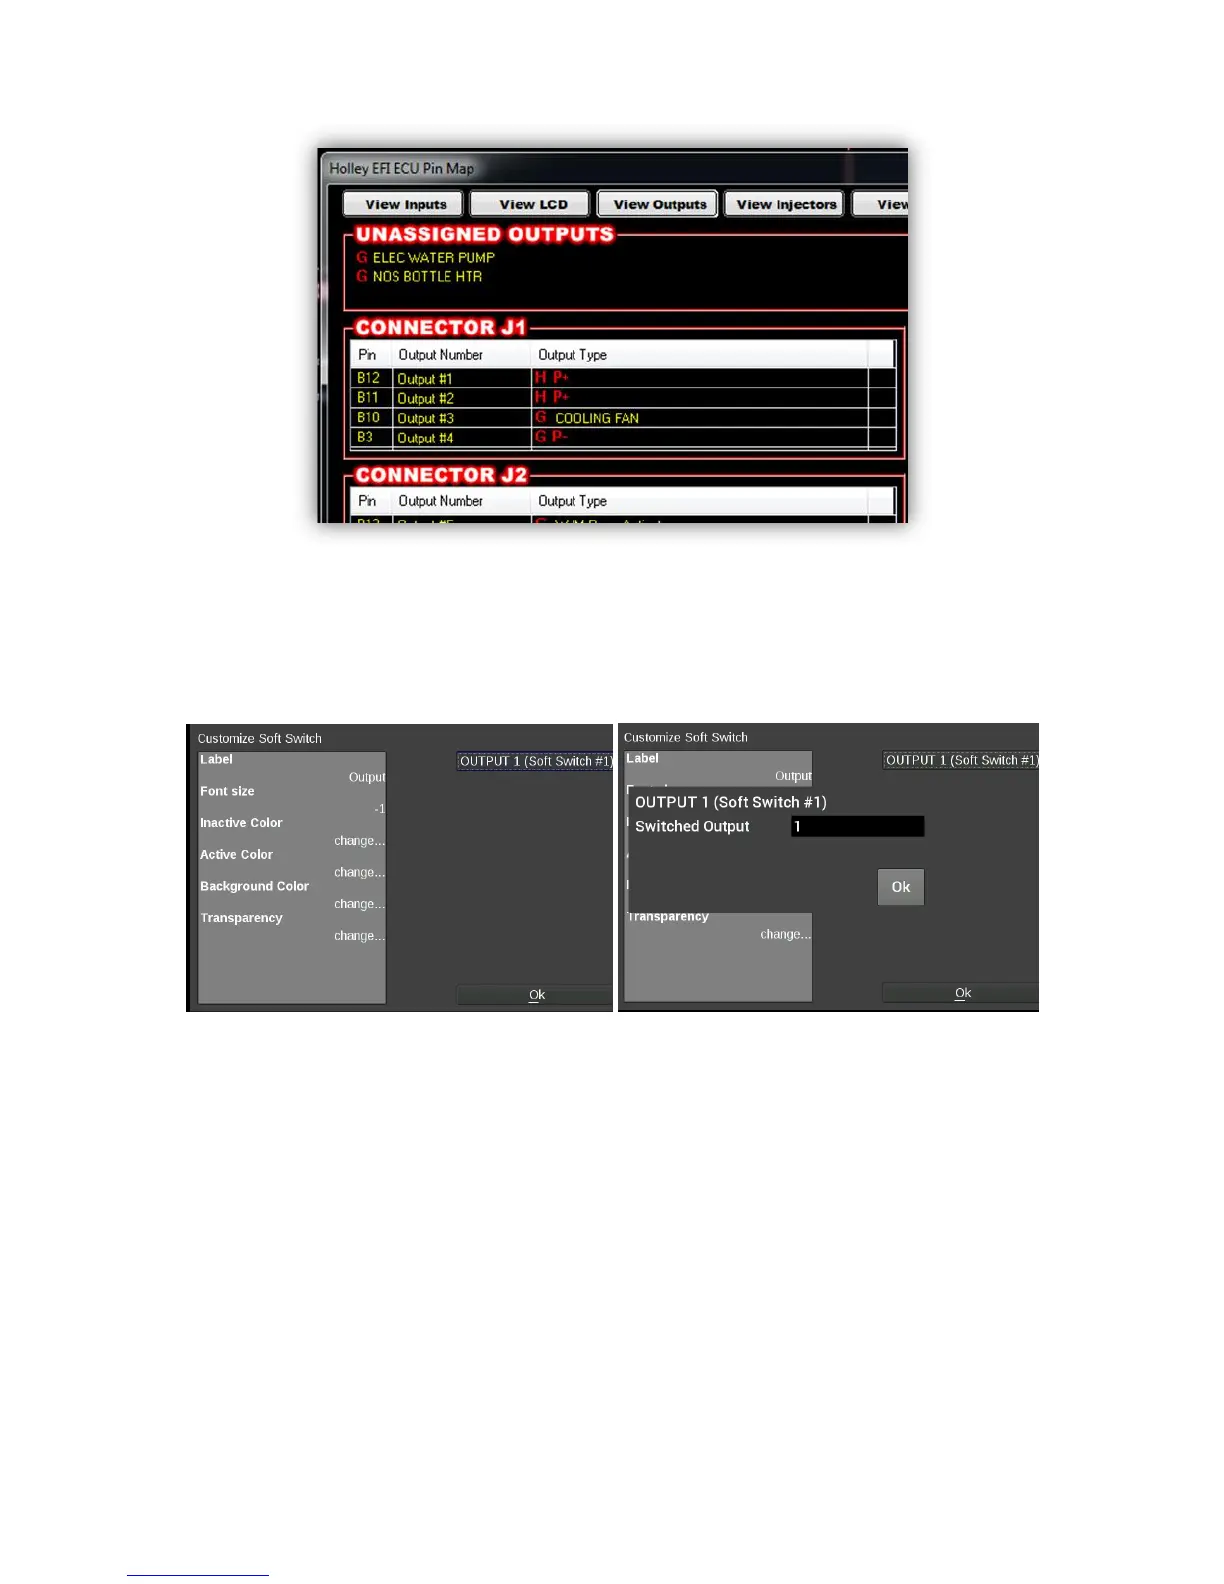
7. Place a switch on the Holley EFI Digital Dash gauge screen by choosing ‘Add’ then ‘Switch’. An option box
in the upper right hand corner of the switch customize menu will allow mapping of the switch to the proper
LCD Pin Map number that was configured in the Holley EFI software.
8. Customize the switch Label and other properties on the Dash and choose ‘Ok’.
Changing the Background
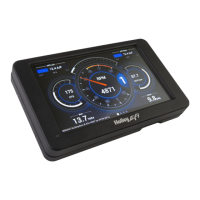
The Holley EFI Digital Dash comes preloaded with a variety of background images and gauge templates (see
Appendix C). Users can also upload their own background image from a USB memory stick. Background
images should be 800x480 resolution, in .jpg or .png file format.
To change the background, enter the customize menu and choose ‘Background’. A file directory will open
listing all available background images. To choose one from a USB drive, select ‘USB’ on the left side of the
screen and that drive’s files will then be shown. Choose a background filename, and press OK to replace the
current background. The background image is copied to the internal memory of the Dash so the USB does not
have to be present for that background to be used.