24 Chapter 5 Mechanical Installation
Searchline Excel™ Plus / Searchline Excel™ Edge – Technical Manual
5.7Pole Mount Installation
5.7.1Install Universal Mounting Bracket
For pole installation, use the optional Pole Mount Fixing Kit. Refer to Chapter 13 Ordering Information of this manual.
1. For poles 50 to 101 mm (2 to 4 inches) in diameter use the supplied Universal Mounting Bracket.
2. For larger poles 101 to 152 mm (4 to 6 inches) in diameter use the Mount Plate Adaptor for Universal Mounting
Bracket (optional; Refer to Chapter 13 Ordering Information of this manual.)
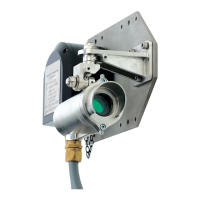
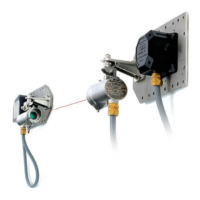
3. Attach the assembled Universal Mounting Bracket (or Mount Plate Adaptor for Universal Mounting Bracket) to
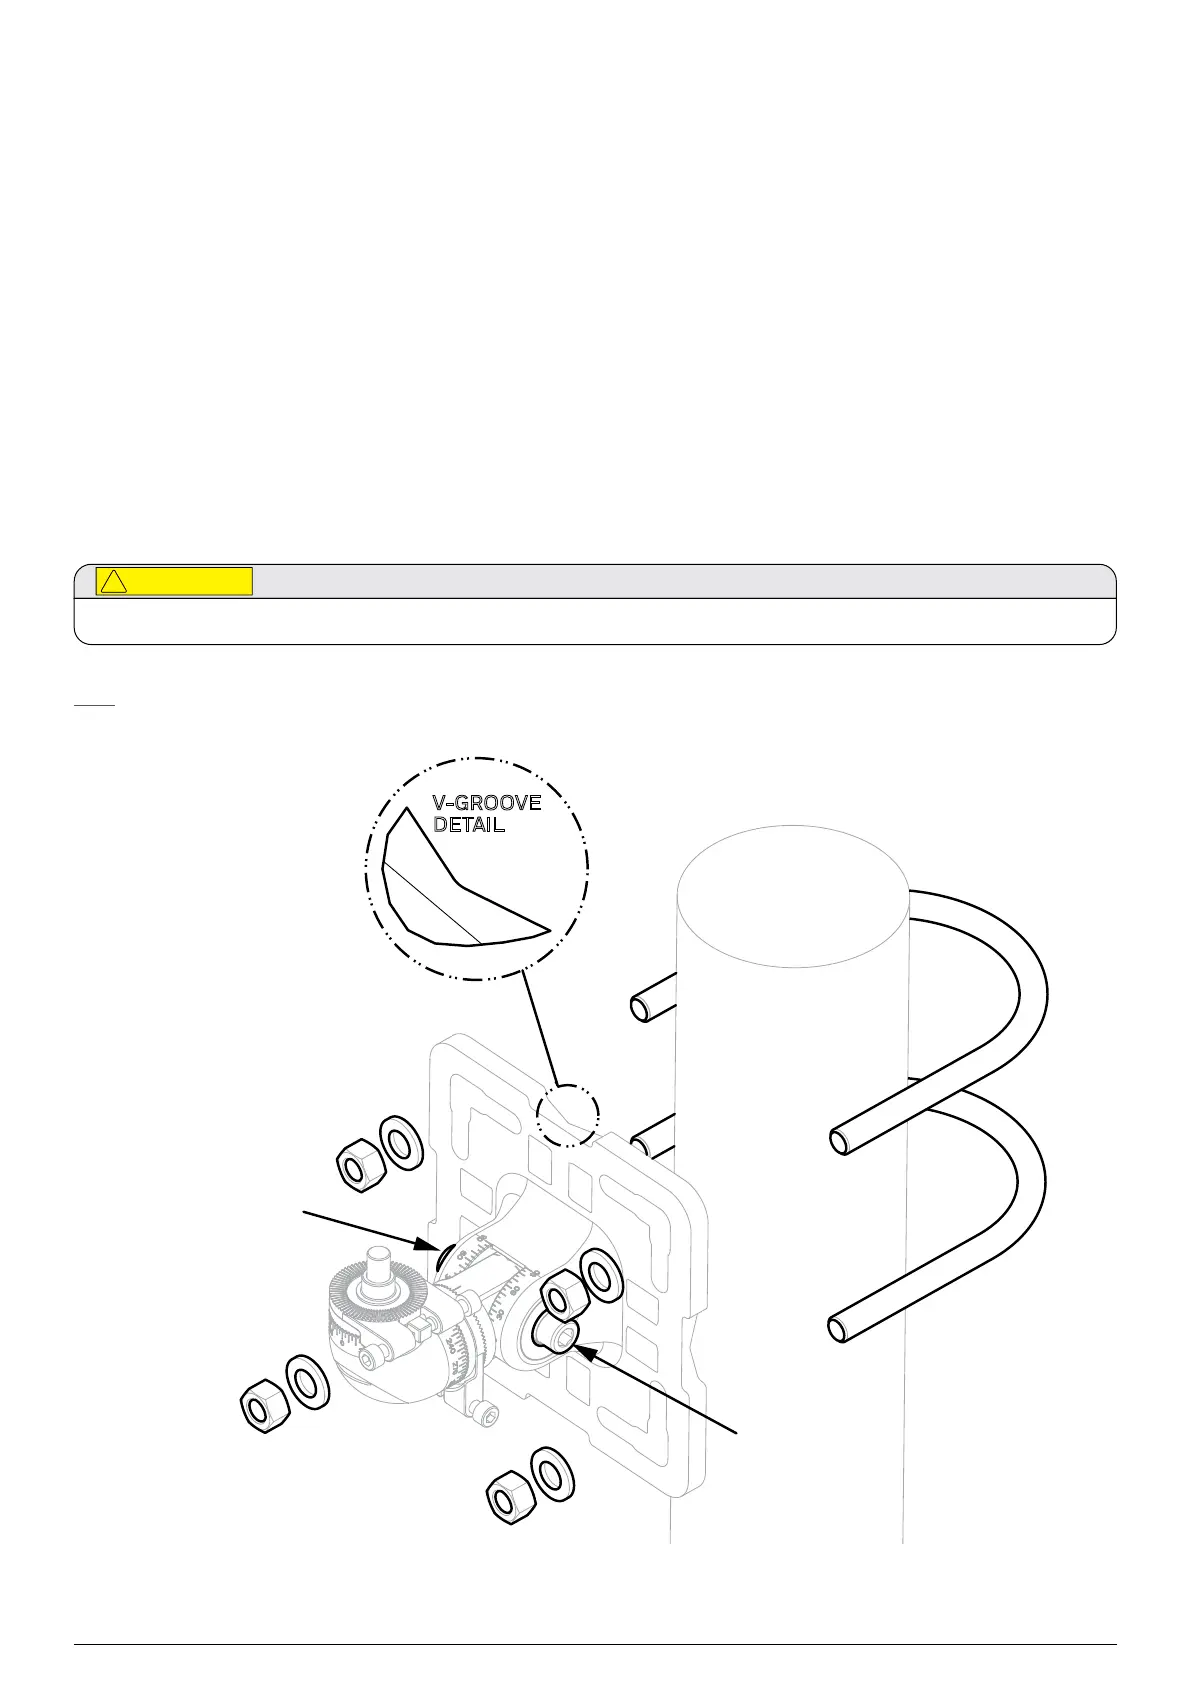
the pole. Align the bracket flange V-groove with the pole for a good fit. Fix the bracket with two U-bolts and four nuts
with washers. Alternatively, fix the bracket using the Worm Drive Clips (Figure 5).
4. Unscrew both horizontal M10 bolts by 23 turns.
5. Adjust the pivot in horizontal position.
6. IMPORTANT: First, tighten the left-facing horizontal M10 bolt (Figure 5) to fix the pivot in horizontal position
(torque 30 Nm/22.1 lb-ft).
7. IMPORTANT: Second, tighten the right-facing horizontal M10 bolt (Figure 5) to fix the pivot in horizontal position
(torque 10 Nm/7.4 lb-ft).
Use of Worm Drive Clips is NOT recommended for installation on moving objects, e.g., gas carriers.
Note
All Universal Mounting Bracket bolts are captive to ensure that they are not accidentally dropped during installation.
Left-facing
horizontal
M10 bolt
(torque 30 Nm)
Right-facing
horizontal
M10 bolt
V-GROOVE
DETAIL
Figure 10.Universal Mounting Bracket fitment to pole with U-bolts
 Loading...