UV-Scan
18 #03592DE-EN c
6. Basic functions of the Hönle UV-Scan
6.1. Switching the UV-Scan on and off
Switching the UV-Scan on
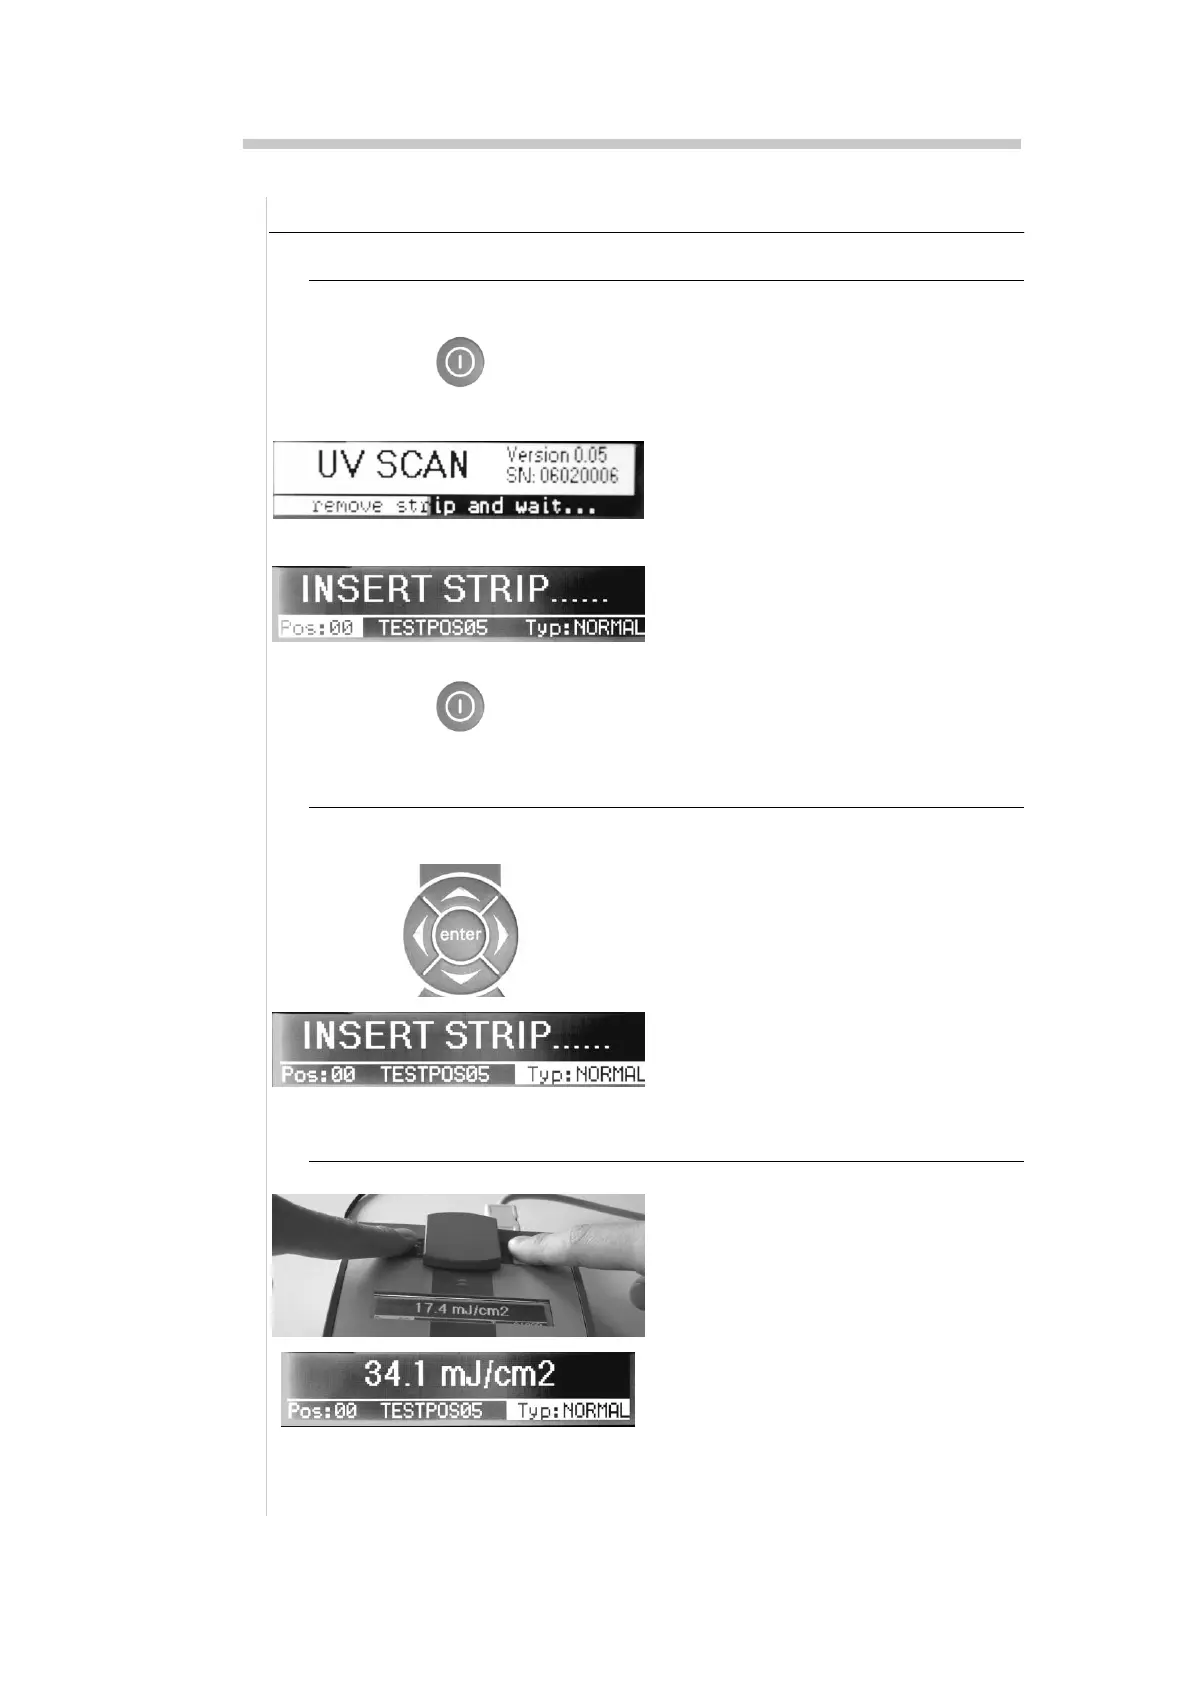
The UV-Scan is switched on by press-
ing the On/off key. After a short time,
the start screen appears. This gives
the serial number and current version
number of the software
Each time it is started, the device runs
through a self-test and automatically
adjusts the sensor. This process lasts
10-50 seconds. Do not insert a strip
during this time. After the test has
been completed, the measurement
display appears and asks you to insert
a measuring strip.
Switching the UV-Scan off
To switch off the UV-Scan, press the
On/off key again.
6.2. Setting the strip type
Before measurement, select the strip type used at the unit.
Select the "Typ" field with the cursor
keys and set the new strip type.
NOTE
If the wrong strip type is set, the
measurement results obtained will not
be relevant
6.3. Analysing the teas UV strip
Remove the irradiated tesa UV
Strip from the base as described in
the chapter "Using the tesa UV
Strip"
Push into the measurement slot as
far as possible, as shown. The
marking line with the two arrows
acts as a guide for positioning
The dose value is shown in the
display after a short time.