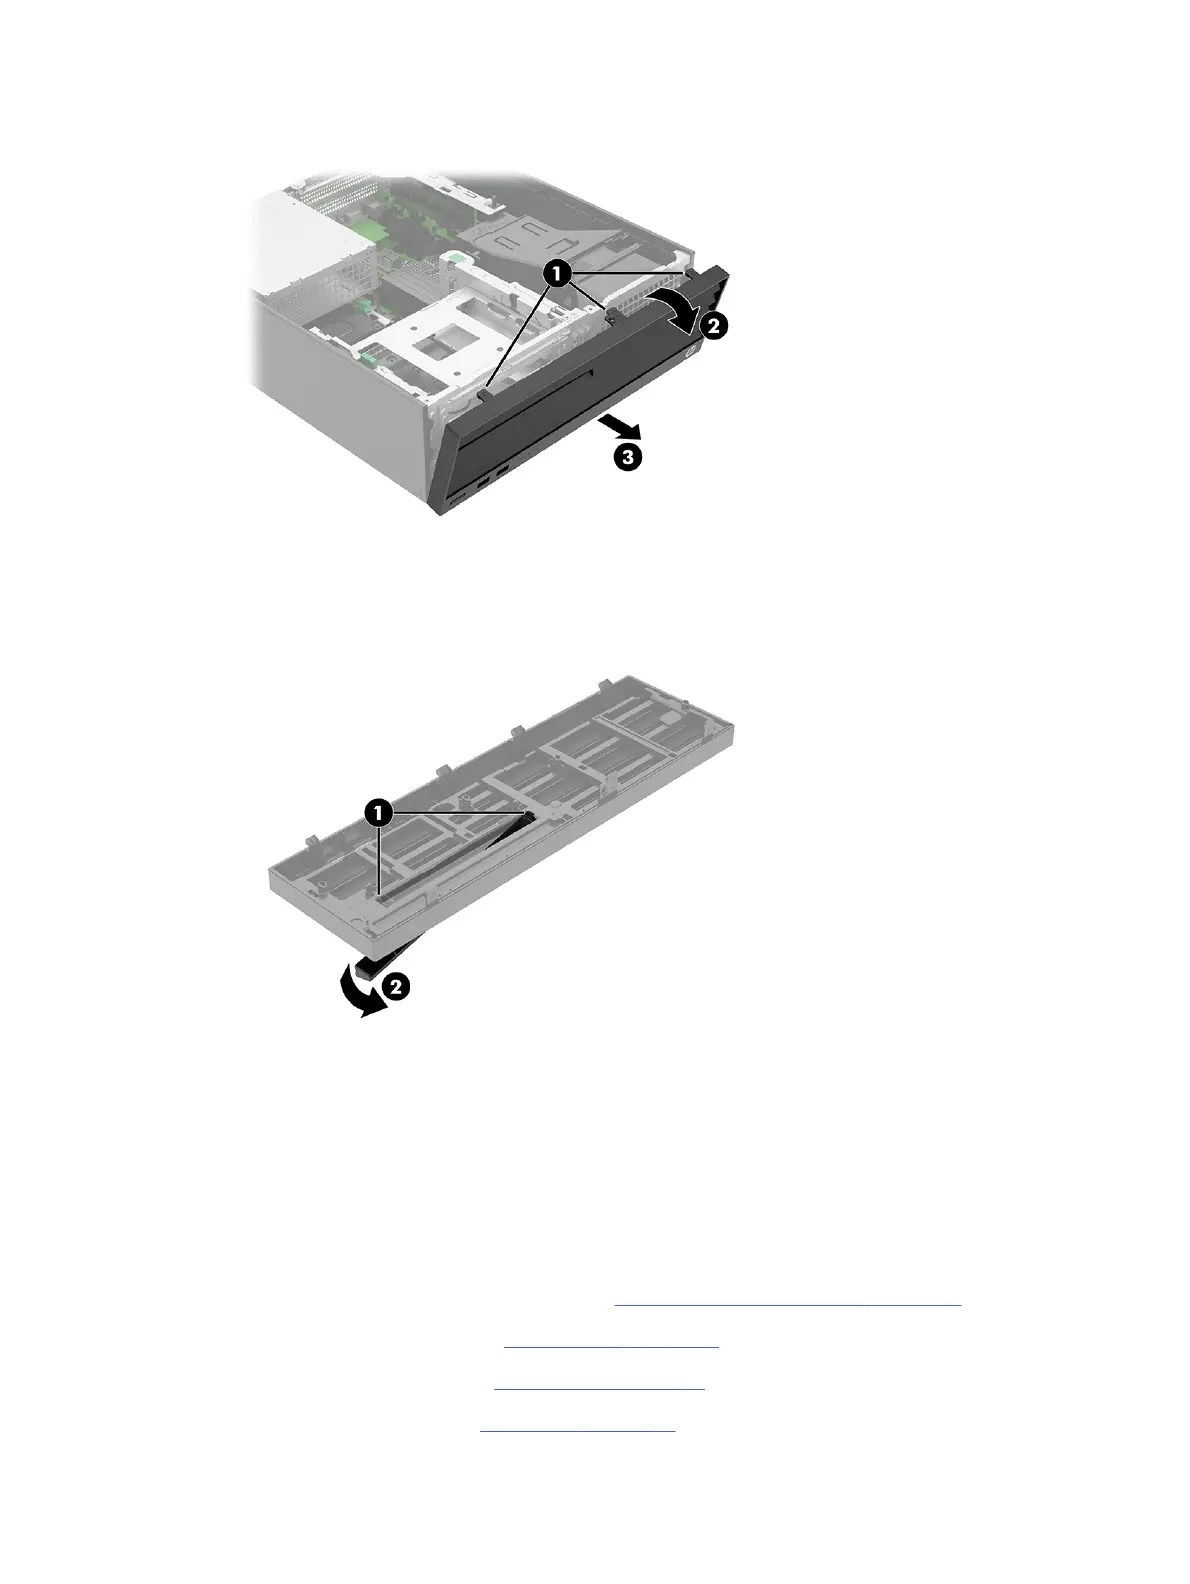
4. Rotate the top of the bezel outward (2), and then pull the bezel (3) away from the computer.
5. To remove the blank from the bezel, press the release tabs (1) on the inside of the bezel, and then
rotate the blank (2) off the outside of the bezel.
To install the front bezel, reverse the removal procedure.
Extra screw locations
Extra screws to use for component installation are installed on the front of the computer under the
bezel.
To access the extra screws, follow these steps:
1. Prepare the computer for disassembly (see Preparation for disassembly on page 20).
2. Remove the access panel (see Access panel on page 21).
3. Remove the optical drive (see Optical drive on page 23).
4. Remove the front bezel (see Front bezel on page 23).
Extra screw locations
25