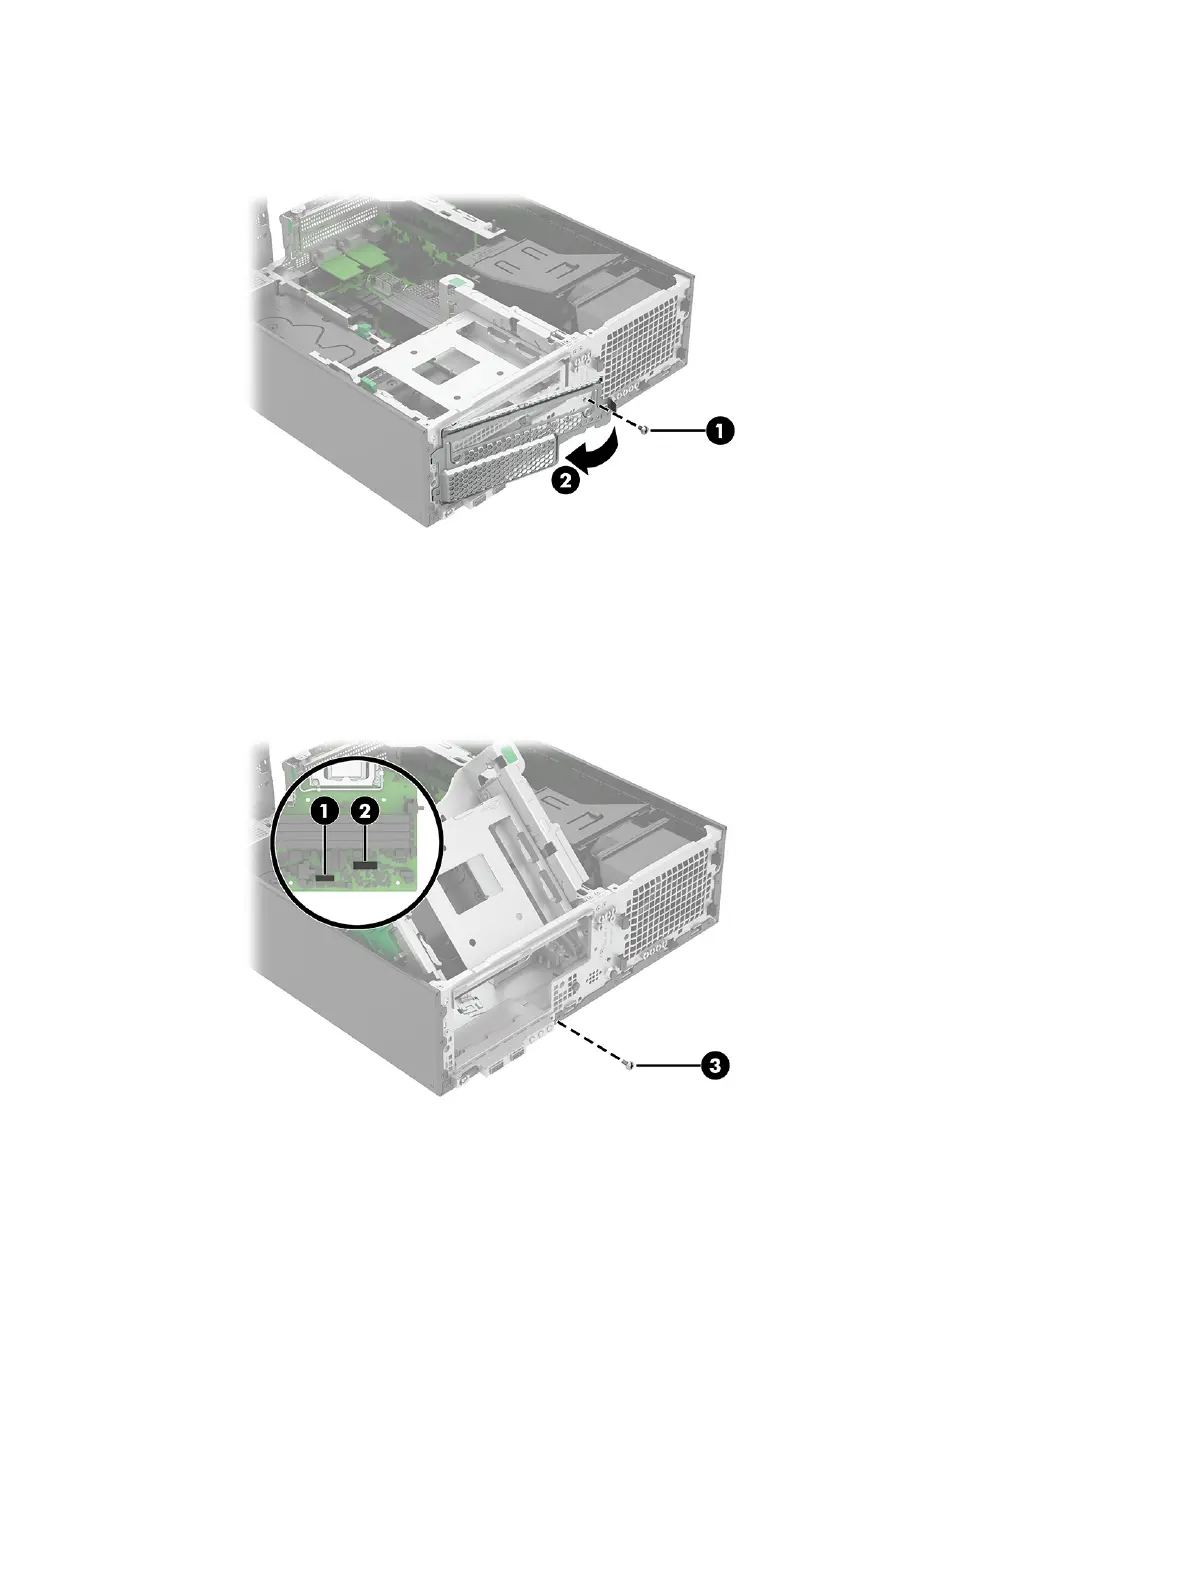
1. Remove one Torx screw (1) from the front grill, and then rotate the grill (2) from right to left and off
the front of the computer.
2. Disconnect the cable from the PB/LED connector (1) on system board.
3. Disconnect the cable from the FRONT USB3 connector (2) on system board.
4. From the front of the computer, remove the Torx screw (3) from the front I/O assembly.
5. Rotate the right side of the assembly (1) out slightly.
6. Slide the assembly (2) toward the right.
7. Rotate the left side of the assembly (3) approximately 90° so the assembly is perpendicular to the
front of the computer.
Front I/O assembly
41