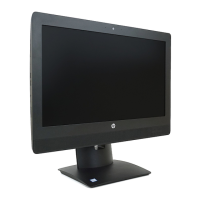
Front bezel
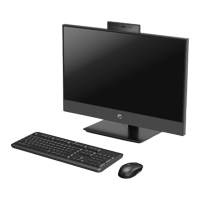
The front bezel is located on the front of the computer and is secured to the main system bracket with
seven Torx screws. You can separate the bezel from the computer with most of the computer
assembled. You have to remove the rear cover, webcam, and bottom stand to remove the front bezel
from the computer.
To remove the front bezel:
1. Prepare the computer for disassembly (see
Preparing to disassemble the computer on page 27).
2. Remove the rear cover (see
Rear cover on page 30).
3. Remove the webcam (see
Webcam module on page 43).
4. Remove the bottom stand (see
Bottom stand on page 48).
5. Remove the seven Torx screws that secure the bezel to the main system bracket assembly.
6. Lift the computer from the bezel.
To install the front bezel, reverse the removal procedures.
50 Chapter 5 Removal and Replacement Procedures All-in One (AIO) Chassis
 Loading...
