100 Chapter 4
Field Replaceable Units
FRU Removal and Replacement
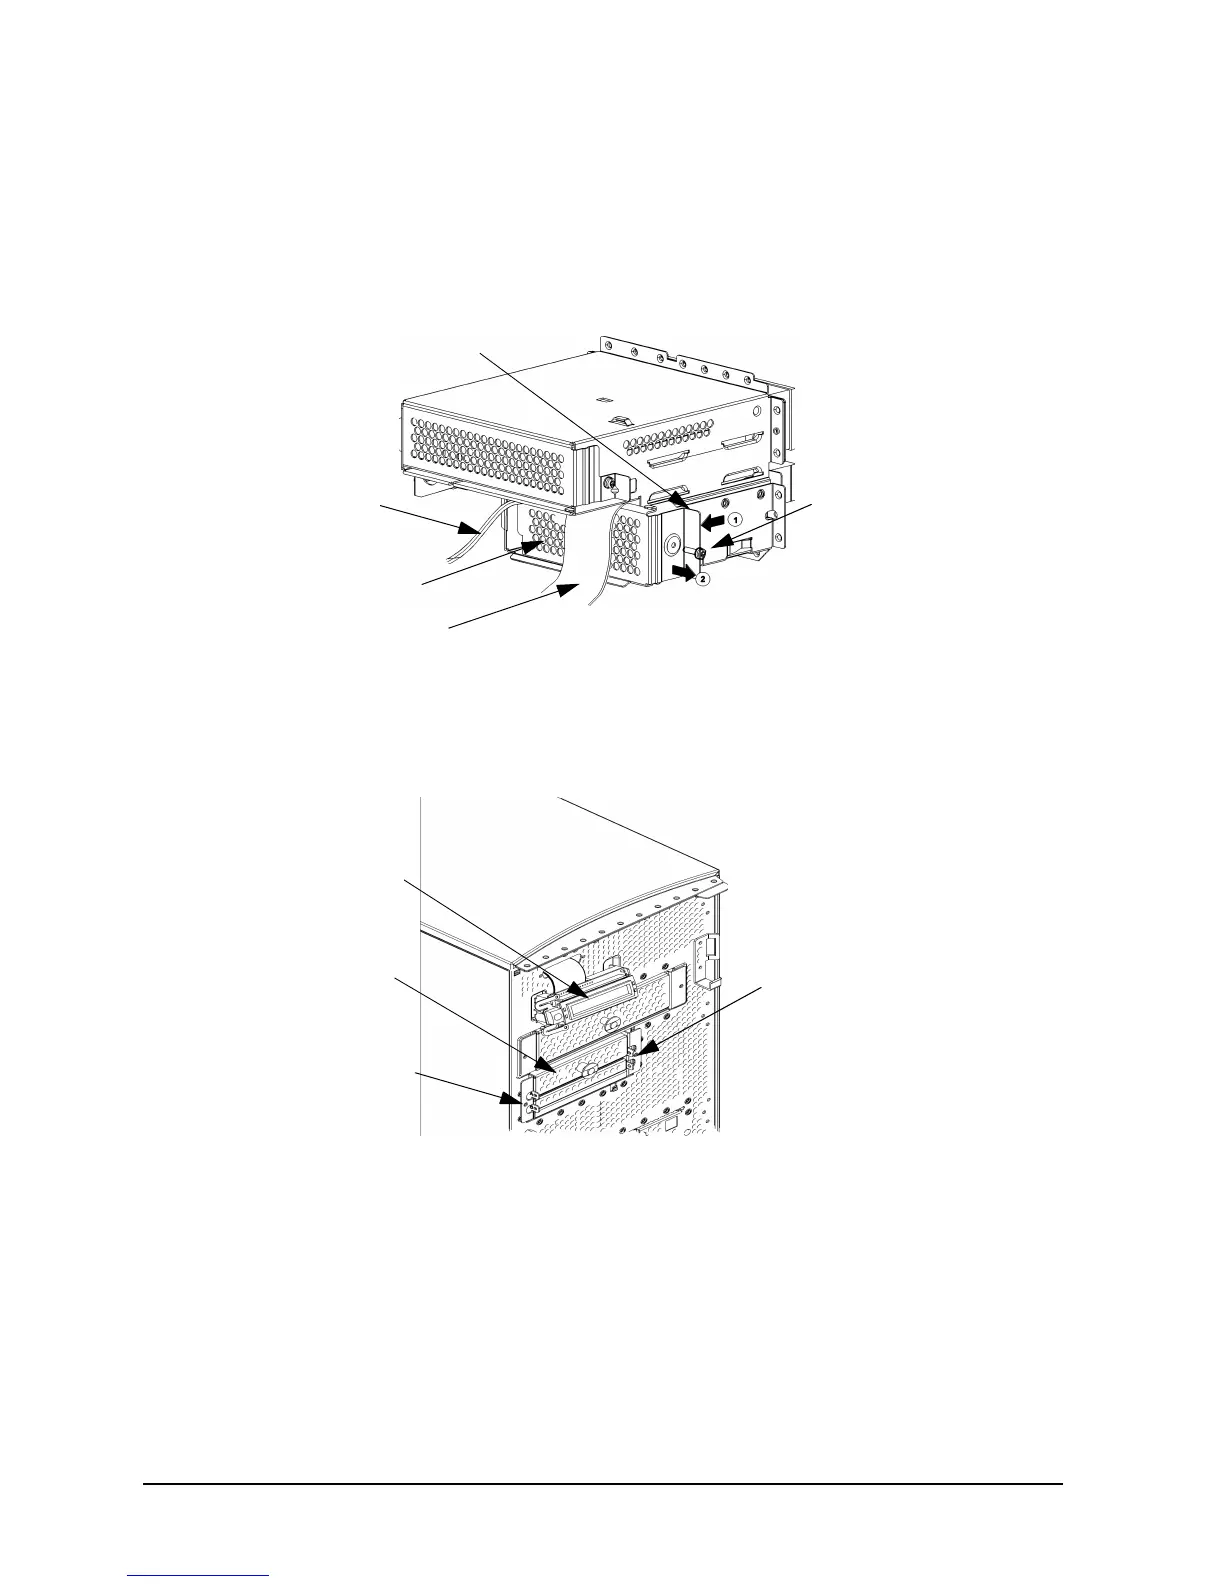
2. Remove the rear cover of the floppy disk drive bay inside the workstation by unscrewing
the T-15 Torx/slotted screw as shown in Figure 4-18. Push the cover handle toward the
rear of the floppy disk drive approximately one inch, and then pull the cover handle
toward you.
Figure 4-18. Removing the Floppy Disk Drive Bay’s Rear Cover
3. Rotate the workstation around until you see the front of the workstation as shown in
Figure 4-19.
Figure 4-19. Front of Workstation with the Front Panel Removed
T-15
Torx/Slotted
Screw
Power
Cable
Data Cable
Rear Cover
Rear Cover Handle
LCD
Floppy Disk
Drive Blank
Bracket Screw
Bracket Screw