106 Chapter 4
Field Replaceable Units
FRU Removal and Replacement
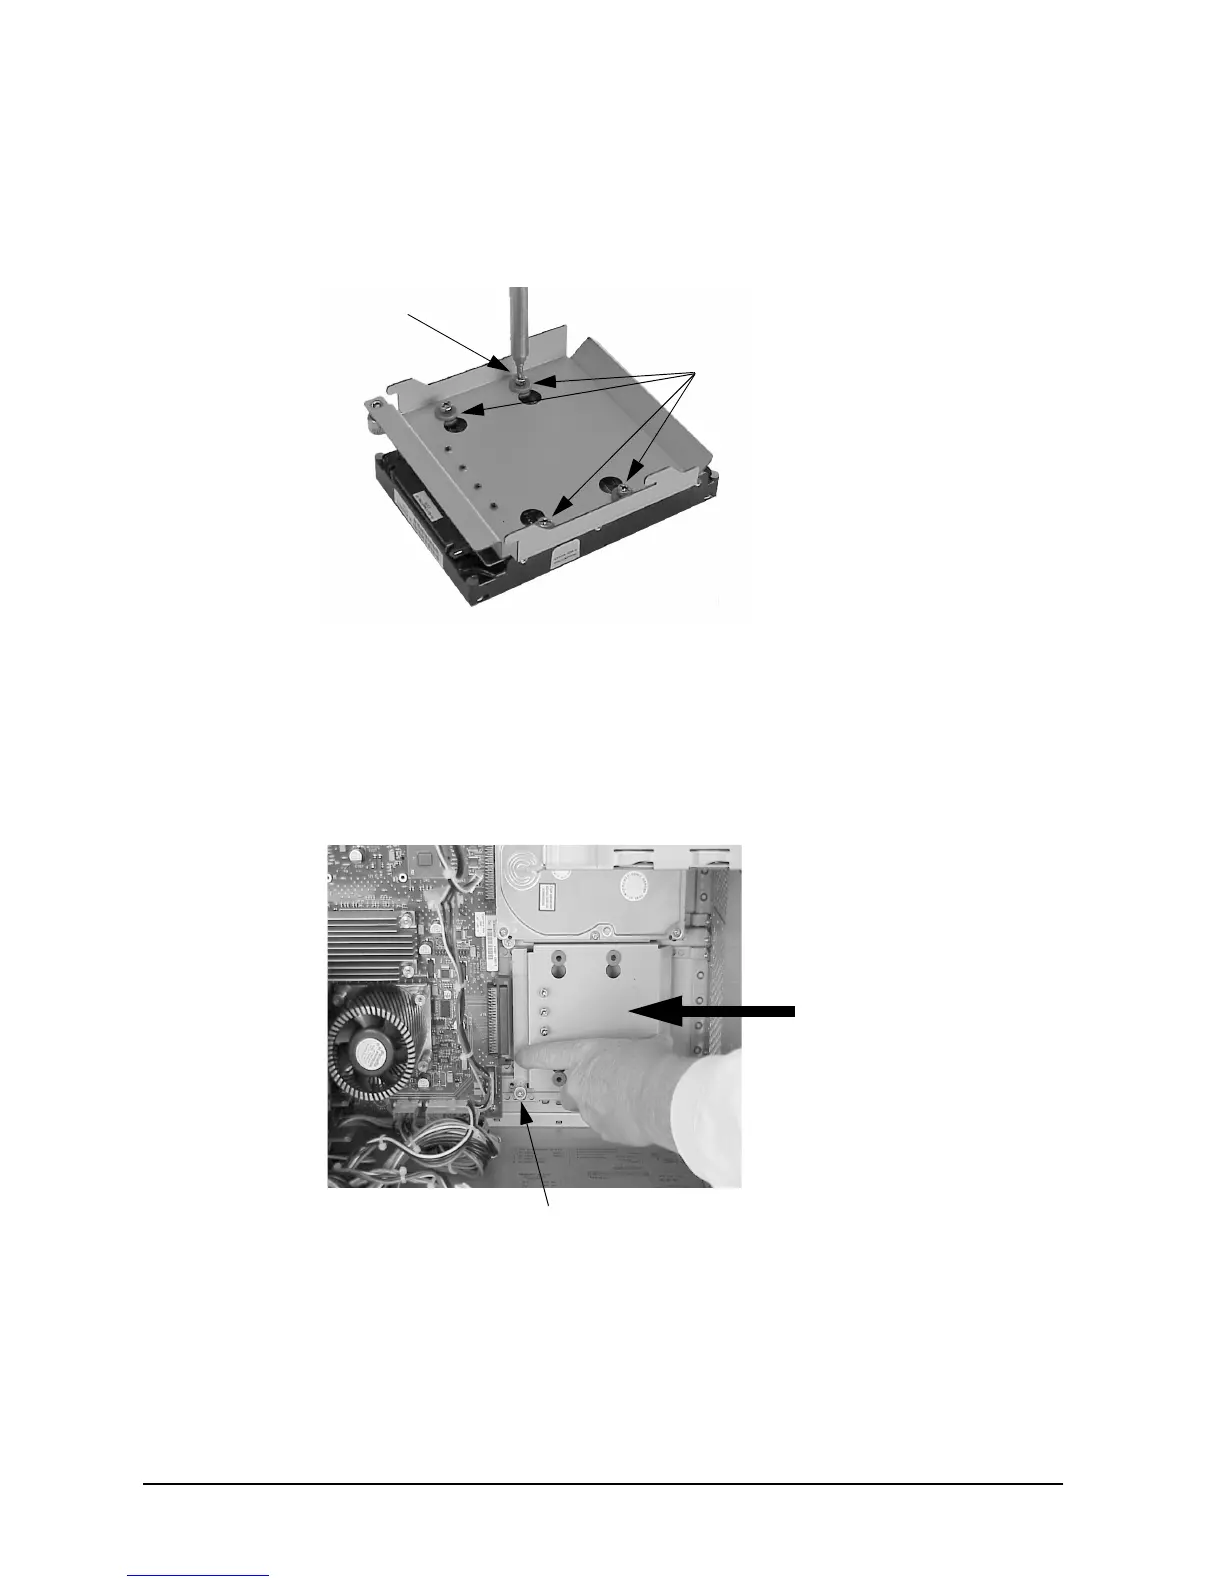
3. Remove the four T-15 Torx mounting screws from the bracket as shown in Figure 4-27.
Be careful when removing the hard disk drive from its bracket to avoid damaging it.
Figure 4-27. Removing the Hard Disk Drive from Its Bracket
4. Screw the four mounting screws into the four vertical holes on the hard disk drive
bracket to store them for future use.
5. Slide the hard disk drive bracket into its slot, and push firmly inward to secure the hard
disk drive bracket to the system board connector. See Figure 4-28.
Figure 4-28. Replacing the Hard Disk Drive Bracket
6. Tighten the T-15 Torx thumbscrew to secure the bracket to the system board.
7. Close the left side panel of the workstation as shown in the section “Closing the Left
Side Panel.”
T-15 Torx
Mounting Grommets
(Do NOT Remove)
Mounting Screw
T-15 Torx Thumbscrew