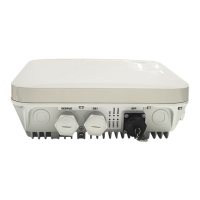
2. Connect the cables. For details, see 2.7 Cable Connection.
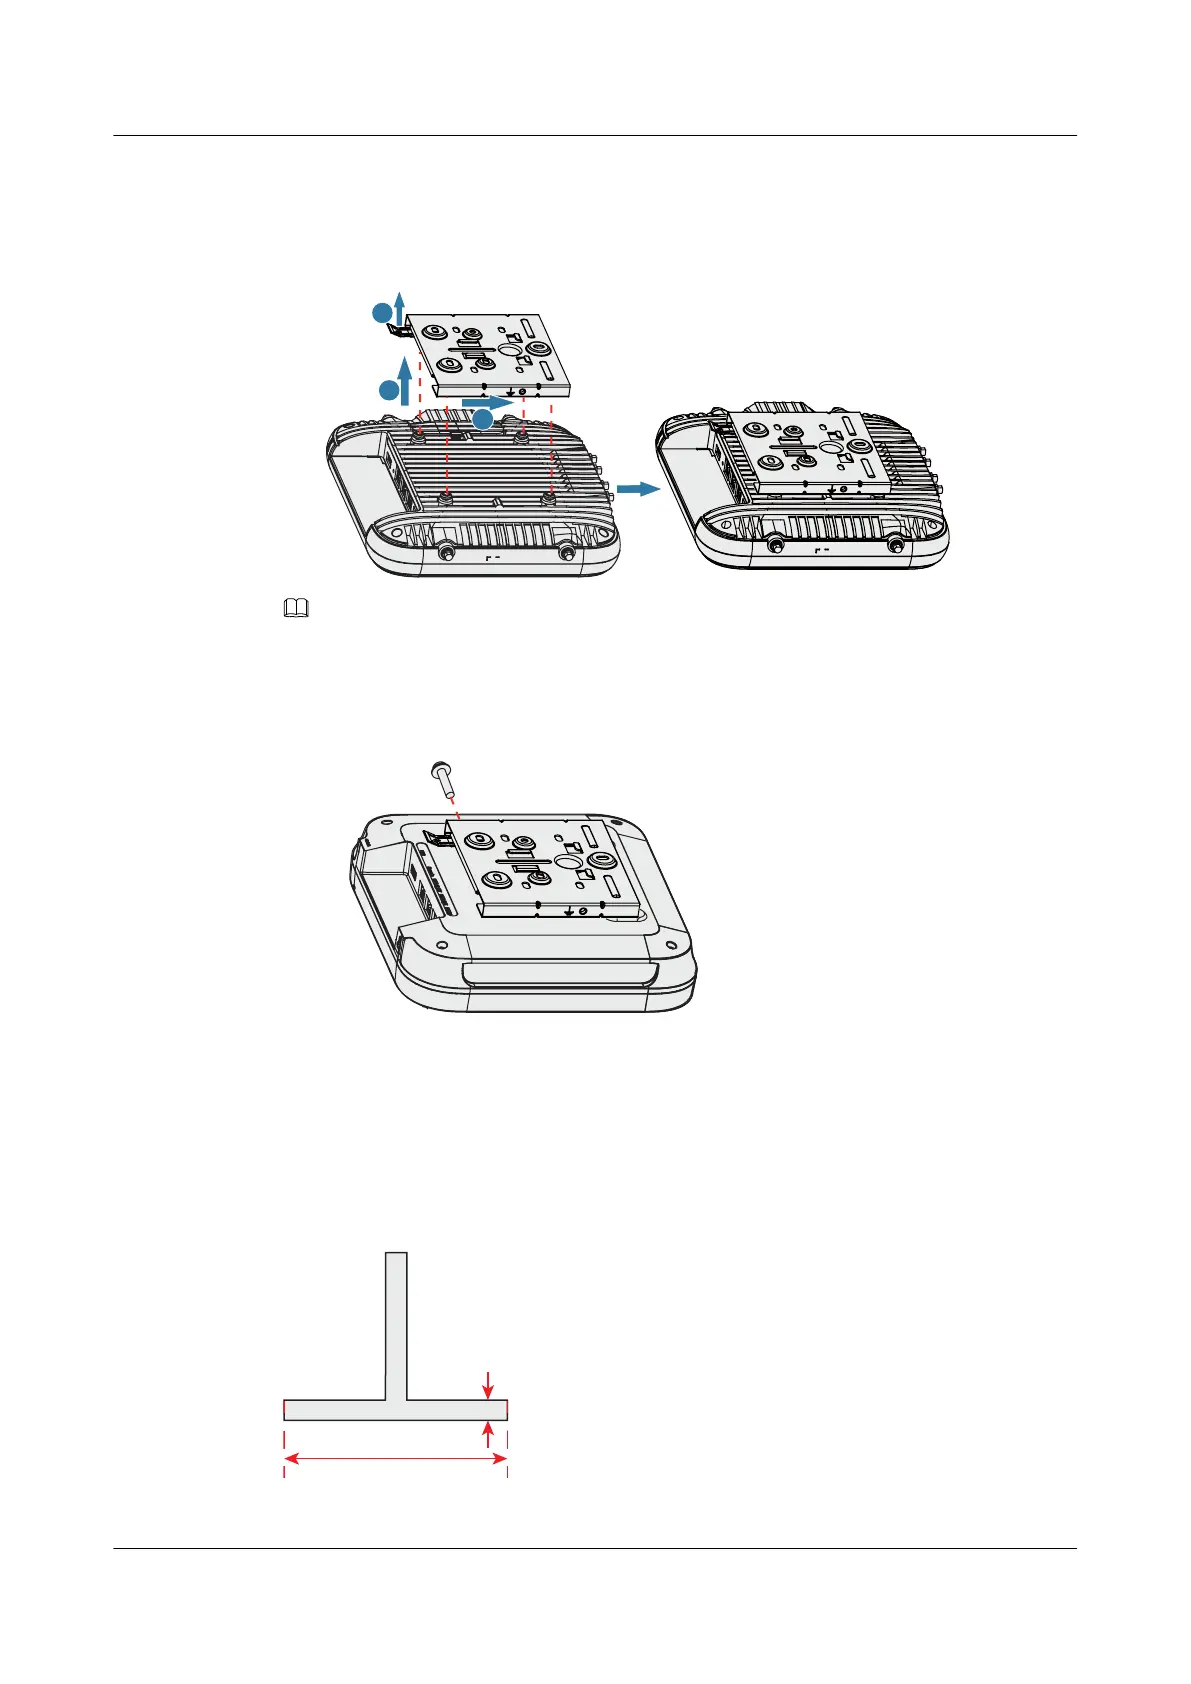
3. Align the rubber feet of the device over the mounting slots on the mounting bracket and
vertically push the AP to secure it. When the spring clip is popped up, push the AP
horizontally until it snaps into place (you can hear a click).
NOTE
l Ensure that the AP is correctly installed on the mounting bracket and there is 200 mm space above
and around the AP for maintenance.
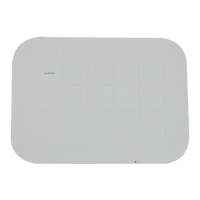
l In a scenario with heavy vibrations, tighten the AP to the mounting bracket using M4x30 screws
with a torque of 1.4N•m. This prevents the AP falling off from due to vibrations. In normal
scenarios, you do not need to install these screws.
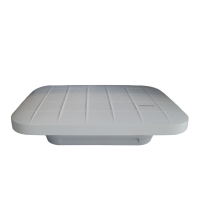
2.6.3 Installing the Device on a T-rail
A T-rail needs to bear the weight of four times the total weight of the device and mounting
bracket without damage. Figure 2-3 shows the T-rail dimensions requirements (t: thickness;
w: width).
Figure 2-3 Section of a T-rail
19 mm ≤ w ≤ 29 mm
0.6 mm ≤ t ≤ 1.0 mm
AP4050DN-E
Hardware Installation and Maintenance Guide
2 AP Installation
Issue 05 (2018-02-02) Huawei Proprietary and Confidential
Copyright © Huawei Technologies Co., Ltd.
18