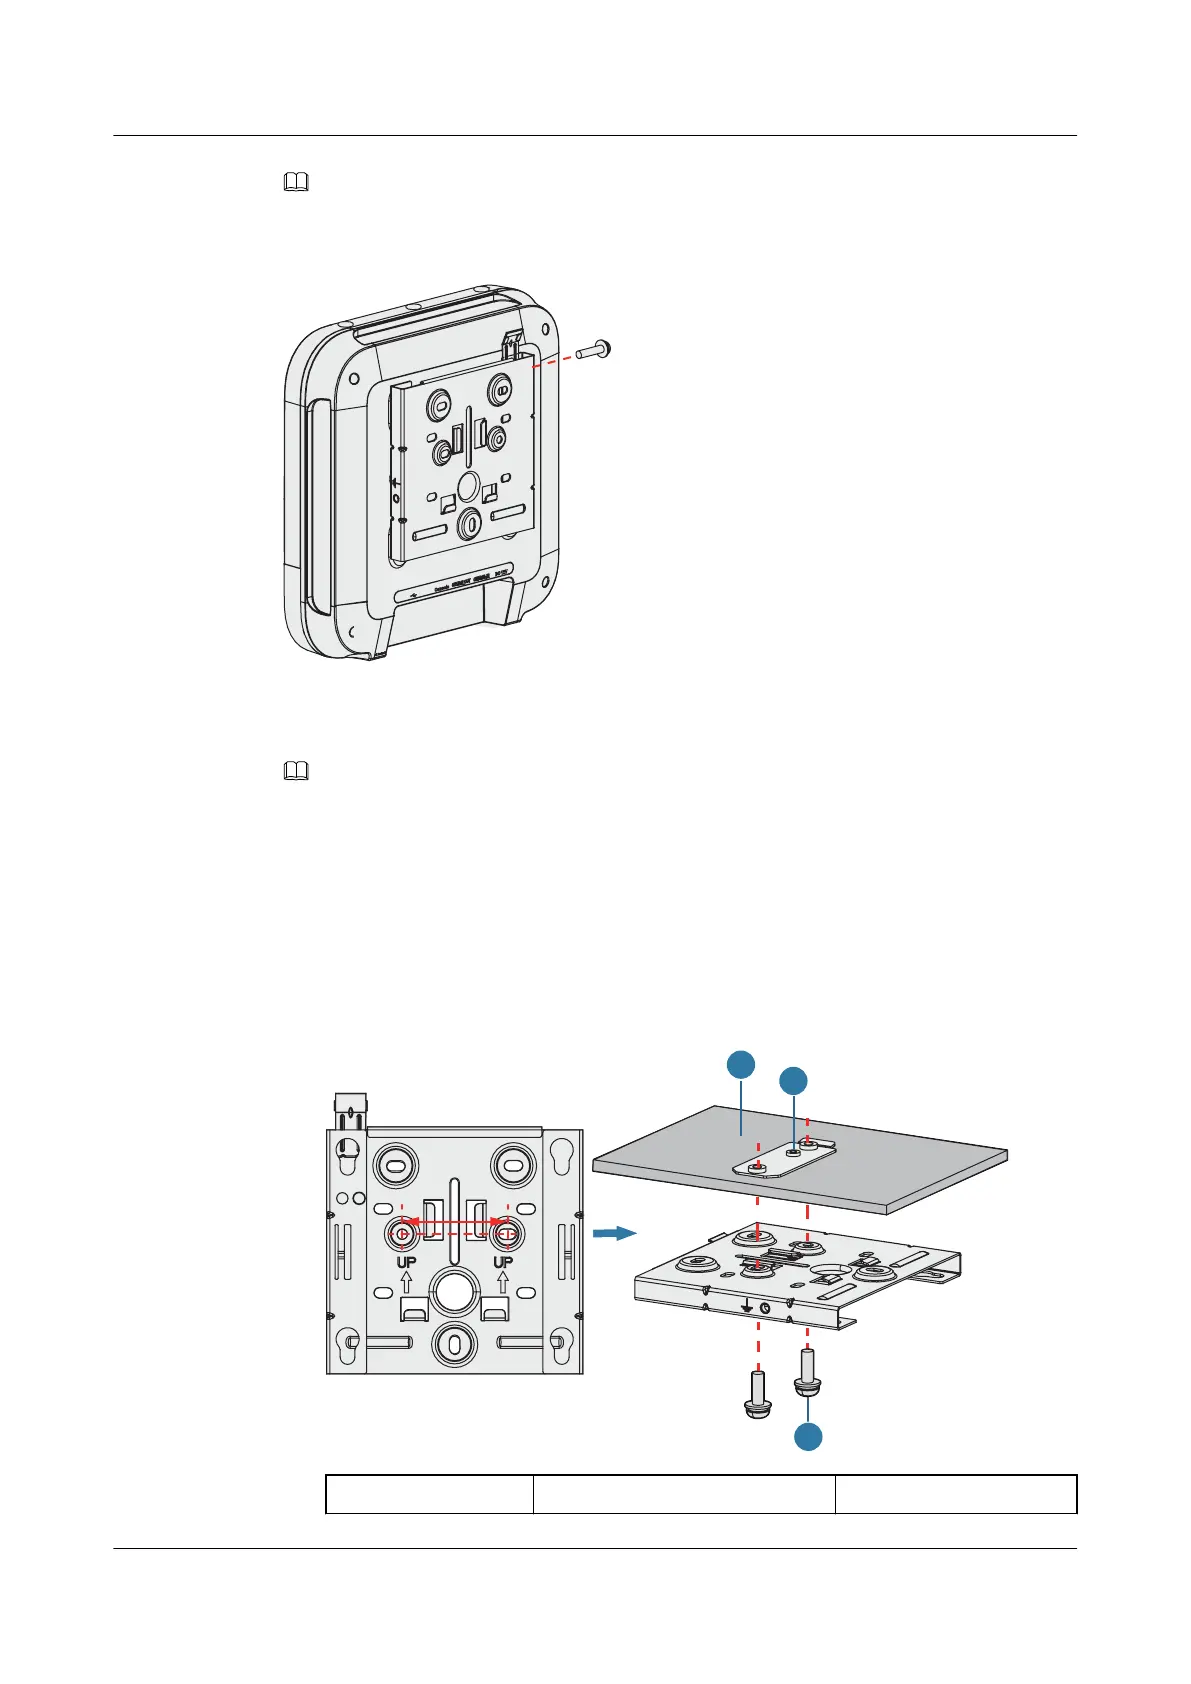
NOTE
In a scenario with heavy vibrations, tighten the AP to the mounting bracket using M4x30 screws with a
torque of 1.4N•m. This prevents the AP falling off from due to vibrations. In normal scenarios, you do not
need to install these screws.
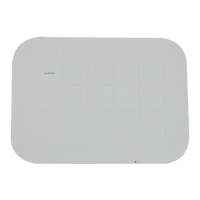
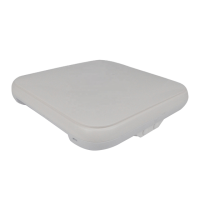
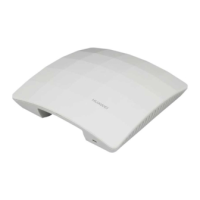
2.6.2 Installing the Device on a Ceiling
NOTE
A ceiling needs to bear the weight of four times the total weight of the device and mounting bracket
without damage.
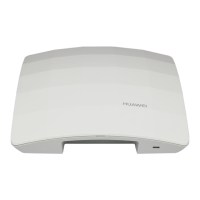
1. Remove a ceiling tile, determine locations of mounting holes based on the distance
between two installation holes on the mounting bracket, use a hammer drill to drill holes
on the ceiling tile, and fix the mounting bracket to the ceiling tile(with a tightening
torque of 1.4 N•m).
The screws provided for ceiling-mounting of APs are 30 mm long and can be used to fix
an AP on a ceiling no thicker than 15 mm. To install APs on thicker ceilings, you need to
purchase longer screws.
1. Ceiling tile
2. Adjustable buckle 3. M4x30 screw
AP4050DN-E
Hardware Installation and Maintenance Guide
2 AP Installation
Issue 05 (2018-02-02) Huawei Proprietary and Confidential
Copyright © Huawei Technologies Co., Ltd.
17