Optional HammerHead® TDC Laser Clip-On Weight Locator Maintenance or Service
CAUTION
Use of controls or adjustments or performance of procedures other than those specied herein may result in
hazardous radiation exposure.
This Laser Product is designated as Class 2M during all procedures of operation. Do not stare into the beam or view directly
with optical instruments. Doing so may cause serious injury.
Do not intentionally use a reective device to enhance or re-direct the laser. Do not operate the laser if the cover or seal is
damaged. There is no required maintenance or service to keep the HammerHead® TDC Laser System in compliance. The
laser is not a eld serviceable or an adjustable part.
Any necessary repair or maintenance should be done by the factory only. The HammerHead® TDC Laser System has no
eld serviceable parts.
7.3. Cleaning and Lubricating the Adjustable Flange Plate and Pin
Cleaning and Lubricating the Adjustable Flange Plate
CAUTION
DO NOT pry or hammer stuck pins from adjustable ange plate. The tab at end of pin is made of mild steel that
can be deformed by excessive force. Disassemble adjustable ange plate as described below to remove stuck
pins and diagnose problem.
NOTICE
If adjust ability of ange plate becomes dicult, clean and lubricate the plate.
1. Use a standard screwdriver to pry retaining spring, 98-405-2, from the backside of adjustable ange plate.
Remove the thumbscrew through the side of the ange plate as follows:
Open and then remove the split retaining ring from the thumbscrew, 75-651-1. Unscrew the thumbscrew from the
ange plate.
2. Clean grease and grime from hub and guide. Apply light machine oil or light grease to the mating surfaces (including
around the slots on the interior surfaces of both the hub and guide).
3. Secure the guide to hub with retaining spring previously removed. Secure the thumbscrew to the ange plate with the
split retaining ring.
Pin Assembly Maintenance
Replace tab, 218-185-2, as follows:
Remove pin guide, 135-377-2, from end of the pin assembly and remove the old tab. On one side on the tab the edges are
rounded and the other side has sharp edges. Install the new tab with the rounded edges toward the collar, 217-54-2, of the
pin assembly.
Match the at section on the mating surfaces of tab and collar. If a at washer was located between the tab and pin guide,
reassembly the pin assembly with this washer in place. Using Loctite 222 on the threads, secure the tab with the pin guide.
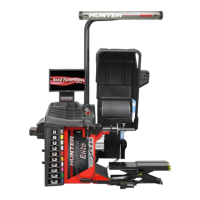
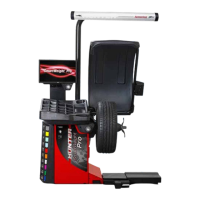
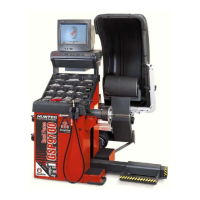
HD Elite Wheel Balancer
Page 48 of 51