torch setup
3-28 powermax
45
Service Manual
4. Separate the rear panel from the Powermax45 by removing the screw from the bottom and backing the end panel
away from the base so that there is enough room to drill out the access point without risk of hitting the interior
components.
5. Use a drill with a 19/32inch drill bit to drill out the access point on the rear panel.
6. Route the cable through the strain relief and tighten it down so that 45.72cm (18inches) of insulated wire is on the
side of the strain relief that will go inside the power supply.
7. Thread the 45.72cm (18inches) of wire through the hole you drilled in the rear panel and fit the strain relief into the
hole. If necessary, drill out any remaining rough spots so that the strain relief fits snugly.
8. Tighten the strain relief nut on the inside of the rear panel to hold the strain relief in place.
9. Find the grommet closest to the rear panel and at the bottom of the center panel. Route the 2wires through the
grommet to the power board side of the power supply.
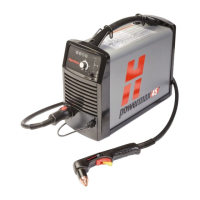
Rear end panel
Access point
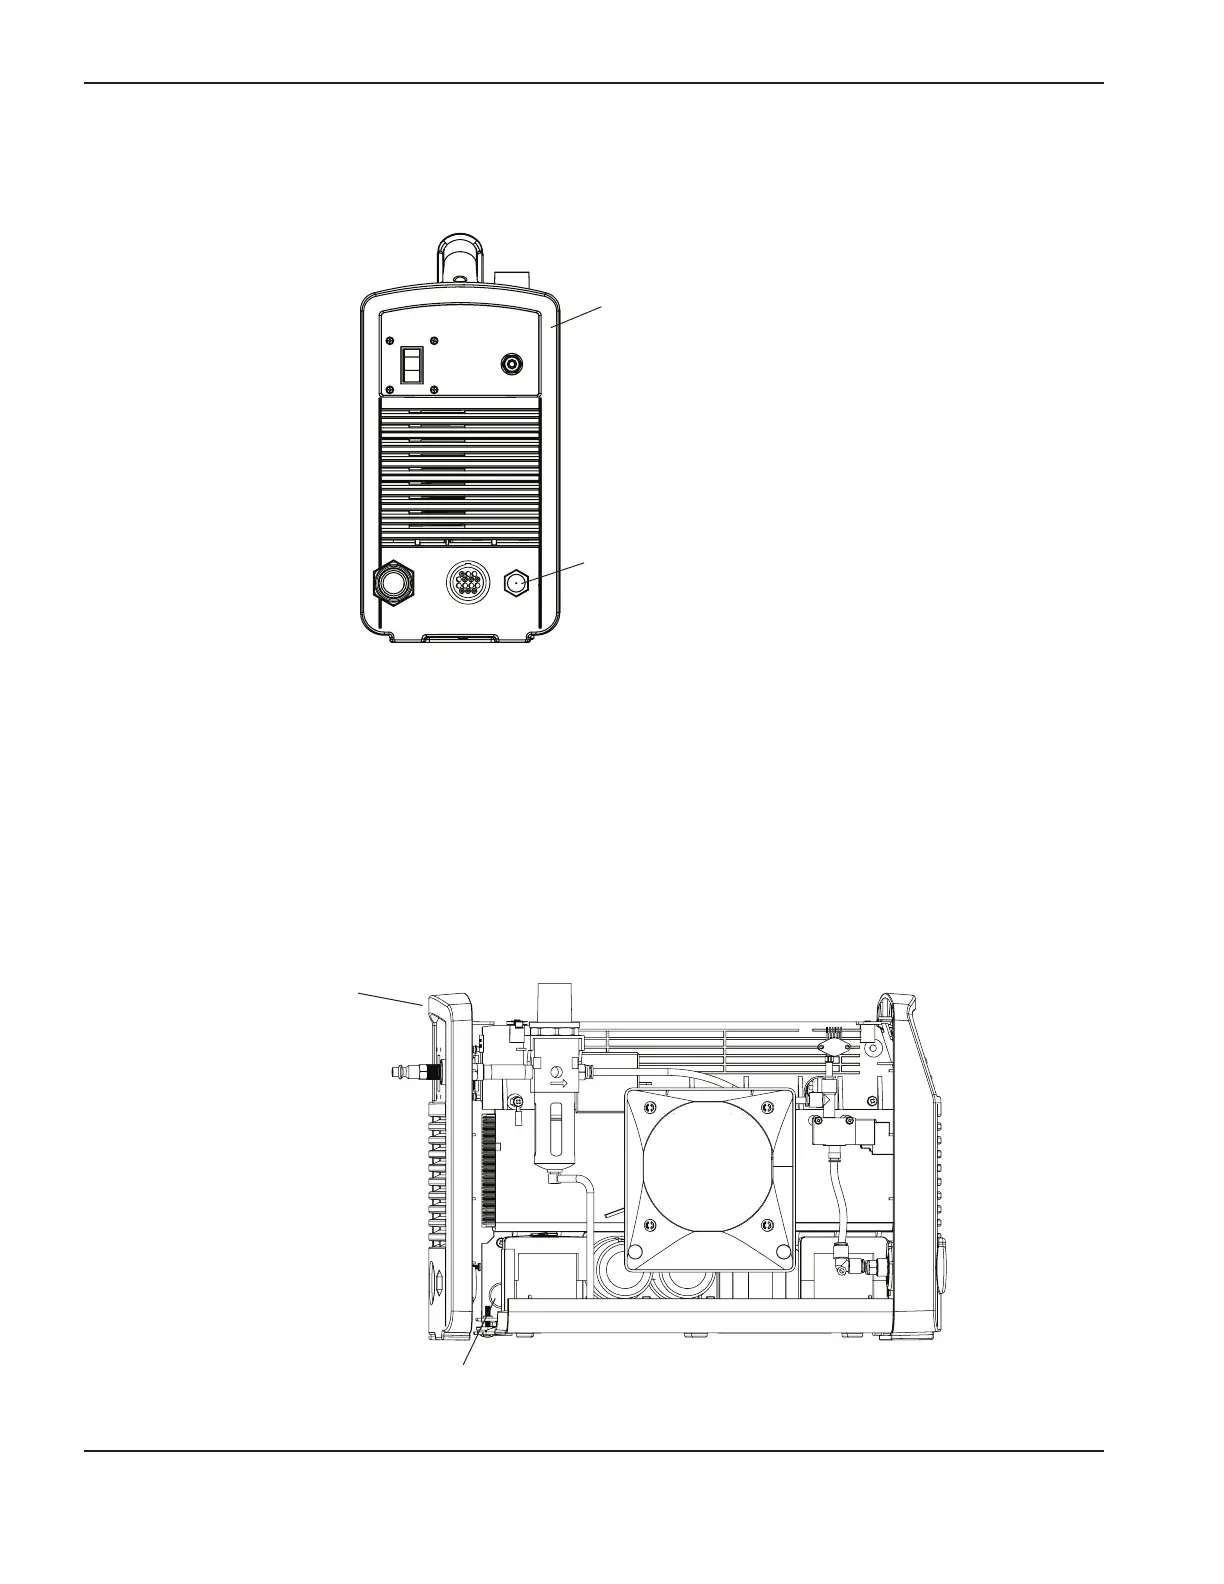
Rear panel pulled slightly
away from the base
Grommet in center panel