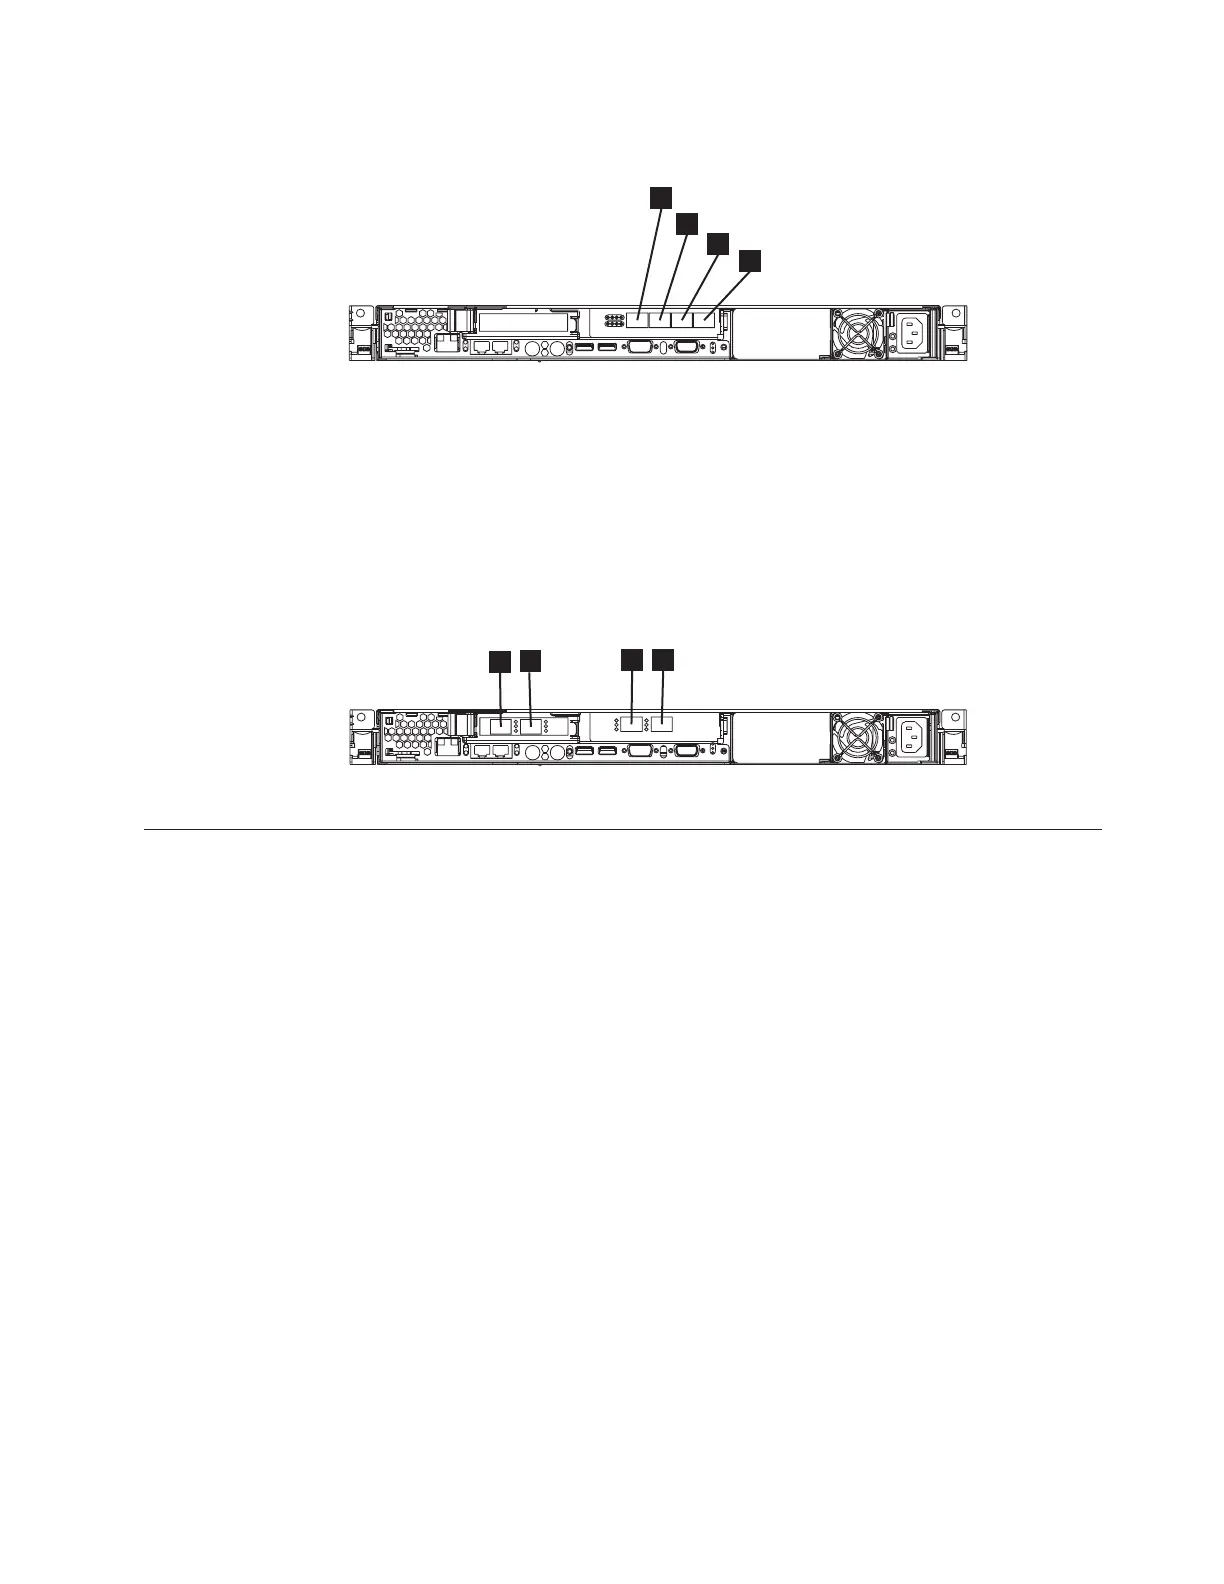
Figure 47 provides a view of the rear of the SAN Volume Controller 2145-8F4.
SAN Volume Controller 2145-8F2 fibre-channel port numbers
and worldwide port names
The SAN Volume Controller 2145-8F2 fibre-channel ports are identified by their
physical port number and by a worldwide port name (WWPN).
Figure 48 provides a view of the rear of the SAN Volume Controller 2145-8F2.
Installing the SAN Volume Controller 2145-8F4 or the SAN Volume
Controller 2145-8F2 hardware
There are several steps that you must perform to prepare and then install the SAN
Volume Controller 2145-8F4 or the SAN Volume Controller 2145-8F2 hardware.
The following topics describe the SAN Volume Controller 2145-8F4 or the SAN
Volume Controller 2145-8F2 hardware installation tasks in the order they should be
performed.
Note: If you are adding a new I/O group to an existing SAN Volume Controller
2145-8F4 or SAN Volume Controller 2145-8F2 cluster, there is no need to
power off the existing, operating cluster nodes.
1. Prepare for the SAN Volume Controller hardware installation by confirming
that you have all the planning information and parts that you require.
2. Install and verify the redundant ac power switch, if it is to be used and is not
already being used for a node.
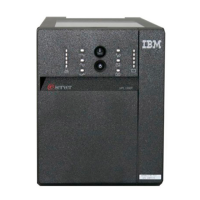
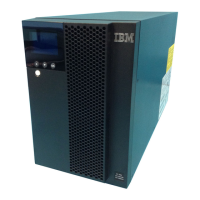
3. Install the UPS.
4. Install the node.
5. Connect the fibre-channel and Ethernet cables to the node.
6. Connect the node to the UPS.
7. Verify the node.
svc00177
1
2
3
4
Figure 47. The physical port numbers for the SAN Volume Controller 2145-8F4
svc00212
1
2
3
4
Figure 48. The physical port numbers for the SAN Volume Controller 2145-8F2
Appendix A. SAN Volume Controller 2145-8F4 and SAN Volume Controller 2145-8F2 79
|
|
 Loading...