7. Push the drive drawer all the way back into the storage expansion enclosure, closing the levers on
each side of the drive drawer.
8. Install the bezel on the front of the storage expansion enclosure. See “Replacing the bezel” on page
118 for the steps to install the bezel.
Replacing hot-swap hard disk drives
DDM problems include any malfunctions that delay, interrupt, or prevent successful I/O activity between
the hosts and the DDMs in the storage expansion enclosure. This includes transmission problems
between the controllers, the ESMs, and the DDMs. This section explains how to replace a failed DDM.
Note: If you want to remove an DDM that is not in a failed or bypass state, always use the DS Storage
Manager client program either to place the DDM in a failed state or to place the array that is
associated with the DDM (or DDMs) in an offline state before you remove it from the enclosure.
Attention: Failure to replace the DDMs in their correct drawer and position might result in loss of data.
If you are replacing a DDM that is part of a configured array and logical drive, ensure that you install the
replacement DDM in the correct drawer and position.
Complete the following steps to replace a hot-swap DDM:
1. Use the Storage Management client software to print a new storage system profile.
2. Determine the location of the DDM that you want to remove.
Attention: Never hot-swap an DDM FRU when its associated green activity LED is flashing.
Hot-swap an DDM FRU only when its associated blue Service Action Allowed LED is lit.
3. Put on antistatic protection.
4. Remove the bezel from the front of the storage enclosure. See “Replacing the bezel” on page 118 for
the steps to remove the bezel.
5. Open the drive drawer by completing the following steps:
a. Release the levers on each side of the drawer by pulling both levers away from the enclosure.
b. Pull on the extended levers and cam them outward until they stop. Then pull the drive drawer
out to its full extension without removing it from the storage expansion enclosure.
Note: The fan assemblies spin-up to increase airflow through the enclosure when a drive drawer
is open. This is normal and does not indicate a fault. Fan speed will return to normal after
the drive drawer is closed.
6. Remove the DDM by completing the following steps:
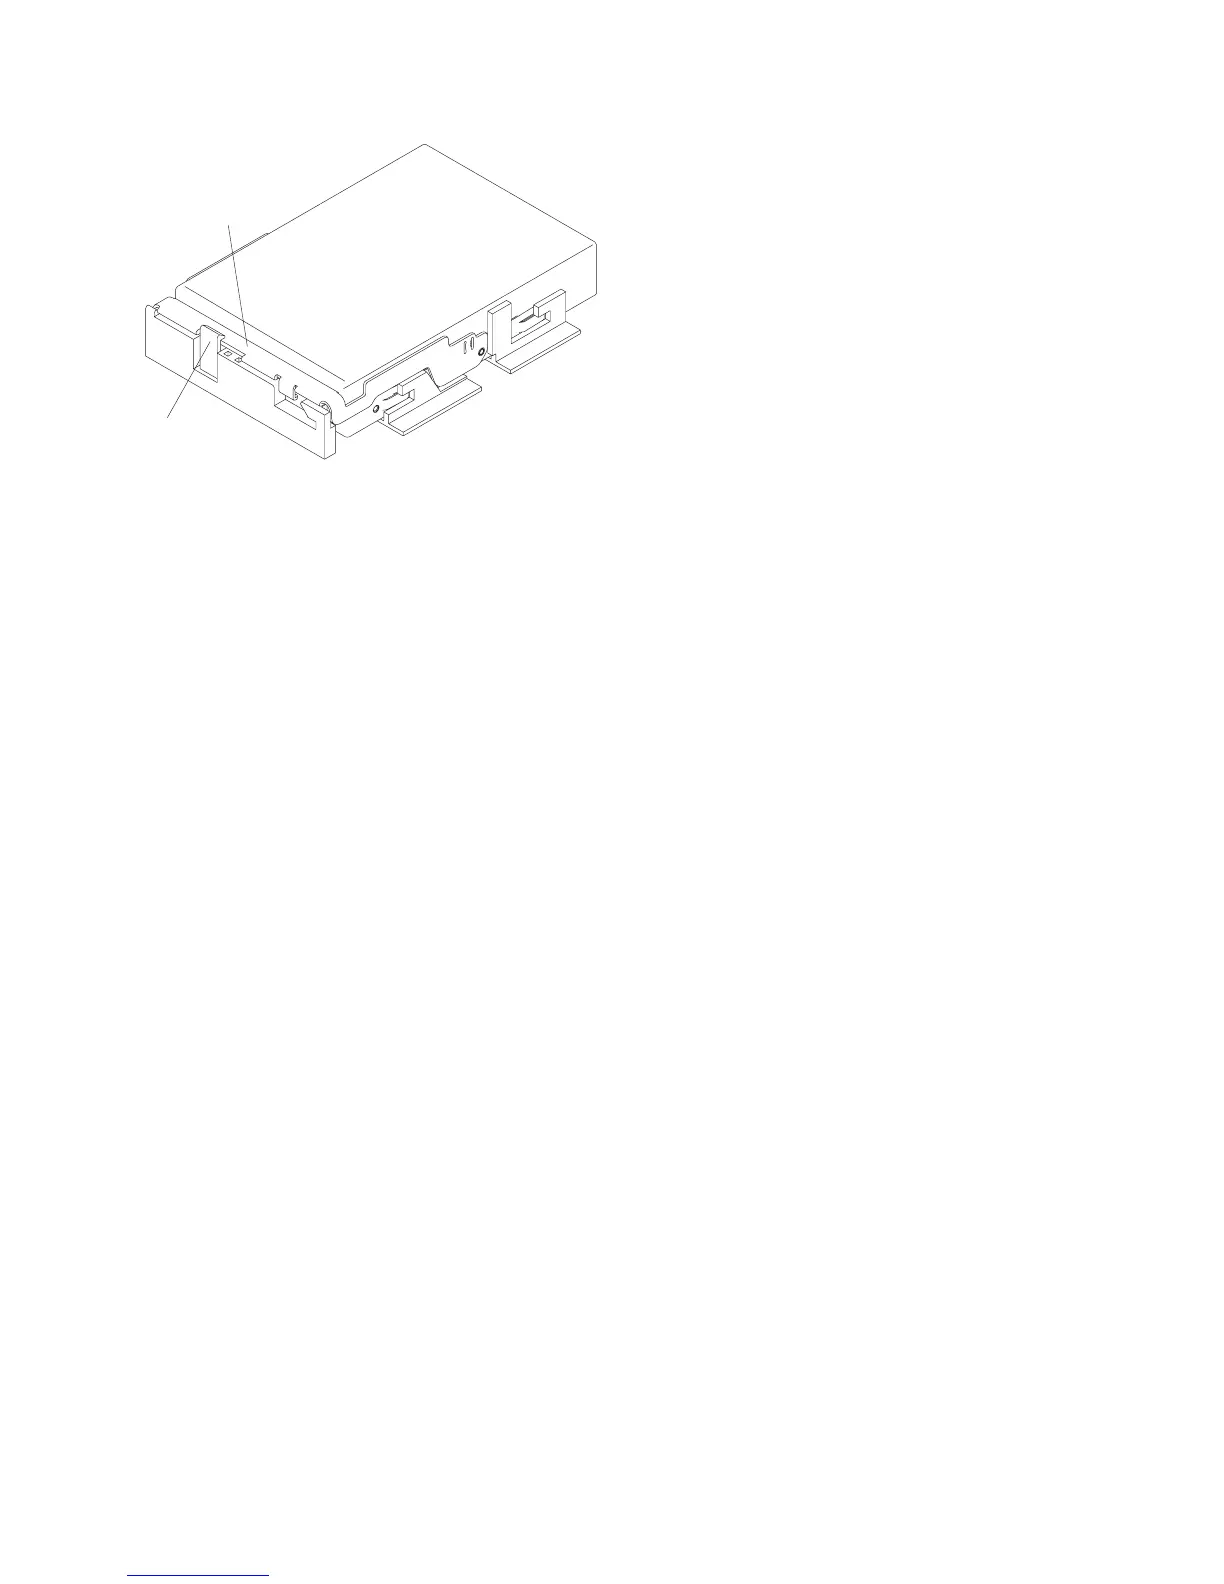
a. Press the drive release lever and raise the drive handle to the vertical position.
Drive
handle
Release
latch
Figure 71. Locking the drive in place
Chapter 5. Replacing components 103